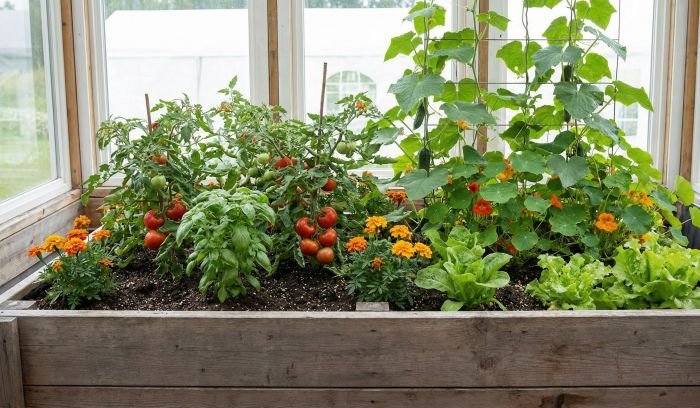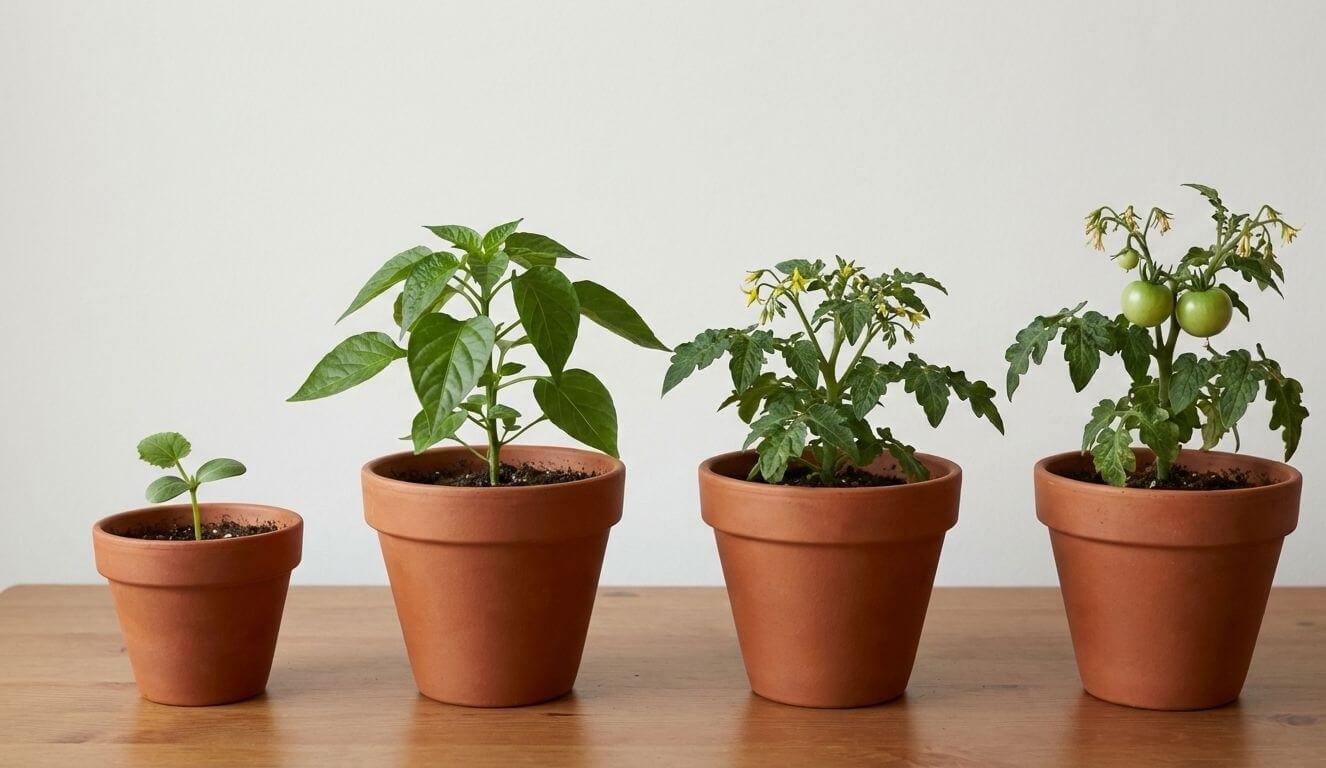
Spinach is a cool-season crop valued for its fast growth, nutrient density and versatility in the kitchen. Like most leafy greens, it follows a defined biological progression from germination to harvest, with each stage requiring precise environmental and cultivation practices. Understanding how spinach develops, from seed to mature leaf, helps gardeners provide the right support at the right time. This article outlines the key stages in spinach’s lifecycle and offers clear, practical guidance for growing strong, productive plants.
Key Takeaways:
- Spinach grows best when each stage – germination, seedling, vegetative, bolting, and harvest – is managed with precision.
- Cool soil temperatures and good drainage promote fast, reliable germination.
- Thinning and consistent light exposure are critical during the seedling phase.
- Nitrogen-rich soil and proper pest control support healthy leaf development in the vegetative stage.
- Monitoring temperature and moisture helps delay bolting and extend harvest quality.
Table of Contents
Stage 1 – Germination and Initial Root Development
Germination marks the beginning of spinach’s lifecycle and involves the activation of metabolic processes that trigger root and shoot emergence. Success at this stage depends on providing the right balance of soil structure, temperature, and moisture to initiate rapid, uniform sprouting.
Ideal Soil and Temperature Conditions for Seed Germination
Spinach seeds germinate best in loose, well-aerated soil that retains moisture without becoming compacted or saturated. Incorporating organic matter such as compost helps improve drainage while maintaining adequate hydration around the seed. Germination typically occurs within 5–10 days when soil temperatures remain between 50°F and 70°F (10°C–21°C), which supports hormonal activity and the breakdown of dormancy.
Techniques for Effective Seed Sowing
- Seed Spacing – Sow spinach seeds about 1 inch (2.5 cm) apart. This gives each seedling access to light, water, and nutrients without immediate overcrowding.
- Seed Depth – Place seeds at a depth of roughly 1/2 inch (1.3 cm). This ensures adequate soil coverage while still allowing rapid emergence.
- Watering – After sowing, water gently to settle the soil without compaction. Keep the surface evenly moist, never soaked, as saturated soil can cause fungal issues and seed rot.
To improve germination in variable climates, consider soaking spinach seeds in water for 6–8 hours before sowing. This helps soften the seed coat and shortens sprouting time. In cooler regions, covering the sowing area with a light row cover can help retain soil warmth and moisture while protecting against sudden temperature drops.
By following these techniques, you can increase the chances of successful spinach seed germination and establish a strong foundation for healthy growth.
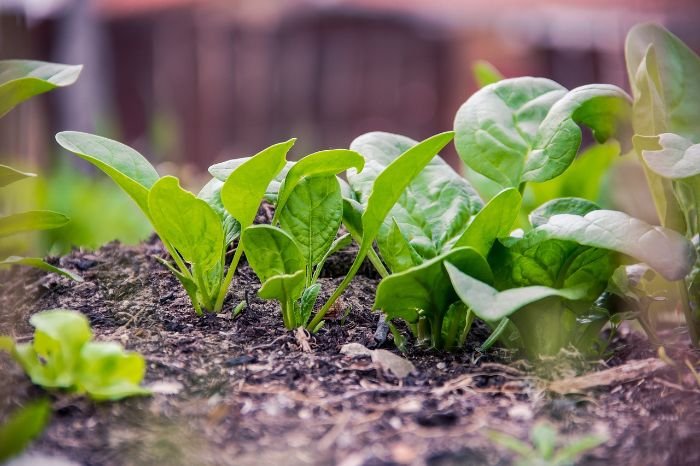
Stage 2 – Seedling Growth and Early Leaf Formation
After germination, spinach enters the seedling phase – a period defined by early root stabilization and the emergence of true leaves. This stage determines the plant’s ability to absorb nutrients, access light efficiently, and withstand early stress factors like inconsistent moisture or crowding.
Light and Water Requirements for Young Spinach
During the seedling phase, spinach requires 6–8 hours of direct sunlight per day to develop strong, compact growth. If you’re growing indoors, use full-spectrum grow lights placed close to the seedlings to prevent legginess and promote healthy leaf formation.
Consistent watering is equally important. Keep the soil evenly moist by checking the top inch – if it feels dry, water thoroughly until the moisture reaches root level. Avoid oversaturation, as waterlogged soil can lead to fungal infections and root rot. Underwatering, on the other hand, slows development and causes stress during this critical stage.
Thinning Seedlings to Prevent Overcrowding
To further support seedling development, consider applying a diluted liquid seaweed or fish emulsion once true leaves appear. These organic amendments provide micronutrients and stimulate early root vigor. Avoid overfeeding at this stage, as excessive nitrogen can lead to weak, leggy growth.
Thinning Seedlings – Why and How
- Purpose – Prevents competition for light, nutrients, and root space. Also reduces disease risk from dense foliage.
- Timing – Thin seedlings once they develop their first true leaves.
- Method – Remove weaker seedlings at soil level using scissors to avoid disturbing roots.
- Spacing – Leave 3 to 4 inches (7.5–10 cm) between remaining plants for optimal growth.
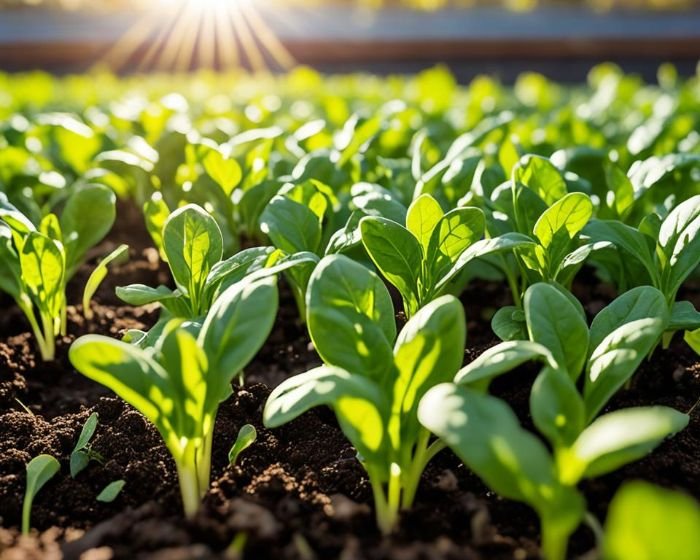
Stage 3 – Vegetative Growth and Leaf Development
During the vegetative stage, spinach shifts its focus toward producing broad, healthy leaves through accelerated photosynthesis. The quality of growth during this phase directly impacts harvest potential, and optimal results depend on sufficient nutrients and protection from biotic stress.
Nutritional Needs During Leaf Formation
Strong leaf development requires a steady supply of nutrients, especially nitrogen. This macronutrient supports chlorophyll production, cellular expansion, and the dense leaf growth that makes spinach so valuable. When nitrogen is lacking, leaves often appear pale or stunted.
To meet these nutritional needs, enrich the soil with compost or well-aged manure prior to planting. These organic materials help maintain long-term fertility and microbial activity. In soils with lower nutrient reserves, a supplemental fertilizer with higher nitrogen content can be applied as a side dressing once true leaves begin forming..
Common Pests and Diseases to Watch For
While spinach is growing vigorously, it becomes more attractive to common pests such as aphids, leaf miners, and caterpillars. These insects feed on or inside the leaves, causing distortion or necrotic spots. Inspect plants regularly and use gentle methods such as neem oil or floating row covers to reduce infestations without disrupting beneficial insects.
Diseases such as downy mildew, powdery mildew, and leaf spot also present risks in humid or overcrowded environments. These pathogens thrive on leaf surfaces, leading to yellowing, wilting, and lower yield. You can reduce disease pressure by watering at soil level, maintaining spacing between plants, and rotating crops seasonally to disrupt pathogen cycles.
By addressing the nutritional demands of spinach and proactively managing common threats during the vegetative stage, gardeners can promote lush, uniform growth that lays the groundwork for a productive harvest.
Stage 4 – Bolting and Temperature Management
Bolting is the plant’s shift from vegetative growth to reproduction, triggered primarily by rising temperatures and changes in daylight. In spinach, this transition leads to the formation of a central flower stalk and a decline in leaf quality. As a cool-season crop, spinach is especially prone to bolting during sudden warm spells or prolonged exposure to high temperatures.
Signs of Bolting and How to Delay It
Signs of bolting in spinach include a rapid elongation of the central stem, followed by the emergence of flower stalks from the plant’s core. Leaves often become thicker, slightly leathery, and noticeably more bitter in taste. These changes signal a shift in the plant’s energy from leaf production to seed formation.
Although bolting cannot be completely avoided, several strategies can delay its onset and extend the harvest window. Start with heat-tolerant varieties that are slower to transition into flowering. During warmer periods, protect plants with light shade or floating row covers to reduce temperature stress. Maintain consistent soil moisture, especially in dry conditions, and harvest mature leaves regularly to shift energy away from reproductive growth.
For regions with unpredictable spring temperatures, succession planting every two weeks can help ensure continuous production before bolting begins. Starting with an early crop in cool weather, followed by staggered sowings, allows gardeners to harvest tender leaves over a longer period and avoid losing the entire crop to a sudden heatwave.
Adjusting Care to Prevent Premature Bolting
Preventing premature bolting requires careful attention to the plant’s needs and environmental factors.
“Spinach is highly responsive to temperature and photoperiod. By implementing certain strategies, gardeners can help prevent premature bolting and maintain high-quality leaf production.”
Consider the following adjustments in care practices to prevent premature bolting:
- Plant early – Sow spinach at the beginning of the season when temperatures are still cool to encourage vegetative growth.
- Maintain moisture – Water consistently to avoid drought stress, which often triggers bolting.
- Thin decisively – Remove extra seedlings to avoid overcrowding and reduce competition.
- Use shading – Protect plants from intense midday heat with shade cloth or row covers.
By understanding the factors that contribute to bolting and implementing preventive measures, gardeners can successfully grow spinach plants with extended harvest periods and maintain high-quality leaf production.
Stage 5 – Harvesting – Timing and Techniques
When to Harvest Spinach for Optimal Flavor and Yield
Timing the harvest correctly helps preserve spinach’s flavor and texture, while also maximizing yield. For baby spinach, harvesting typically begins 25 to 30 days after sowing, when leaves are tender and between 2 and 4 inches in length. These younger leaves are ideal for salads, wraps, or quick sautés.
For mature harvest, wait until the leaves reach 4 to 6 inches in length and display a deep green color. At this stage, the flavor is stronger, and the texture more substantial – suitable for cooking, steaming, or freezing for later use.
Avoid delaying harvest too long, as overgrown leaves often turn tough and bitter. Watch for early signs of bolting, such as a rapidly elongating central stem, which signals that the plant is shifting its energy toward seed production. Harvest as soon as these changes appear to maintain the best leaf quality.
Best Practices for Cutting and Storing Spinach
Use clean, sharp scissors or garden shears to cut spinach leaves without damaging the plant. Begin with the outer leaves, which are the most mature, and leave the central growth point untouched to support continuous production. Harvesting in this way encourages regrowth and prolongs the lifespan of each plant.
To preserve freshness and nutrients, remove any wilted or damaged leaves after harvest. Rinse the healthy leaves thoroughly to eliminate soil and debris, then pat them dry with a clean towel. Minimizing surface moisture helps prevent spoilage during storage.
For short-term storage, place spinach in an airtight container or plastic bag lined with paper towels to absorb residual moisture. Keep it in the refrigerator’s crisper drawer, which offers ideal humidity and a stable cool temperature for leafy greens.
To store spinach for longer periods, blanch the leaves before freezing. This process involves boiling them briefly, then immediately placing them in ice water to halt cooking. Once cooled, drain thoroughly and pack the leaves into freezer-safe containers or bags. Label each batch with the date to track freshness.
By following these harvesting techniques and storage practices, you can enjoy the fresh and nutritious flavors of spinach long after the harvest season has ended. Whether you’re using spinach in salads, smoothies, or cooked dishes, knowing when and how to harvest fresh spinach ensures a delightful culinary experience.
Conclusion
Understanding the full lifecycle of spinach is key to growing strong, productive plants. From germination to final harvest, each stage calls for targeted care that supports steady development and maximizes yield.
Success depends on aligning conditions with the plant’s natural needs – nutrient-rich soil, consistent moisture, and reliable light exposure. By applying the strategies outlined above, gardeners can grow vigorous spinach crops and enjoy fresh, homegrown greens with every harvest.
Key points to remember include starting with cool-season conditions for germination, thinning early to reduce stress, feeding consistently during leaf growth, and preventing premature bolting through temperature management. Harvest timing and post-harvest handling complete the cycle, ensuring quality from seed to storage.
With a clear understanding of each stage, gardeners can approach spinach cultivation with precision rather than guesswork. When each phase is met with the right actions, the result is not just a successful crop, but a process that’s efficient, reliable, and rewarding season after season.
FAQ
What are the different stages in the lifecycle of spinach?
The different stages in the lifecycle of spinach are germination, seedling stage, vegetative stage, bolting, and harvesting.
What are the ideal soil and temperature conditions for spinach seed germination?
Spinach seeds require moist, well-drained soil and cool temperatures for germination.
What are the light and water requirements for young spinach plants?
Young spinach plants require specific light conditions and precise watering practices to establish healthy growth.
What are the nutritional needs of spinach plants during leaf formation?
Spinach plants require nitrogen-rich soil and proper fertilization to support leaf development during the vegetative stage.
What are the signs of spinach bolting and how can I delay it?
Bolting is a natural response of spinach plants to warm temperatures. This section will explain the signs of bolting and offer tips on how to delay it.
When is the best time to harvest spinach leaves for optimal flavor and yield?
Timing is crucial for harvesting spinach leaves, and this section will provide indicators and optimal timing for harvest.