Last Updated May 11, 2026
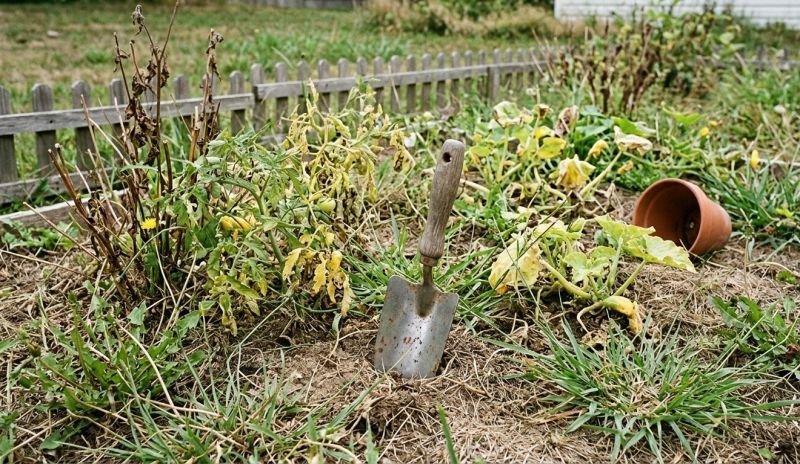
Soil solarization works when a hot empty bed needs a reset before the next planting. A patch that kept filling with annual weeds, damping-off, or stubborn surface disease can be covered with tight clear plastic during the hottest stretch of summer so trapped solar heat pushes the upper soil layer past the comfort range of weed seeds, seedlings, and many soilborne pests.
The method uses a simple setup, but performance depends on heat accumulation, soil moisture, tight plastic contact, and uninterrupted time. Solarization is strongest on warm full-sun ground with moist soil, sealed plastic, and time to leave the bed out of service for weeks. It is much weaker on cool shaded sites, deep perennial rhizomes, or beds that will be tilled hard right after treatment.
The payoff can be real: fewer early weeds, lower pathogen pressure near the surface, and a cleaner start for the next crop. Soil health improvement still depends on organic matter, structure, drainage, root activity, and long-term management because solarization is a reset tool, not a whole soil system by itself.
Key Takeaways
- Choose the hottest full-sun window of summer
- Wet soil deeply before sealing clear plastic
- Smooth clods and bury edges to trap heat
- Expect best control on annual weeds near surface
- Avoid deep tilling after the plastic comes off
Table of Contents
Soil Solarization Works Only When Heat, Moisture, And Timing Line Up
Solarization succeeds through accumulation. Heat builds day after day under clear plastic, moisture helps carry that heat into the soil, and the upper layer stays warm long enough to weaken or kill sensitive weeds, seedlings, fungi, bacteria, and some nematodes. When any one part drops out, the method slides from decisive to disappointing.
Clear plastic left on moist soil for four to six weeks during the hottest sunny period gives the method its real power. In strong conditions, the upper soil can reach temperatures high enough to suppress many pests, with the effect strongest near the surface and fading as depth increases. Wet soil conducts heat better than dry soil, which is why a dusty half-watered bed under loose plastic rarely delivers the result people hoped for.
Think about the exact patch you want to treat. Is it open to full summer sun for most of the day, or is one side shaded by a fence, hedge, tree, or wall just when the bed needs peak heating?
Use Soil Solarization Here, Skip It Here
| Garden situation | Solarization fit | Why it works or fails | Better first move if weak |
|---|---|---|---|
| Vacant summer bed full of annual weed seedlings | Strong fit | Heat and moisture can hit the active seed zone well | None if the bed can stay covered long enough |
| Bed with repeated damping-off or shallow soilborne disease pressure | Strong fit | Upper-layer heat can lower pathogen load before replanting | Pair with rotation and cleaner planting material later |
| Raised bed empty during hottest weeks | Good fit | Small scale makes sealing and heating easier | Shape the bed before covering |
| Patch dominated by bindweed, nutsedge, or deep perennial rhizomes | Weak to mixed fit | Deep underground structures often survive | manual weeding or repeated suppression after identification |
| Cool, foggy, windy, or partly shaded site | Weak fit | Heat loss and low radiation reduce soil temperatures | Use tarping or another weed-control sequence |
| Bed that must be planted again next week | Poor fit | The method needs uninterrupted time in peak heat | Use faster physical weed removal and surface cleanup |
The best fit is an empty summer bed in full sun with enough calendar space to lower annual weed or shallow disease pressure before the next crop. The weakest fit is a cool or shaded site dominated by deep perennial weeds that keep growing below the heated layer.
Clear Plastic Heats Better Than Black Plastic In Real Solarization
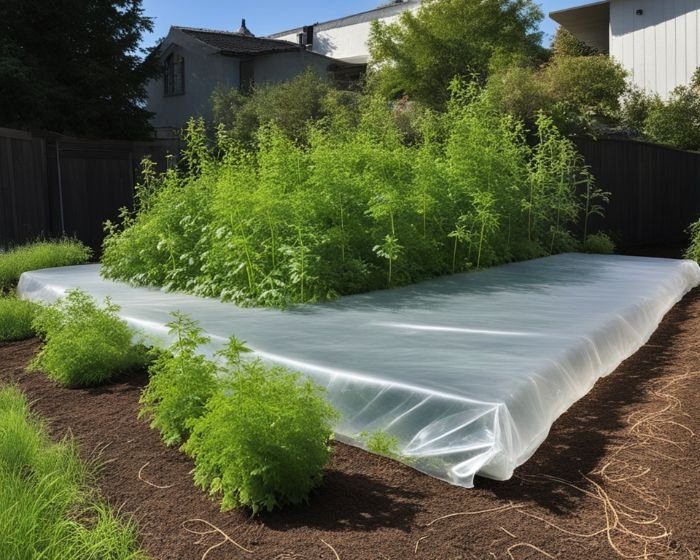
One of the most common mistakes happens before the plastic even touches the bed. Gardeners use black plastic because it looks hotter, feels tougher, or resembles landscape weed barrier. Real solarization depends on light passing through the sheet and then being trapped as heat in the soil below. That is why transparent plastic tarp is most effective for soil solarization.
Clear Plastic For Heating
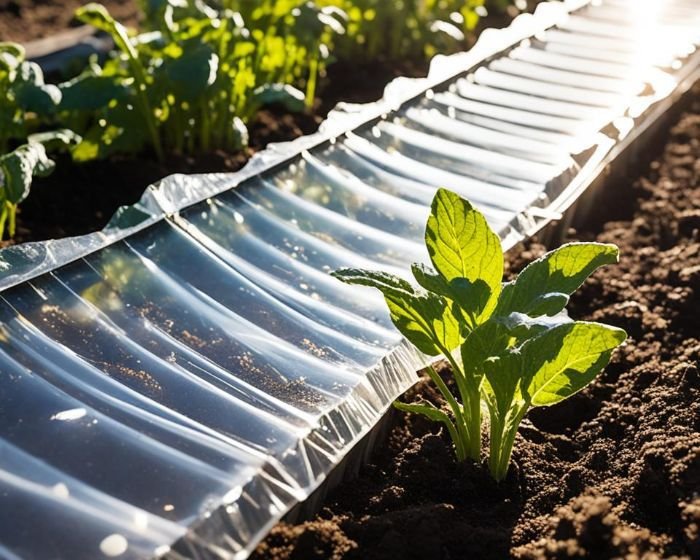
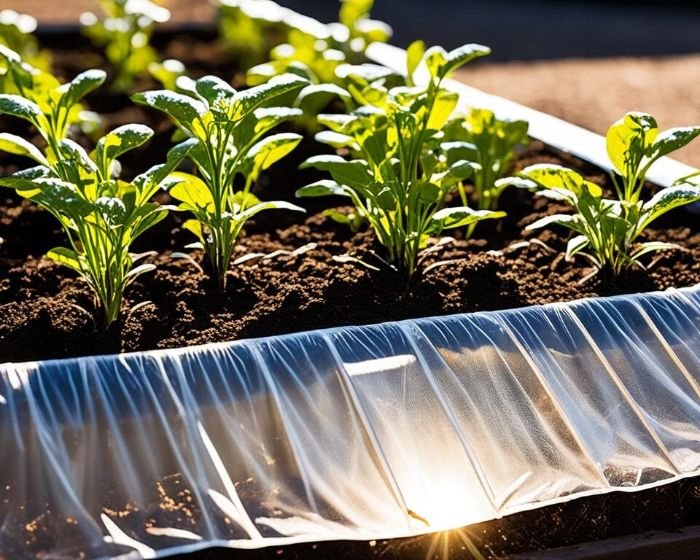
Clear polyethylene creates the greenhouse effect the method depends on. Thin clear plastic heats well, though very thin film tears more easily. A slightly thicker sheet survives wind and foot traffic better, which matters if the bed edges are exposed.
Black Plastic For A Different Job
Black plastic belongs closer to occultation than to high-performance solarization. It blocks light well and can still suppress growth over time, especially in cooler climates, though it usually does not deliver the same peak soil temperatures as clear film. The home-garden distinction matters because gardeners often expect disease and weed-seed kill from a material that mainly shades and starves the surface.
Occultation Takes Longer
Occultation uses opaque coverings and takes longer. It is a valid pre-plant method for killing vegetation and exhausting fresh weed growth, especially where summers are milder or reusable tarps are already on hand. The result is not identical. Solarization leans on higher temperatures. Occultation leans on darkness, moisture, and time.
How To Solarize A Garden Bed Without Wasting The Hottest Weeks
The method is simple enough to memorize. Prepare the bed, moisten deeply, seal clear plastic tight to the surface, and leave it alone through the hottest part of the season. Most failures happen because one of those verbs was done halfway.
| Step | What to do | Why it matters | Main failure risk |
|---|---|---|---|
| Choose the bed | Use an empty full-sun bed during the hottest weeks | Heat accumulation drives control | Shade, wind, or a short calendar window |
| Prepare the surface | Remove debris, weeds, mulch, and large clods | Plastic must sit close to soil | Air gaps under plastic |
| Water deeply | Moisten the soil before covering | Wet soil conducts heat better | Dusty dry soil under sealed plastic |
| Seal clear plastic | Stretch clear plastic tight and bury edges | Traps heat and stops venting | Loose edges and tears |
| Leave it covered | Keep covered four to six weeks or longer in cooler sites | Lethal exposure needs time | Removing plastic too early |
| Replant shallowly | Avoid deep tillage after removal | Protects the heated layer | Bringing untreated seed back up |
Prepare The Bed Before Covering
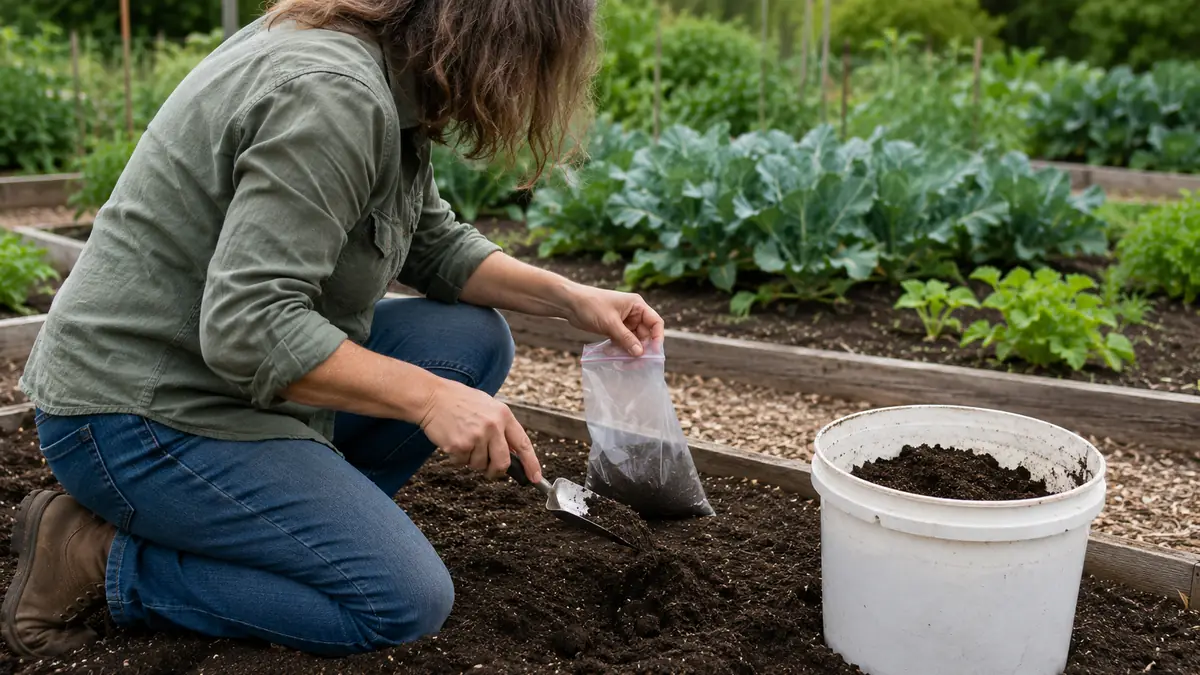
Remove old crop debris, weeds, mulch fragments, and large clods. Rake the surface smooth so the plastic lies close to the soil instead of bridging over air pockets. If the bed will be raised, shape it first. Solarization on preformed raised beds reduces disturbance later and keeps you from dragging untreated soil back onto the surface when the plastic comes off.
Moisten Deeply And Seal The Edges Tight
Water the bed so moisture reaches roughly a foot deep, then cover it promptly. Bury the edges in shallow trenches or seal them firmly with soil so wind cannot vent the trapped heat. Loose corners and lifted edges turn the hottest bed into a lukewarm one in a single afternoon.
Pro Tip: Patch every tear the same day you find it. A small rip near the edge can leak enough trapped heat to cool the zone that was closest to success.
Leave The Bed Covered Long Enough
The standard window is four to six weeks during the hottest sunny stretch, with longer periods in cooler or cloudier conditions. A soil thermometer helps, though the calendar already tells most of the story. If the weather turns mild, the bed simply accumulates less lethal exposure. That means the same plastic job can succeed in one climate and underperform in another.
Daily maximum temperatures in the top 6 inches around 110 to 125 F are the practical target range for strong control. Fewer clods, tighter plastic, strong sun, and moist soil all push the bed closer to that range.
In vegetable production, clear plastic can build enough heat in the top few inches to kill germinated weed seeds, which is one reason the method is especially useful before fall planting after a hot summer treatment window.
What Solarization Controls Well, Weakly, And Poorly
| Problem in the bed | Solarization strength | What to expect | Main caution |
|---|---|---|---|
| Annual weeds and fresh weed seedlings | Strong | Often one of the best targets for the method | Do not re-bury viable seed from deeper layers afterward |
| Damping-off and some shallow soilborne fungi or bacteria | Strong to good | Can lower pathogen pressure before the next planting | Do not reintroduce infested soil, tools, or transplants |
| Nematodes near the upper layer | Mixed | Populations can drop near the surface | Deeper survivors may recolonize roots later |
| Bermudagrass or johnsongrass rhizomes near surface | Mixed | Possible suppression in strong conditions | Depth and regrowth decide the outcome |
| Bindweed, nutsedge, and deep perennial structures | Weak to inconsistent | Top growth may collapse, then resprout | Use weed identification before assuming one treatment will finish the patch |
Annual weeds respond better than perennial weeds with deep underground structures. That single fact saves a lot of frustration. Solarization can be excellent at clearing the upper seed bank and reducing shallow pathogen pressure. It is far less reliable as a cure for every rhizome, tuber, or creeping perennial rooted well below the heated zone.
The disease side follows the same logic. Solarization can suppress many important soilborne fungi and bacteria near the surface. It does not replace sanitation, rotation, drainage correction, or resistant crop choices. A bed that stays saturated after rain can still rebuild disease pressure quickly, which is where soil health management for disease prevention matters more than one hot month under plastic.
After Solarization, Protect The Treated Layer
The treatment does not end when the plastic comes off. It ends when you stop bringing fresh weed seeds and untreated soil back into the top layer. Deep tillage right after solarization can undo a surprising amount of the benefit by lifting viable seeds and pathogens back into the zone you just heated.
Shallow cultivation less than 2 inches deep is the safer post-treatment rule if the bed needs any loosening before planting. After that, the smartest next move is usually a quick replant into the cleaned layer, followed by surface protection. A light organic cover from mulching for soil health helps keep new weed germination down, reduces splash, and protects the soil from baking back into crust.
I often notice that gardeners blame solarization for failure when the real loss happens after removal – a deep fork pass, dragged soil from the path, or a few weeks of bare open ground that gives the bed a brand-new weed flush.
If the bed is not being replanted immediately, keep it covered or occupied. A fast follow-up crop or an off-season stand from cover crops for soil health holds the advantage longer than leaving treated soil exposed and empty. Solarization can also leave nutrients more available near the surface, which is useful for the next crop and one more reason not to let that cleaned layer sit bare for long.
Start With The Bed That Matches Solarization
Your summer vegetable bed is finishing, the surface is full of annual weeds, and you want a cleaner fall planting. Start by clearing debris, watering deeply, and using clear plastic during the hottest full-sun stretch you have.
Your raised bed has repeated shallow disease trouble around seedlings or transplants, and it can sit empty for several hot weeks. Start by shaping the bed first, sealing plastic tightly over the formed surface, and planning only shallow disturbance after removal.
Your worst patch is dominated by bindweed, nutsedge, or another perennial that keeps returning from below. Start with correct identification and a longer suppression strategy, because solarization alone may only scorch the top growth.
Your site is coastal, partly shaded, windy, or pressed for time before the next planting. Start with a different reset path, such as physical cleanup, tarping, or targeted weeding, because marginal heat usually delivers marginal control.
Conclusion
Soil solarization earns its place when you have a truly hot window, a bed that can stay empty long enough, and a problem living close enough to the surface for heat to matter. It is one of the cleanest nonchemical resets available for annual weeds, shallow pathogen pressure, and worn-out summer beds heading into a new planting cycle.
The method succeeds when plastic type, bed choice, moisture, edge sealing, timing, and post-treatment handling all match the target problem.
FAQ
What is soil solarization?
Soil solarization is a non-chemical method that uses clear plastic, moist soil, and several hot sunny weeks to trap solar heat in the upper soil layer. It is mainly used to reduce annual weed seeds, seedlings, and some soil-borne pests or diseases before replanting.
Does soil solarization really kill weeds?
Yes, especially annual weeds and fresh seedlings in the upper soil layer. Results are strongest in full sun with moist soil and tightly sealed clear plastic left on long enough during hot weather.
Is clear plastic better than black plastic for soil solarization?
Yes. Clear plastic usually heats the soil more effectively because it lets solar energy pass through and trap heat below. Black plastic is more useful for occultation and light-blocking weed suppression than for peak solar heating.
How long should soil stay covered for solarization?
Four to six weeks is the common target during the hottest sunny part of the year. Cooler, cloudier, or windier sites often need longer exposure and may still deliver weaker control.
Can soil solarization reduce plant diseases too?
Yes. It can suppress many soilborne fungi and bacteria near the surface, especially before replanting. It still works best as part of a bigger disease-prevention approach that includes rotation, drainage, and clean planting material.
Will soil solarization kill bindweed, nutsedge, or other perennial weeds?
Sometimes it suppresses them, though control is inconsistent because many perennial weeds survive from deep rhizomes, tubers, or other underground structures. Those patches often need a longer sequence than one heat treatment.
Can I solarize a raised bed?
Yes. Raised beds are often good candidates because they are easy to smooth, water, and seal tightly. Form the bed before covering it so post-treatment disturbance stays minimal.
Can I plant right after removing the plastic?
Yes. Planting soon after removal helps protect the treated layer from fresh weed flushes and surface contamination. Keep any cultivation shallow so buried weed seed and untreated soil are not brought back into the heated layer.