Last Updated May 11, 2026
Raised beds work best when the native ground keeps limiting roots. Compacted fill, sticky clay, shallow rocky soil, or a site with suspect contamination can all justify lifting the root zone and rebuilding it with a better soil mix. Done well, a raised bed gives crops looser structure, faster spring warming, and a cleaner place to manage water, compost, and rotation.
The frame matters after the soil problem, reach, drainage, and fill strategy are clear. A raised bed fails when it is too wide to reach, too tall for the site, filled with the wrong material, or watered like an in-ground plot that never dries. The build has to match the soil problem, not just the look of the garden.
Broader soil health improvement still includes testing, fertility, and long-term care. Raised-bed success depends on knowing when to build one, how to size it, what to fill it with, and how to keep the soil productive after the first season.
Key Takeaways
- Build raised beds because the native soil is limiting, not because every garden needs a box
- Keep beds narrow enough to reach from the path without stepping into the soil
- Use mineral topsoil plus compost, not pure compost or potting mix
- Leave the bottom open on soil sites so roots and drainage can move downward
- Manage raised beds with mulch, deep watering, modest compost, and crop rotation
Table of Contents
Raised Beds Work Best When Native Soil Is The Limiting Factor
A raised bed is not a universal upgrade. It is a targeted fix for ground that keeps holding the crop back. When the native soil already drains well, has decent structure, and supports good rooting, a framed bed may add cost faster than it adds value. When the native soil is dense, waterlogged, shallow, contaminated, or badly disturbed, the payback is much clearer.
| Site problem | Raised bed fit | Why it helps | Main caution |
|---|---|---|---|
| Compacted urban fill or construction-damaged soil | Strong fit | Lifts roots above the hardest layer and creates a better top profile fast | Still control foot traffic or compaction returns |
| Poorly drained clay that stays wet after rain | Strong fit | Raises the main root zone above saturation and improves early growth | Do not place it where runoff keeps flooding the bed from outside |
| Shallow, rocky, or rubble-filled ground | Strong fit | Adds rooting depth where the native layer is physically limited | Use enough depth for the crops you actually plan to grow |
| Suspected contaminated soil | Strong fit | Lets you grow in imported clean soil above the native surface | Test the site first and avoid mixing native soil into the new bed |
| Hot exposed site with strong summer wind | Mixed fit | Organizes the soil volume neatly | Raised beds dry faster and need better mulch and irrigation |
| Deep shade or heavy tree-root competition | Weak fit | It may improve the soil volume | It will not fix missing sun or aggressive roots stealing moisture |
Raised beds fit best where poor native soil limits roots and the site still has workable light, access, and water movement. They fit poorly where the real limitation is deep shade, roof runoff, or a layout that never supplies enough water once summer heat arrives.
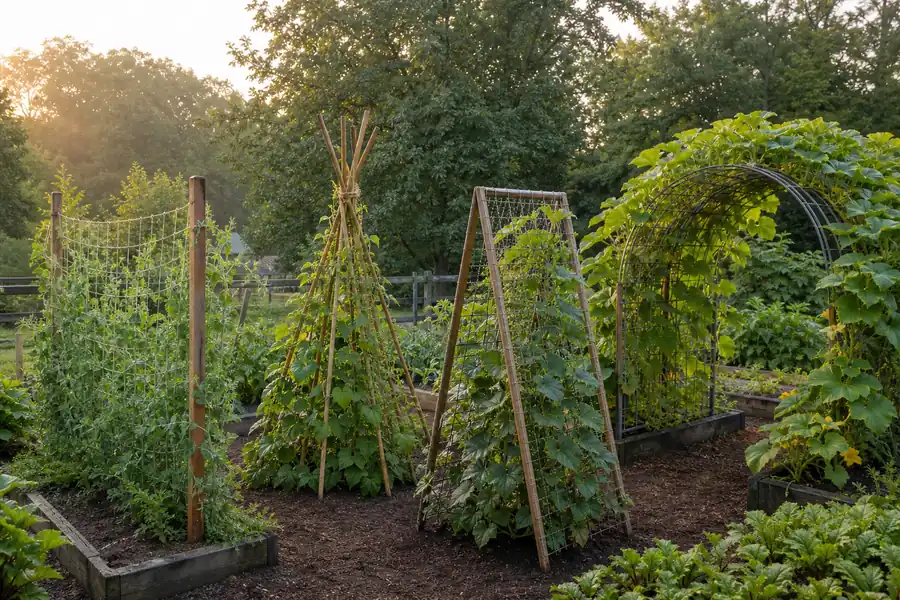
Build The Bed Around Reach, Height, And Permanent Paths
The best raised beds are designed around reach first. Soil quality collapses quickly when the gardener has to step into the bed to weed, plant, or harvest. A narrow bed with a clean path usually outperforms a bigger bed with better lumber and worse access.
Raised beds are usually 2 to 4 feet across and 2 to 12 inches high, which is enough for most home vegetable gardens built over soil. The exact number changes with the problem you are solving. Mild compaction or a small grade lift may need only six to eight inches. More persistent drainage trouble or shallow rubble often benefits from ten to twelve inches. Taller beds earn their cost mainly for accessibility, hard-surface sites, or a genuinely shallow rooting base.
| Build decision | Best rule | Why it works | Common mistake |
|---|---|---|---|
| Width | Keep it around 3 to 4 feet if both sides are reachable | Lets you reach the center without stepping in | Building a bed too wide for routine maintenance |
| Height | Match height to the soil problem, not to a catalog photo | Keeps cost and drying rate in proportion to the need | Building very tall beds by default |
| Length | Use shorter modules when space allows | Easier rotation, easier repair, less warping pressure | One very long bed with poor access around it |
| Paths | Plan permanent walkways before filling the bed | Protects the crop zone from compaction | Treating paths as leftover space |
Multiple moderate beds also manage better than one giant rectangle. Rotation becomes cleaner, irrigation zones become easier to separate, and repairs stay smaller if one wall starts to lean or split.
Choose Materials That Last Without Creating New Soil Problems
Wood remains the easiest material for most home gardens because it is workable, available, and simple to fasten into clean corners. Cedar and other decay-resistant woods last longer. Untreated pine or fir costs less and may still be worth using if you accept earlier replacement. Stone, brick, metal, and composite panels last longer in many climates, though they usually cost more and are harder to resize once installed.
Material choice should answer three questions. Will it last long enough for the effort? Will it stay structurally stable once wet soil pushes outward? Will you be comfortable growing food in contact with it for years?
Micronized copper azole is the most widely available pressure-treated lumber for residential use and does not contain arsenic. That makes it very different from older CCA-treated lumber, railroad ties, creosote-treated timbers, and other salvage materials that have no place in a food garden. If you use treated wood and still want extra separation, line the inside face of the sidewalls only. Leave the bottom open so water and roots can still move downward.

Metal beds earn points for lifespan and clean assembly. They also heat faster in sun, which can help in cool climates and raise drying stress in hot exposed sites. Concrete blocks and brick can work, though they make the project more like masonry than simple garden construction. If the material turns the project into a bigger construction job than the garden needs, a simple wood frame often stays the better answer.
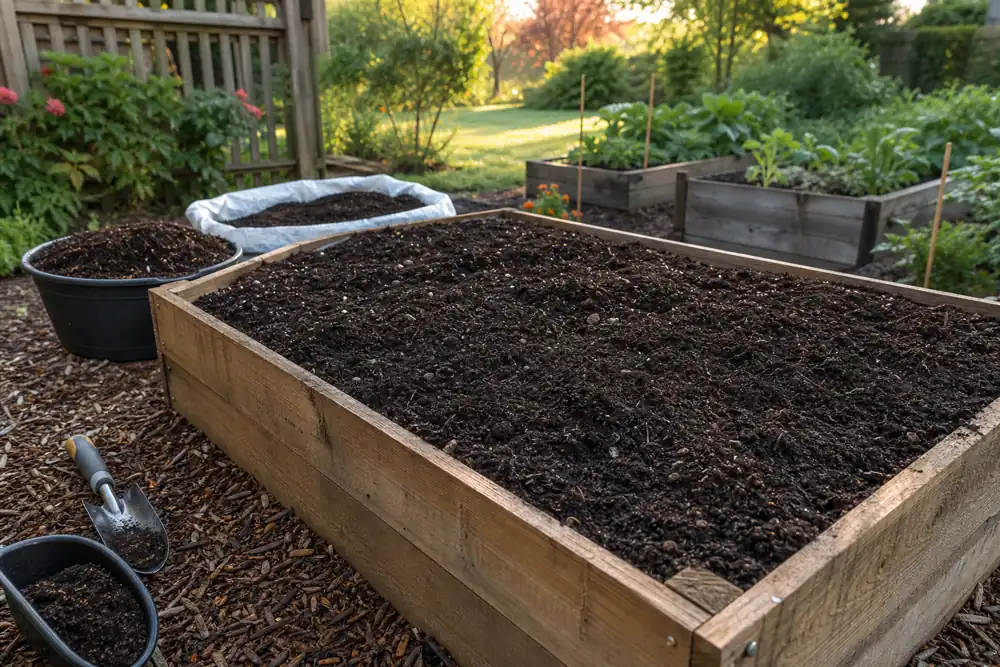
Keep The Bottom Open And Prepare The Ground First
Most raised beds on soil should still connect to the soil below. Roots want to move downward. Water wants a place to go. Earthworms and other soil life want a path into the improved zone. That is why a barrier between raised bed soil and the ground can stunt root growth when the bed sits on a normal soil site.
Start by clearing perennial weeds, old sod, stones, and debris from the footprint. If the top few inches are severely compacted, loosen them once before the frame is filled. Do not turn the site into a dug pit. The point is to open the surface so the raised bed soil can knit into it, not to remix the whole yard.
Skip plastic across the bottom. Skip thick cardboard if the bed needs immediate infiltration. Skip a gravel drainage layer that takes up root space without solving the real site problem. The bed should sit on prepared ground, not on a sealed floor. The one common bottom barrier that does help is hardware cloth where voles, mice, or chipmunks tunnel up into beds regularly.
Hard-surface sites are different. A bed built over pavement, compact gravel, or a patio behaves more like a giant container than like in-ground soil. In that case, the base must drain freely, the soil depth must increase, and irrigation has to be watched much more closely.
Suspected contamination changes the bottom rule. Start by testing soil before growing food where contamination is suspected, use clean imported soil, and avoid blending native soil into the root zone. If the goal is separation instead of drainage improvement, use a durable containment strategy that still lets excess water leave the bed safely and keep surrounding bare soil covered so splash does not keep reintroducing contaminated dust.
How To Build A Raised Garden Bed Over Poor Soil
| Step | What to do | Why it matters | Main failure risk |
|---|---|---|---|
| Choose the location | Pick the best light and drainage before choosing the frame | A raised bed cannot fix deep shade or outside flooding | Treating a location problem as a soil problem |
| Mark the footprint | Keep the bed reachable from the path and lock in permanent walkways | Prevents compaction in the crop zone | Building too wide for routine planting and harvest |
| Clear the surface | Remove sod, perennial weeds, rubble, and debris | Stops regrowth and gives the new soil direct contact with the ground below | Filling over living turf or weed crowns |
| Loosen the top layer | Open the top few inches if the surface is dense and clean | Improves drainage and root connection below the frame | Digging a pit or pulling suspect soil upward into the bed |
| Assemble and level the frame | Fasten corners square and brace long sides before adding soil | Keeps the bed stable as wet soil pushes outward | Filling before the frame is secure |
| Fill the root zone | Use mineral topsoil plus finished compost in the active growing layer | Creates soil that drains, holds water, and supports roots | Using pure compost, potting mix, or a gravel base |
| Water and settle | Moisten the fill, top up low spots, and mulch soon after planting | Reveals settling before crops start depending on the bed | Planting into loose fill that collapses later |
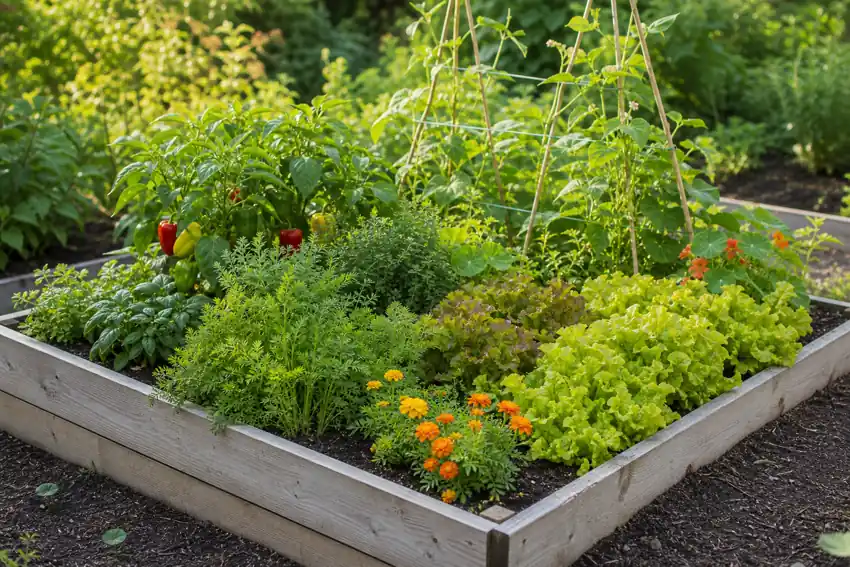
Fill Raised Beds With Soil That Behaves Like Garden Soil
The fill mix decides whether the new bed acts like a healthy root zone or like a spongey box that dries hard in July. Good raised-bed soil still needs mineral soil. Roots need structure, water-holding pores, and enough weight to stay stable around them.

A raised-bed mix around one-half to two-thirds topsoil with one-third to one-half plant-based compost gives most vegetable beds a workable starting point. The exact blend can slide a little with texture and climate, though the rule stays the same: mineral soil first, compost second.
| Site condition | Best fill direction | Use carefully | Avoid |
|---|---|---|---|
| Compacted clay under the bed | Imported loam or sandy loam plus compost | Light blending at the surface only | Pure compost or a gravel layer at the bottom |
| Average native soil that just needs improvement | Good topsoil mixed with finished compost | Modest native soil blending if it is clean and workable | Filling the whole bed with bagged potting soil |
| Suspected contaminated soil | Imported clean topsoil and compost kept separate from the native ground | Testing before mixing anything in | Digging native soil up into the bed by habit |
| Very tall beds over 18 inches | Quality soil mix in the main root zone, with lower-cost bulk fill only deeper below | Coarse woody fill only where settling is acceptable | Expensive premium mix through the entire depth if roots will never use it |
| Hot dry site | Loam-rich mix with compost and fast mulch coverage | Slightly higher mineral fraction | Peat-heavy or bark-heavy mixes that dry out fast |
Too much compost can dry out quickly, repel water when overdry, and raise phosphorus. The warning matters because compost improves a bed, but it does not replace soil. Pure compost settles, swings harder between wet and dry, and can create nutrient excess long before gardeners notice why seedlings are stalling.

Potting soil has the same trap. It belongs in containers and seedling trays. In a large raised bed it often dries too quickly, collapses unevenly, and asks for more irrigation than the site really wanted. If you need extra volume for a very tall bed, reserve your best mineral-rich mix for the active root zone, not the whole height.
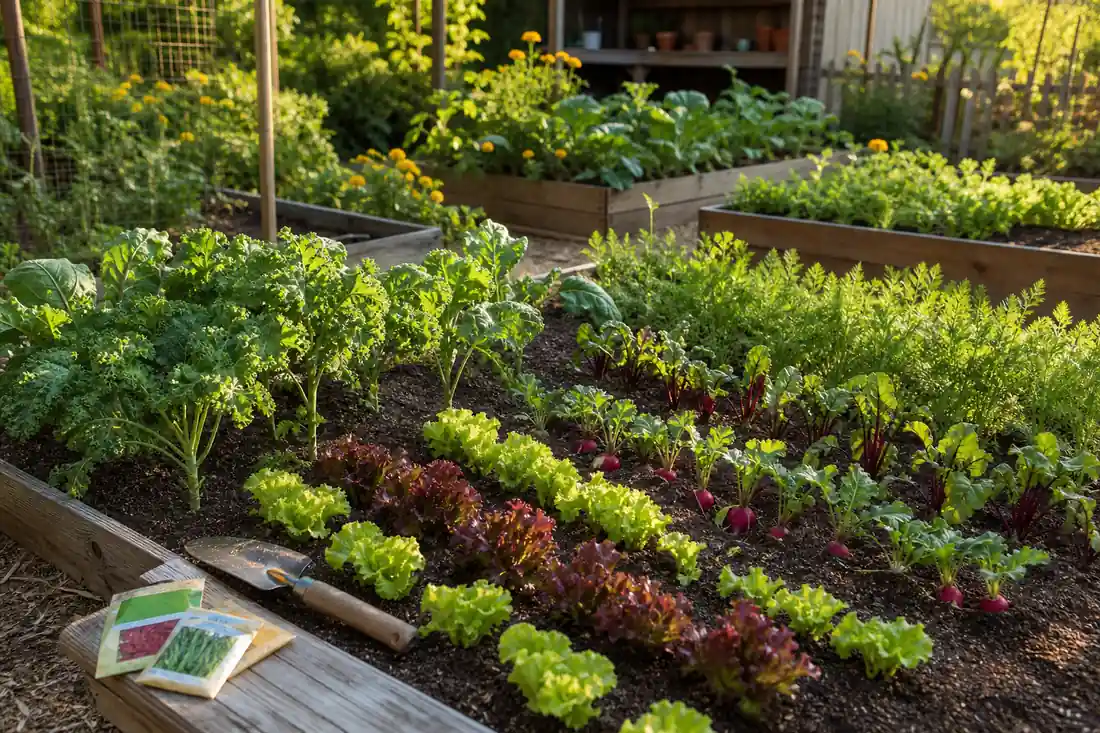
Manage Raised Beds So They Do Not Become Fast-Drying Boxes
Building the bed is the fast part. Managing it is the part that decides whether the soil gets better or starts collapsing by midsummer. Raised beds dry faster than in-ground beds, especially when they are tall, exposed, or sitting in wind. Raised-bed drying is better controlled through stable soil habits: mulch, deeper watering, mineral-rich fill, and restrained compost additions.
A surface layer from mulching for soil health protects the top inch immediately. It cuts splash, slows evaporation, and keeps the fill mix from turning into a hot bare crust. Watering should follow the slower deeper pattern in deep watering techniques for stronger root growth, because roots in a raised bed still need to move down through the full profile instead of clustering in the top few inches.
Fertility also changes after the first fill. Most raised beds need smaller top-up corrections than gardeners expect. Compost can come from composting at home, or from purchased material, though it should still be added as a measured topdress, not a yearly refill. Amending soil with organic matter works best when compost is used to maintain structure and fertility without replacing the mineral soil base.
Raised beds also need the same discipline as in-ground gardens. Do not step in them. Do not keep re-tilling them. Rotate crops between beds when possible, especially for vegetables from the same family. Crop rotation principles help manage disease pressure and nutrient demand, which is one reason several smaller beds often outperform one giant one.
If the surrounding site still stays soggy, route water away or correct the grade around the bed. A raised bed can lift the root zone, though it cannot keep fixing the same exterior flooding over and over. Soil drainage solutions should correct the flow path before box construction is expected to solve repeated flooding.
Start With The Native Soil Problem, Not The Frame
Your soil stays wet and sticky long after rain. Start with a moderate-height bed over loosened ground, keep the bottom open, and build the surrounding grade so outside water does not keep pouring in.
Your soil is compacted, disturbed, and full of rubble from construction. Start with a bed narrow enough to reach easily, imported loam plus compost, and permanent paths so the new soil never gets stepped back into the same problem.
Your site is suspected of contamination. Start with testing, then separate clean imported soil from the native surface without casually blending the old soil into the new root zone.
Your site is hot, windy, and already short on water. Start by asking whether a raised bed will help enough to justify the faster drying. If you still build one, keep the height moderate, mulch early, and plan irrigation before planting day.
Your native soil is decent and the real limitation is shade, root competition, or poor layout. Start with location and bed placement first. A framed bed may still look good there, though it will not solve the main reason the garden struggles.
Conclusion
Raised beds earn their cost when they solve a real native-soil limitation. Compaction, drainage trouble, shallow rubble, and suspect soil all make a stronger case than simple aesthetics. The better result usually comes from sizing the bed for reach, filling it with real soil, leaving the bottom open on normal sites, and managing it with mulch, deeper watering, and restraint.
The strongest raised bed is the one whose soil stays open, drains well, roots deeply, and avoids a full rebuild every spring.
FAQ
How deep should a raised bed be for vegetables?
Many vegetables do well in beds around 8 to 12 inches deep when the ground below is open and workable. Shallow-rooted greens can manage in less. Carrots, tomatoes, and sites with poor native soil benefit from more depth. Very tall beds make the most sense for accessibility or hard-surface sites.
How do you build a raised bed over poor soil?
Choose a sunny site, mark a reachable width, clear sod and perennial weeds, loosen the compacted surface if it is clean, assemble a stable level frame, keep the bottom open on normal soil sites, and fill the bed with mineral topsoil plus finished compost. If contamination is suspected, test first and keep clean imported soil separate from the native ground.
What is the best soil to put in a raised garden bed?
A good starting mix is mineral topsoil plus finished compost, with topsoil making up about one-half to two-thirds of the blend and compost the rest. The goal is a loose crumbly soil that still behaves like soil, not pure compost or fluffy potting mix.
What should I put at the bottom of a raised bed?
On normal soil sites, the best bottom is usually prepared ground with sod and weeds removed, not plastic or gravel. Landscape fabric across the base is usually unnecessary as well. Hardware cloth is the exception when burrowing rodents are a real problem. Beds over pavement or patios are a different case and need a permeable draining base.
Are raised beds better for clay soil?
Yes, often. They lift roots above the wettest layer and let you build a better top profile faster. They still work best when outside runoff is controlled. A raised bed placed in a low spot that keeps flooding will struggle even if the fill mix is good.
Can I use pressure-treated wood for raised garden beds?
Modern residential pressure-treated lumber is different from older arsenic-treated wood. Many gardeners still prefer cedar or other untreated materials for peace of mind. Avoid old CCA lumber, railroad ties, creosote-treated wood, and random industrial salvage in food gardens.
How often should I add compost to a raised bed?
Usually as a measured topdress, not as a full refill. Many beds need only a modest layer each season or even less if the soil already holds structure and fertility well. Heavy annual compost loading can push phosphorus too high and make the bed behave less like balanced garden soil.
Do raised beds dry out faster than in-ground beds?
Yes. The taller and more exposed the bed, the faster that usually happens. Mulch, slower deeper watering, and a mineral-rich fill mix help control that drying better than frequent shallow irrigation.