A single squash plant can yield up to 10 pounds of flavorful, nutrient-rich produce, making it a highly productive crop for home gardeners. The growth cycle of squash follows a clear sequence of developmental stages, each contributing directly to plant health, fruit set, and final yield.
Regardless of experience level, understanding the squash growth stages is fundamental for effective crop management and consistent harvest quality.
Key Takeaways:
- Each squash plant can yield up to 10 pounds of fruits.
- Understanding the growth stages is vital for successful squash cultivation.
- The journey from seed to squash involves distinct phases that contribute to a bountiful harvest.
Table of Contents
Stage 1 – Seed Germination – Initiating Growth
Seed germination marks the beginning of a squash plant’s development. For successful emergence, three environmental factors must be carefully managed – temperature, moisture, and light exposure.
- Temperature – Optimal germination occurs between 70°F and 90°F (21°C–32°C). Maintaining consistent warmth within this range accelerates enzyme activity and seedling emergence.
- Moisture – Uniformly moist soil activates the seed’s internal growth processes. Avoid both desiccation and oversaturation, as they can delay or entirely prevent germination.
- Light – Squash seeds germinate most effectively in darkness. Covering them with approximately 1 inch (2.5 cm) of soil protects the seeds while maintaining the preferred low-light conditions.
Along with the right conditions, knowing the proper planting depth and spacing for squash seeds is crucial for their successful growth.
Plant squash seeds 1 inch (2.5 cm) deep in well-drained soil to support early root expansion and shoot emergence. Maintain a spacing of 2 feet (60 cm) between plants to ensure each has sufficient access to light, air, and nutrients during early development.
To improve germination rates, consider pre-soaking squash seeds in water for 6 to 12 hours before planting. This softens the seed coat and promotes quicker hydration uptake. Additionally, using a humidity dome or plastic wrap over seed trays can help maintain optimal moisture and temperature levels indoors.
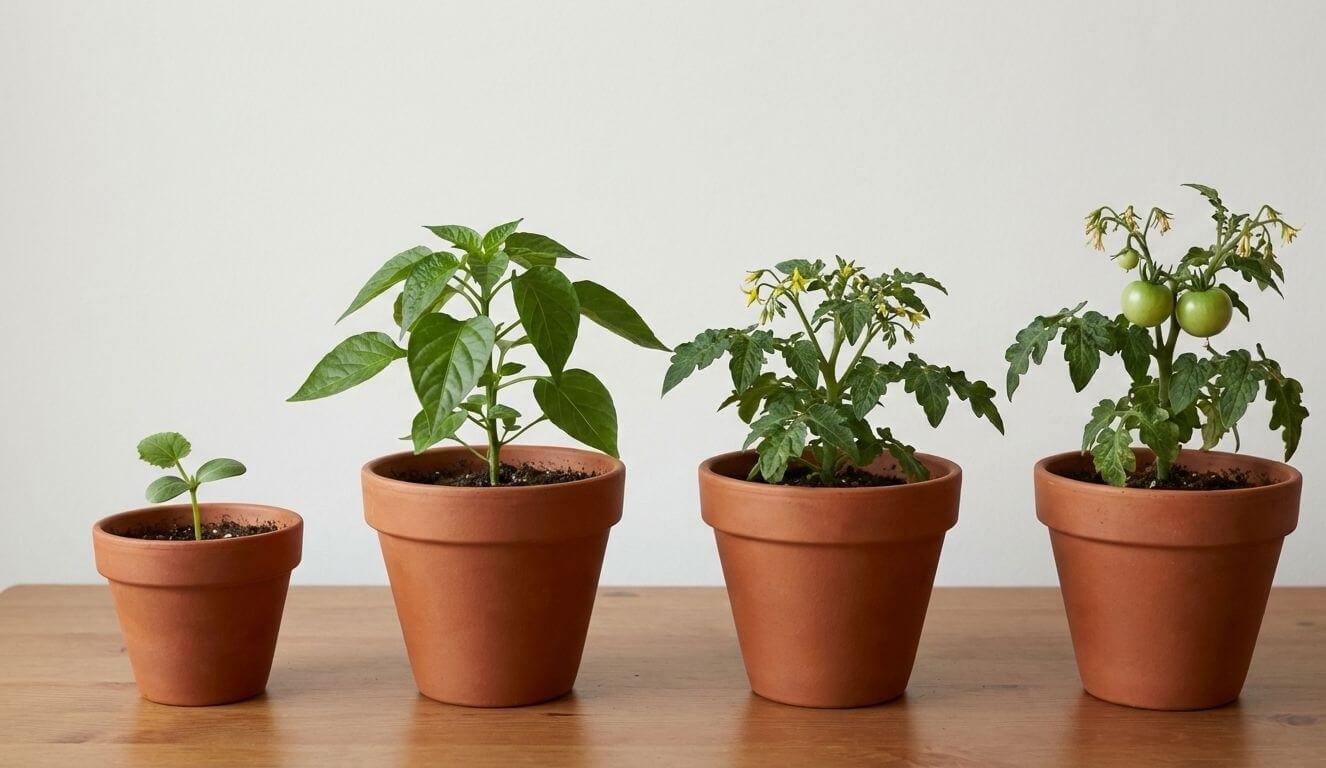
Stage 2 – Seedling Development – Rooting and Early Structure
Following germination, squash plants enter the seedling phase, where rapid root development and leaf formation take precedence. Transplanting at the right moment allows young plants to establish themselves in nutrient-rich soil and access sunlight essential for photosynthesis.
Transplanting Squash Seedlings
Transplant squash seedlings only after they have developed a dense root network and produced at least two sets of true leaves. This timing reduces transplant shock and improves post-transplant establishment rates.

Choose a transplant site that receives at least 6 hours of direct sunlight per day and features well-drained, organically enriched soil. Dig a hole large enough for the root ball, keeping the seedling at the same depth as in its container. Lightly firm the soil around the base to eliminate air pockets without compacting the soil excessively.
Early Care Tips – Watering and Weeding
The first weeks after transplanting are critical. Maintaining consistent moisture levels and minimizing competition from weeds directly impacts seedling vigor and survival.
- Watering squash seedlings – Provide moderate, consistent irrigation to keep the soil moist but not saturated. Overwatering increases the risk of root rot and fungal infections, while underwatering slows root establishment.
- Weeding squash plants – Suppress weeds early using manual removal or shallow cultivation. Avoid disturbing the topsoil near seedlings, as their young roots are highly sensitive to disruption.
Applying a thin organic mulch layer – such as straw, compost, or shredded leaves around the seedlings can help retain moisture, regulate soil temperature, and minimize weed emergence. Avoid direct contact between mulch and stems to prevent rot and pest issues.
By transplanting squash seedlings strategically and providing proper care, such as regular watering and effective weed control, gardeners can set their plants up for success during the seedling phase.
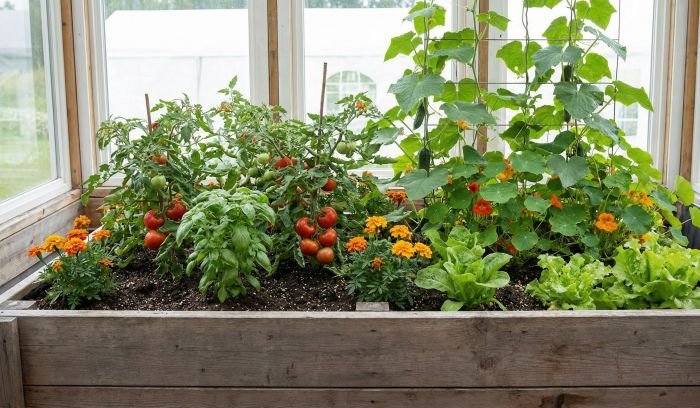
Stage 3 – Vegetative Growth – Expanding Foliage and Vine Structure
In the vegetative phase, squash plants allocate energy toward expanding their leaves, stems, and vine network. This vigorous growth stage creates the structural base required for efficient photosynthesis and future fruit support.
Optimal Soil and Sunlight Conditions
Optimal vegetative growth depends on soil quality and consistent sun exposure, both of which influence photosynthetic efficiency and nutrient uptake.
Soil – Use well-drained, loamy soil with a pH between 6.0 and 7.0. Conducting a pre-planting soil test helps determine nutrient availability and allows for early adjustment with compost or amendments as needed.
Sunlight – Provide full sun for a minimum of 6 to 8 hours daily to sustain leaf development and promote carbohydrate production critical for future fruiting.
Managing Nutrition and Irrigation
Proper nutrition and irrigation practices play a vital role in ensuring the health and vitality of squash plants during the vegetative stage.
Nutrition – Squash plants demand high nitrogen levels during early growth. Apply a balanced fertilizer (e.g., 10-10-10 or 5-10-10) and supplement with compost or organic matter. Monitor for signs of deficiency, such as pale leaves or stunted growth, and adjust accordingly.
Irrigation – Maintain consistent soil moisture using drip systems or soaker hoses to reduce fungal disease risk. Water deeply but infrequently to encourage deeper root growth and improve drought tolerance. Avoid overhead watering to limit pathogen spread on leaves.
Periodic pruning of lower leaves and overcrowded growth during the vegetative stage can improve air circulation and reduce the risk of powdery mildew. Use sanitized tools to avoid spreading disease between plants. Pruning should be minimal to prevent stressing the vines during active expansion.
Stage 4 – Flowering and Fruiting – From Pollination to Fruit Development
The flowering and fruiting stage marks the reproductive phase of squash plants. Successful pollination and proper care during this period directly influence fruit quality, quantity, and shape. Recognizing flower types and supporting fruit set are critical to maximizing yield.
Encouraging Pollination and Fruit Set

Pollination is essential for squash fruit formation. Since squash plants produce separate male and female flowers, pollen must be transferred from the male anther to the female stigma, typically facilitated by bees or other pollinators.
To enhance pollination, plant nectar-rich, bee-friendly flowers nearby to attract bees and maintain a shallow water source for pollinators. In low-activity areas, use a small brush or cotton swab to manually transfer pollen, mimicking natural pollination.
Supporting fruit set requires stable moisture levels and nutrient availability, particularly phosphorus and potassium. Apply a low-nitrogen, high-phosphorus fertilizer and maintain consistent irrigation to prevent fruit abortion.
Identifying and Solving Common Issues
While squash plants are generally resilient, they can face common issues during the flowering to fruiting stage. It’s important to be able to identify and address these issues promptly to ensure the success of your crop.
- Poor pollination – Misshapen or absent fruits often indicate incomplete pollination, commonly caused by heat stress, rain, or insufficient pollinator activity. In such cases, daily hand-pollination during early morning hours improves fruit development rates.
- Blossom end rot – Аppears as dark, sunken lesions on the flower end of squash fruits. It results from calcium imbalance, usually triggered by erratic watering. Apply calcium-rich amendments like gypsum and maintain even soil moisture to prevent occurrence.
- Squash vine borers – Тunnel into stems near the soil line, causing wilting and vine collapse. Inspect regularly for frass and small entry holes, and remove larvae manually or inject Bacillus thuringiensis (Bt) for organic control.
Temperature fluctuations above 90°F (32°C) or below 60°F (15°C) during flowering can negatively impact pollination and fruit set. Consider using shade cloth during heatwaves or row covers during cold spells to protect blossoms and maintain pollinator activity.
By understanding the pollination process, promoting fruit set, and identifying common issues, you can set the stage for a successful harvest of delicious squash fruits. Stay vigilant and provide the necessary care to ensure that your plants thrive during this critical stage.
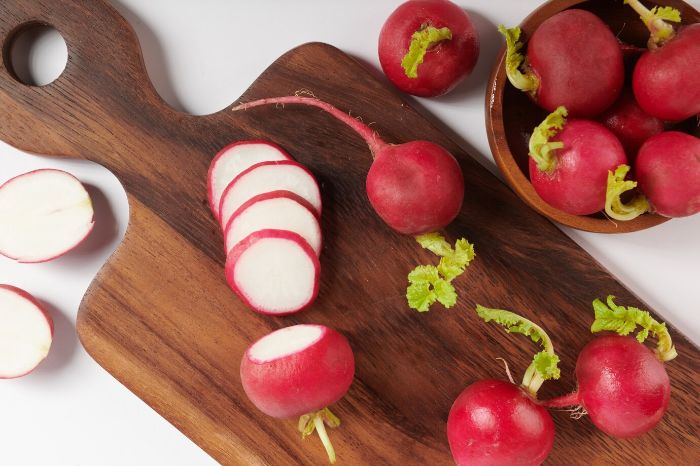
Stage 5 – Harvesting – Timing and Techniques for Peak Quality
Harvesting represents the final stage in squash cultivation, where timing directly impacts texture, flavor, and storage potential. Identifying ripeness indicators and applying correct harvest methods ensures the highest post-harvest quality. In this section, we will discuss how to determine when your squash is ready to harvest and provide tips on harvesting techniques to ensure the best possible quality.
Signs Your Squash is Ready to Harvest
Determining the correct harvest window is critical to maximizing both shelf life and taste. Key indicators vary depending on whether you’re growing summer or winter squash:
Summer Squash (e.g., zucchini, yellow squash):
- Harvest at 6–8 inches (15–20 cm) long, while skin remains tender and glossy.
- Overripe fruits become seedy and develop tougher skins, reducing culinary quality.
Winter Squash (e.g., butternut, acorn):
- Harvest when skin hardens and resists pressure from a thumbnail.
- Color should be deep and uniform; the stem should appear dry and corky.
- Avoid harvesting immature squash, as they will not ripen off the vine.
Harvesting Techniques for Best Quality
To ensure the best possible quality when harvesting squash, follow these practices:
- Use sanitized pruning shears or a sharp knife to cut squash cleanly from the vine, retaining 1–2 inches (2.5–5 cm) of stem to reduce post-harvest decay. Never twist fruits off, as this can damage the plant and introduce pathogens.
- Handle harvested squash carefully to avoid bruising, which accelerates spoilage and encourages fungal infections during storage.
- After harvesting, promptly remove any dirt or debris from the squash’s surface to prevent the growth of harmful bacteria.
- Cure winter squash for 10–14 days in a warm (80–85°F / 27–29°C), well-ventilated area before transferring to long-term storage at 50–55°F (10–13°C). Summer squash lacks a hard rind and should be refrigerated and consumed within a week for optimal freshness.
Avoid harvesting during or immediately after rainfall, as wet conditions increase the risk of surface mold and damage the protective outer layer. Always allow fruits to dry fully before storage, and inspect each squash for signs of cracking or rot.
Conclusion
Successfully cultivating squash requires more than planting seeds and waiting for harvest – it demands a stage-by-stage understanding of how plants grow, adapt, and respond to care. From optimizing germination conditions to managing nutrient uptake, supporting pollination, and using precise harvesting techniques, each phase contributes to the final outcome. Recognizing common issues early, adjusting your approach based on plant signals, and applying consistent, science-based care are the key differences between average and outstanding results.
Whether you’re aiming for maximum yield, flavor, or resilience, adopting an informed, methodical approach ensures your squash plants meet their full potential. Keep observing, keep adjusting, and let each growing season teach you more – your garden will reward you with better harvests every time.
FAQ
What are the different growth stages of squash?
The different growth stages of squash include seed germination, seedling phase, vegetative stage, flowering to fruiting stage, and harvest.
What are the ideal conditions for squash seed germination?
Squash seeds require specific conditions for successful germination, including proper temperature, moisture, and light.
How deep should I plant squash seeds and how much spacing should I provide?
Squash seeds should be planted at a depth of about 1 inch and spaced at least 2 to 3 feet apart.
How do I transplant squash seedlings?
When transplanting squash seedlings, make sure to carefully handle the roots, provide adequate water, and choose a suitable spot in the garden with enough sunlight.
What are the soil and sunlight requirements for the vegetative stage of squash plants?
Squash plants thrive in well-draining soil rich in organic matter and require at least 6 hours of direct sunlight each day.
How do I determine when my squash is ready to harvest?
Look for signs such as the squash reaching maturity, having a consistent color, and a hard rind when gently pressed, indicating that it is ready for harvest.