Did you know that kale belongs to the same family as broccoli, cauliflower, and Brussels sprouts? This leafy green vegetable is not only packed with nutrients like vitamin K and vitamin C but also offers various health benefits. Whether you’re a gardening enthusiast or looking to start your own vegetable garden, understanding the key stages of kale plant growth and how to care for it is essential for successful cultivation.
In this article, we will delve into the different stages of kale plant growth, from seed germination to the maturing phase, and provide you with comprehensive care instructions for each stage. By following these guidelines, you’ll be able to optimize the growth and yield of your kale plants while ensuring they remain healthy throughout their lifecycle.
Key Takeaways:
- Kale belongs to the same family as broccoli, cauliflower, and Brussels sprouts.
- Understanding the key stages of kale plant growth and proper care is crucial for successful cultivation.
- Kale is a nutrient-rich vegetable that offers various health benefits.
- This article will guide you through the different stages of kale plant growth and provide detailed care instructions.
- By following these guidelines, you can optimize the growth and yield of your kale plants.
Table of Contents
Germination Stage – Starting Kale from Seeds
The germination stage is the first step in growing kale from seeds. It is a crucial phase where the tiny seeds sprout and develop into seedlings. Understanding the ideal conditions for kale seed germination and implementing proper sowing techniques can greatly enhance germination rates, ensuring a successful start to your kale growing journey.
Ideal Conditions for Kale Seed Germination
To promote successful kale seed germination, providing the ideal conditions is key. Here are a few factors to consider:
- Temperature – Kale seeds germinate best in soil temperatures ranging from 50°F to 75°F (10°C to 24°C). Keep the soil consistently warm to encourage germination.
- Moisture – Moisture is crucial for seed germination. Keep the soil consistently moist, but not waterlogged, to provide the right level of hydration for the seeds.
- Lighting – Kale seeds do not require light to germinate. In fact, they prefer to be kept in a dark environment during germination. Place a cover or plastic wrap over the germination tray to block out light until the seeds have sprouted.
By maintaining these ideal conditions, you will create a favorable environment for kale seed germination, increasing the chances of successful sprouting.
Sowing Techniques for Best Germination Rates
Implementing proper sowing techniques can significantly improve germination rates and set your kale seeds on the path to successful growth. Here are a few techniques to consider:
- Seed Depth – Sow kale seeds at a depth of approximately ¼ inch (0.6 cm) for optimal germination. Planting too deep or shallow can affect sprouting.
- Spacing – Ensure proper spacing between seeds to provide adequate room for each seedling to grow. Aim for a spacing of 6 to 12 inches (15 to 30 cm) between kale plants.
- Seed Treatment – Some gardeners choose to soak kale seeds in water for a few hours before sowing to help speed up germination. This technique can be especially useful if your seeds have a hard outer coating.
- Germination Tray – Consider using a germination tray or seedling tray with individual cells to give each seed ample space and prevent crowding. This promotes better air circulation and minimizes the risk of damping off disease.
By following these sowing techniques, you can increase the germination rates of your kale seeds and ensure a higher success rate in the early stages of growth.
Seedling Stage – Young Plant Care
Once your kale seeds have germinated and developed into seedlings, they require specific care to ensure their healthy growth. This stage is crucial for establishing a strong foundation for your young kale plants.
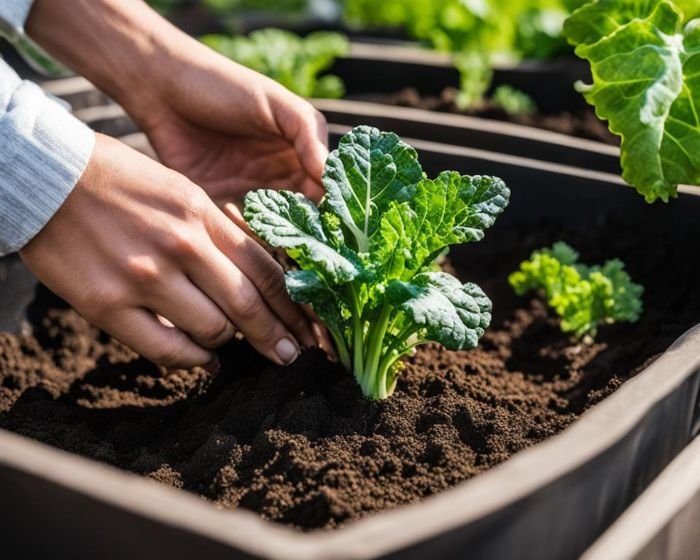
Transplanting Kale Seedlings
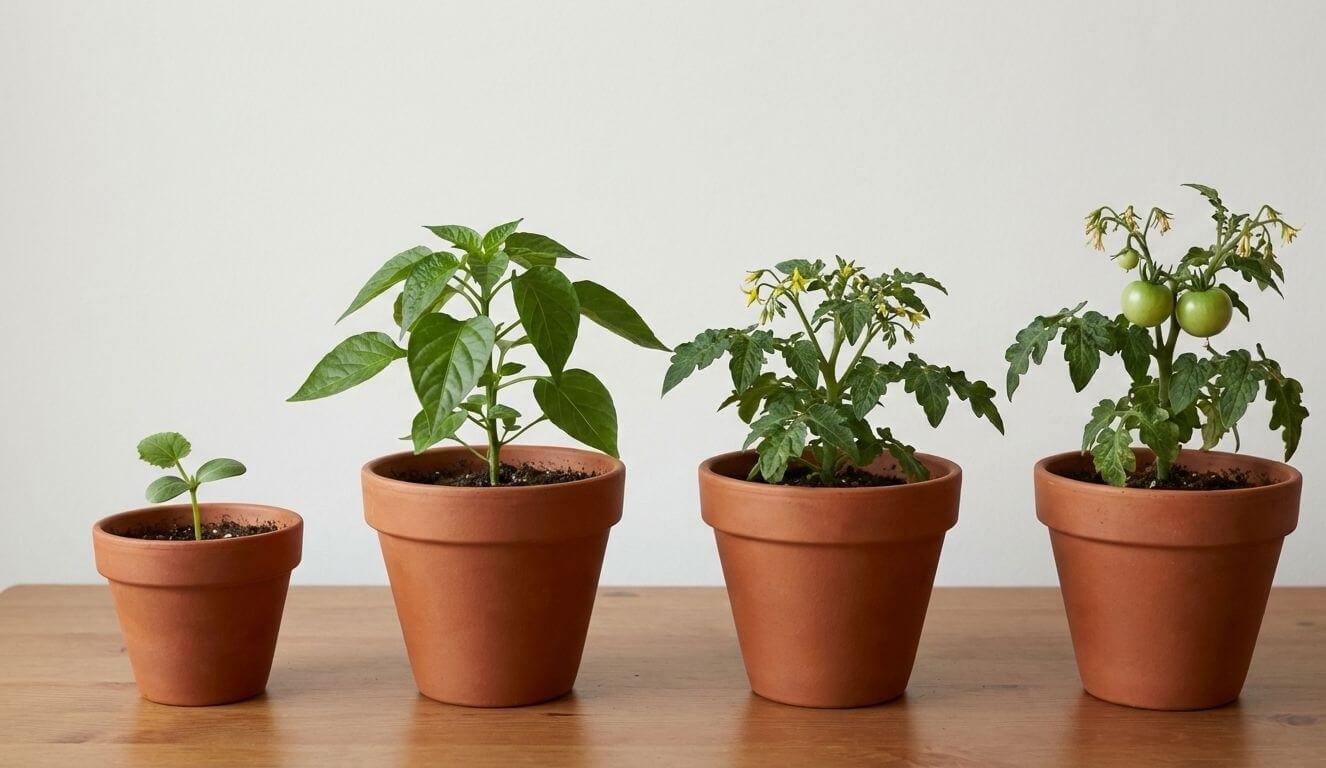
Transplanting kale seedlings is an important step in their growth journey. When your seedlings have developed their first few sets of true leaves and are about 2-3 inches tall, they are ready to be moved to their permanent location.
To transplant your kale seedlings, choose a well-drained area in your garden that receives full sun or partial shade. Dig holes that are slightly larger than the root balls of your seedlings, ensuring adequate spacing between each plant. Gently remove the seedlings from their containers, being careful not to damage the roots, and place them in the prepared holes.
Initial Watering, Lighting, and Soil Requirements
Proper watering, lighting, and soil conditions are essential for the successful growth of kale seedlings.
- Watering – Kale seedlings should be kept consistently moist but not waterlogged. Water them regularly, ensuring the soil is evenly moist. Avoid overwatering, as it can lead to root rot and other issues.
- Lighting – Kale seedlings require at least 6-8 hours of direct sunlight or bright, indirect light daily. If you don’t have access to sufficient natural light, you can use fluorescent grow lights placed 6-12 inches above the seedlings.
- Soil – Kale seedlings thrive in well-draining soil that is rich in organic matter. Before planting, amend the soil with compost or well-rotted manure to improve its fertility and drainage. Aim for a soil pH between 6.0 and 7.5, as kale prefers slightly acidic to neutral soil.
By providing your kale seedlings with the right conditions for transplanting, initial watering, lighting, and soil requirements, you will give them the best chance to thrive and grow into healthy, productive plants.
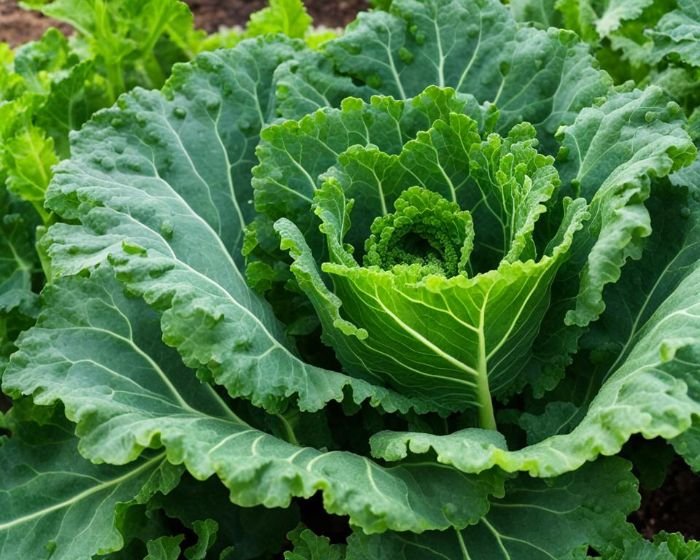
Vegetative Stage – Leaf Development
The vegetative stage is a critical phase in the growth of kale plants as it is when the focus shifts towards leaf development. During this period, the plants undergo significant growth and produce an abundance of nutrient-rich leaves.
Nutrient Needs for Growing Kale
To support healthy leaf development, kale plants have specific nutrient requirements. Providing the right balance of nutrients will ensure vigorous growth and maximize the nutritional value of the leaves. Key nutrients for kale plants include nitrogen, phosphorus, and potassium.
Nitrogen promotes leaf growth and enhances the vibrant green color of the leaves. It is essential to provide a steady supply of nitrogen throughout the vegetative stage. This can be achieved through the use of organic fertilizers or nitrogen-rich amendments such as compost or aged manure.
Phosphorus plays a crucial role in root development and overall plant health. Adequate phosphorus levels contribute to stronger stems and more robust leaf production. Incorporating phosphorus-rich fertilizers or bone meal into the soil during planting can ensure the availability of this important nutrient.
Potassium aids in various plant functions, including water regulation, disease resistance, and photosynthesis. It is vital for kale plants to have sufficient potassium to support the growth and development of healthy leaves. Potash-rich fertilizers or wood ash can be added to the soil to increase potassium levels.
Common Pests and How to Manage Them
While kale plants are generally resilient, they can still fall victim to common pests that can damage the leaves and hinder growth. Being proactive in pest management is crucial to maintain the health and productivity of your kale plants.
Aphids are a common pest that can deform and stunt kale leaves. To control aphid infestations, regularly inspect the plants for signs of these tiny insects and remove them manually. Alternatively, use insecticidal soaps or neem oil to deter aphids.
Cabbage loopers are caterpillars that feed on kale leaves, leaving behind unsightly holes and damage. Handpicking the caterpillars and applying Bacillus thuringiensis (Bt) can effectively control cabbage loopers.
Flea beetles are another pest that can damage kale leaves by creating small holes. Employing floating row covers or using insecticides labeled for flea beetles can help manage these pests.
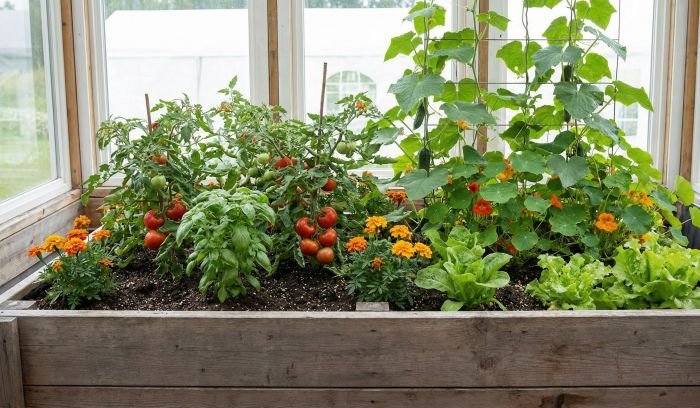
Incorporating companion plants such as marigolds and nasturtiums can also deter common kale pests. Their strong scent and pest-repelling properties act as natural deterrents.
By understanding the nutrient needs of growing kale and implementing effective pest management strategies, you can ensure the healthy leaf development and overall vitality of your kale plants.
Maturing Phase – Preparing for Harvest
As your kale plants enter the maturing phase, it’s time to prepare them for harvest. This phase is crucial for ensuring that you harvest the kale at the peak of its flavor and nutritional value. By following the proper techniques, you can maximize your kale yield and enjoy delicious, leafy greens.
When and How to Transition Kale for Harvesting
Knowing when and how to transition your kale plants for harvesting is key to obtaining the best results. The timing will depend on the specific variety of kale you are growing, as well as the desired taste and texture. For most kale varieties, harvesting can begin when the leaves have reached a length of 8-10 inches or are about the size of your hand.
To begin the transition, start by cutting off the outer leaves of the kale plant, leaving the smaller central leaves intact. This process, known as selective harvesting, allows the remaining leaves to continue growing and producing more leafy greens. By harvesting the outer leaves first, you can ensure a continuous supply of fresh kale throughout the growing season.
Tips for Encouraging Full, Leafy Growth
To encourage full, leafy growth in your kale plants, it is important to provide them with the proper care and attention. Here are some tips to promote vigorous growth:
- Ensure your kale plants receive an adequate amount of sunlight, ideally around 6-8 hours of direct sunlight per day.
- Water your kale plants regularly, keeping the soil consistently moist. Aim for around 1 inch of water per week to prevent the leaves from becoming dry and brittle.
- Apply a balanced fertilizer, rich in nitrogen, every 4-6 weeks to provide the necessary nutrients for leaf development.
- Monitor your plants for any signs of pests or diseases, as they can hinder growth. Implement appropriate pest control measures if necessary.
- Regularly remove any yellow or damaged leaves to maintain the overall health of the plant and encourage new growth.
By implementing these tips, you can ensure that your kale plants thrive during the maturing phase and produce abundant, lush leaves for a successful harvest.
Harvesting and Post-Harvest Care
Harvesting and post-harvest care are crucial for maintaining the quality and freshness of your kale leaves. In this section, we will discuss techniques for harvesting kale leaves and provide guidance on how to store kale to maintain its freshness and extend its shelf life.
Techniques for Harvesting Kale Leaves
Harvesting kale leaves should be done carefully to ensure the plant continues to grow and produce throughout the season. To harvest kale, follow these techniques:
- Start harvesting kale leaves when they reach a desirable size and texture. Generally, this is when the leaves are around 8-10 inches long and have a rich, dark green color.
- Use clean, sharp garden shears or scissors to cut the outer leaves of the plant at the base, leaving the inner leaves to continue growing.
- Avoid cutting the central growing point of the kale plant, as this will hinder further leaf production.
- Harvest leaves from the bottom of the plant first, working your way up as needed.
- Regularly harvest mature leaves to encourage new growth and prevent the plant from bolting.
By following these techniques, you can ensure a continuous supply of fresh kale leaves throughout the growing season.
Storing Kale to Maintain Freshness
Proper storage is essential to maintain the freshness and quality of harvested kale leaves. Follow these guidelines to store kale:
- Begin by thoroughly washing the kale leaves to remove any dirt or debris.
- Gently pat the leaves dry using a clean towel or paper towel.
- Wrap the kale leaves loosely in a damp paper towel to help retain moisture.
- Place the wrapped kale in a plastic bag or an airtight container.
- Store the kale in the refrigerator’s crisper drawer, which provides a cool and humid environment.
- Use the stored kale within 5-7 days for optimal freshness and flavor.
By following these storage guidelines, you can maintain the crispness and nutritional value of your harvested kale leaves for an extended period.
Conclusion
In conclusion, growing kale requires understanding and nurturing the plant through its different stages of growth. By following the key stages and care instructions outlined in this article, you can ensure the successful growth of your kale plants and enjoy a bountiful harvest of nutritious kale leaves.
Starting with the germination stage, it’s crucial to provide ideal conditions such as the right temperature, moisture, and lighting for your kale seeds to sprout. Sowing techniques can also enhance germination rates for optimal plant growth. Once the seeds have germinated and developed into seedlings, careful transplanting, along with proper watering, lighting, and soil conditions, will establish a strong foundation for your young kale plants.
The vegetative stage is when kale focuses on leaf development, so meeting their nutrient needs is vital. Fertilizers and soil amendments can provide the necessary nutrients and promote healthy growth. However, be aware of common pests that can affect kale plants, and employ effective pest management strategies to prevent infestations and maintain the plant’s health.
As your kale plants reach the maturing phase, you need to know when and how to transition them for harvesting. Timing is crucial for harvesting different varieties, and encouraging full, leafy growth will maximize your harvest. Finally, proper techniques for harvesting kale leaves and post-harvest care, including storing the harvested leaves to maintain freshness, are essential for preserving the quality of your kale.
By implementing these key takeaways for growing kale, you can nurture your plants from seed to harvest and enjoy a continuous supply of this nutritious leafy green. Remember, providing optimal conditions, meeting their needs, and managing potential challenges will help you grow healthy kale plants and reap the rewards of this versatile vegetable.
FAQ
What are the key stages of kale plant growth?
The key stages of kale plant growth include germination, seedling, vegetative, maturing phase, and harvesting.
How can I care for kale seeds during the germination stage?
During the germination stage, it is important to provide the ideal conditions for kale seed germination, including temperature, moisture, and lighting requirements. Using sowing techniques that promote high germination rates can also be helpful.
What are the nutrient needs of growing kale?
During the vegetative stage, kale plants focus on leaf development and require adequate nutrients. Fertilizers and soil amendments can be used to meet the nutrient needs of growing kale. It is also important to be aware of common pests that can affect kale plants and to have strategies in place for managing and preventing pest infestations.
When and how should I transition kale plants for harvesting?
As kale plants mature, they enter the phase where they are preparing for harvest. Proper timing and techniques for transitioning kale for harvesting are important to ensure the best flavor and texture. Additionally, tips for encouraging full, leafy growth will result in a bountiful harvest of nutritious kale leaves.
What are the techniques for harvesting kale leaves?
Harvesting kale leaves requires proper cutting methods and following specific harvesting intervals. Using the right techniques will help maintain the quality and freshness of the leaves. It is also important to know how to store kale to extend its shelf life and preserve its freshness.