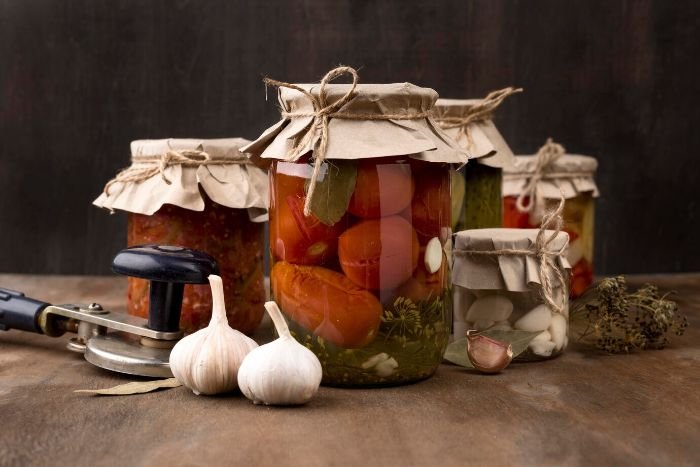
Home canning lets you enjoy garden veggies long after harvesting. It’s more than a tradition. It’s a way to keep your favorite vegetables safe to eat. We’ll look at how to make sure your preserves are tasty and safe.
Key Takeaways:
- Home canning is a safe and effective method to preserve your garden vegetables.
- By following proper canning practices, you can ensure the longevity and safety of your preserved foods.
- Canning offers numerous benefits, including reduced food waste and the ability to control the ingredients in your preserved goods.
- Understanding the canning process, equipment, and techniques is essential for successful home canning.
- Proper storage and regular inspection of your canned vegetables help maintain their quality and prevent spoilage.
Table of Contents
Introduction to Home Canning
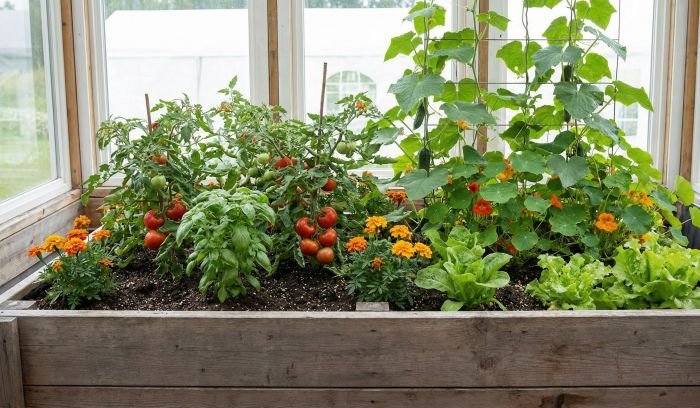
Home canning lets you keep your garden’s vegetables tasty and nutritious all year. It’s a fun way to use your garden’s bounty wisely and cut down on food waste. Keep in mind to follow safe canning steps for long-lasting and safe results.
The Benefits of Canning Your Garden Vegetables
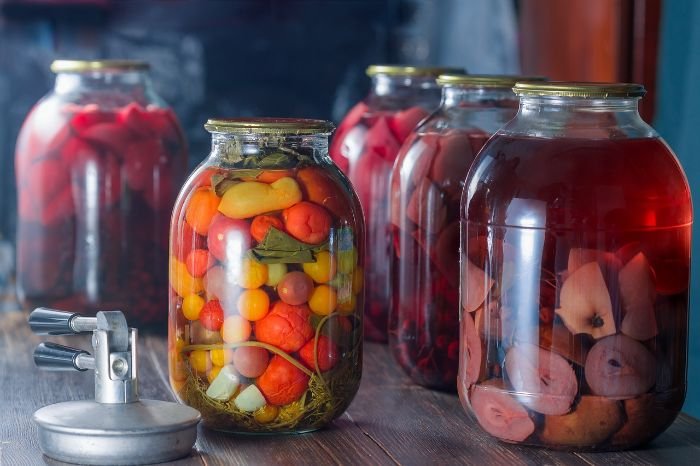
Canning at home has many perks. You get to save your veggies at their peak, making them super fresh and yummy later on. It saves money by letting you buy produce in bulk or at low prices. You also control what goes into your canned foods, fitting them to your liking and needs.
Canning is also a great way to not waste food. When you have too many veggies, preserve them. This way, you ensure they don’t spoil, and have handy, healthy options even when fresh produce is scarce.
Overview of Safe Canning Practices
Safe canning means you keep away harmful bacteria and keep your food top quality. The USDA shares safe canning tips. Always use trusted recipes and measure ingredients carefully as advised.
Remember, how you can your food depends on its acidity level. Tomatoes and pickles, which are high in acid, are perfect for water bath canning. For low-acid foods like veggies and meats, you’ll need a pressure canner to seal them safely.
Making sure your jars, lids, and tools are clean is key to avoid contamination. Before canning, give everything a good look and throw out any damaged jars or lids. Stick to the rules on processing times, headspace, and cooling as written in the recipes.
Learn about the plus sides of home canning and the safety steps needed. This way, you can relish your garden’s offerings all the time. Next, we’ll cover picking the best veggies, the tools you need, and directions for both water bath and pressure canning. Plus, safety tips and how to fix common problems.
Understanding the Canning Process
Canning is when you put food in jars and heat it. This kills harmful bacteria and keeps the food fresh. You can eat the tasty food even when it’s not in season. To keep your food safe and delicious, it’s important to know about canning.
What is Canning and How Does it Work?
The canning process seals jars tight to keep out air and bacteria. This means your food won’t spoil. Here’s how canning is done:
- Preparing the food – Wash, peel, and cut the produce first.
- Filling the jars – Put the prepared food in clean jars with some space at the top.
- Applying lids and bands – Put on the lids and tighten them to make the seal.
- Processing the jars – Heat the jars to kill anything harmful inside.
- Cooling and sealing – Let the jars cool to create a seal by vacuum.
- Storing the jars – Keep the jars somewhere cool and dark for later.
Following these steps lets you keep various foods safe to eat. You can store fruits, veggies, and more.
Types of Canning – Water Bath vs. Pressure Canning
There’s water bath canning and pressure canning for different foods. It’s important to know which to use for each type of food.
Water Bath Canning:
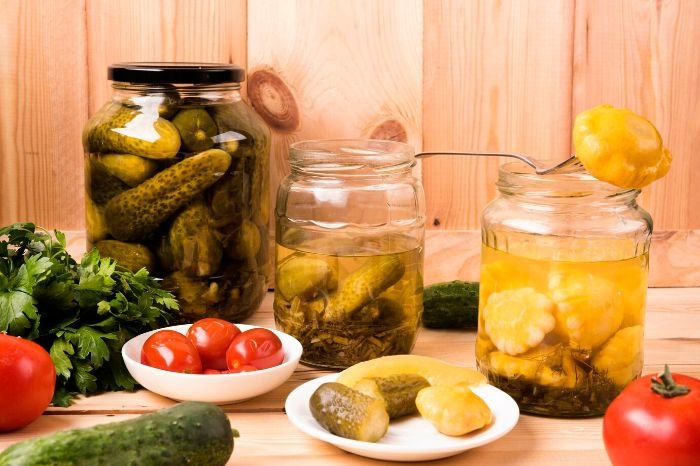
- Water bath canning is for high-acid foods like tomatoes, jams, and pickles.
- You dunk filled jars in boiling water for a set time.
- This high heat ensures no bacteria remain, keeping food safe.
- A vacuum seal by the heat locks out air and bacteria.
- It’s easy and doesn’t need any special equipment.
Pressure Canning:
- For low-acid foods such as meats, vegetables, and soups, you need pressure canning.
- These foods need high heat that water bath canning can’t provide.
- It uses a special canner to get hot enough to kill harmful stuff.
- Hot water under pressure is used to can low-acid foods safely.
- The seal is made by the combined high heat and pressure.
Knowing about these two canning methods helps you keep your food delicious all year. By picking the right method and following correct steps, you can enjoy your garden foods anytime.
Essential Equipment for Home Canning
Must-Have Canning Tools and Supplies
To start canning, you need certain tools. This includes a boiling water bath or a pressure canner. You’ll also need glass jars with their lids and bands. Don’t forget a jar lifter or tongs, a spatula, and a ladle. A funnel and a bubble remover are also essential. The headspace tool ensures proper filling of jars.
These tools are crucial for a safe and successful canning process. They help keep your preserved foods in good shape.
- Boiling water bath or pressure canner
- Glass jars with lids and bands
- Jar lifter or tongs
- Utensils (spatula and ladle)
- Funnel
- Bubble remover
- Headspace tool
“Canning is a safe and economical way to preserve your favorite foods…”
Optional Accessories to Enhance Your Canning Experience
Beyond the essentials, there are extra tools to make canning easier and more efficient. These tools improve the whole experience, offering better results. Some favorite add-ons for canning are:
- Canning kit
- Food mill
- Canning recipe book
These accessories can really boost your canning. They add more options and guide you to new and exciting recipes.
“The recommended lid consists of a flat metal disk that has a sealing compound around the outer edge and a separate metal screw band…”
Preparing Your Vegetables for Canning
Getting your vegetables ready for canning is vital. This ensures your preserved food tastes and looks good. You’ll learn how to pick, clean, and prepare your garden’s best. We’ll also look at blanching and peeling methods that make your veggies better for canning.
Selecting and Cleaning Your Garden Produce
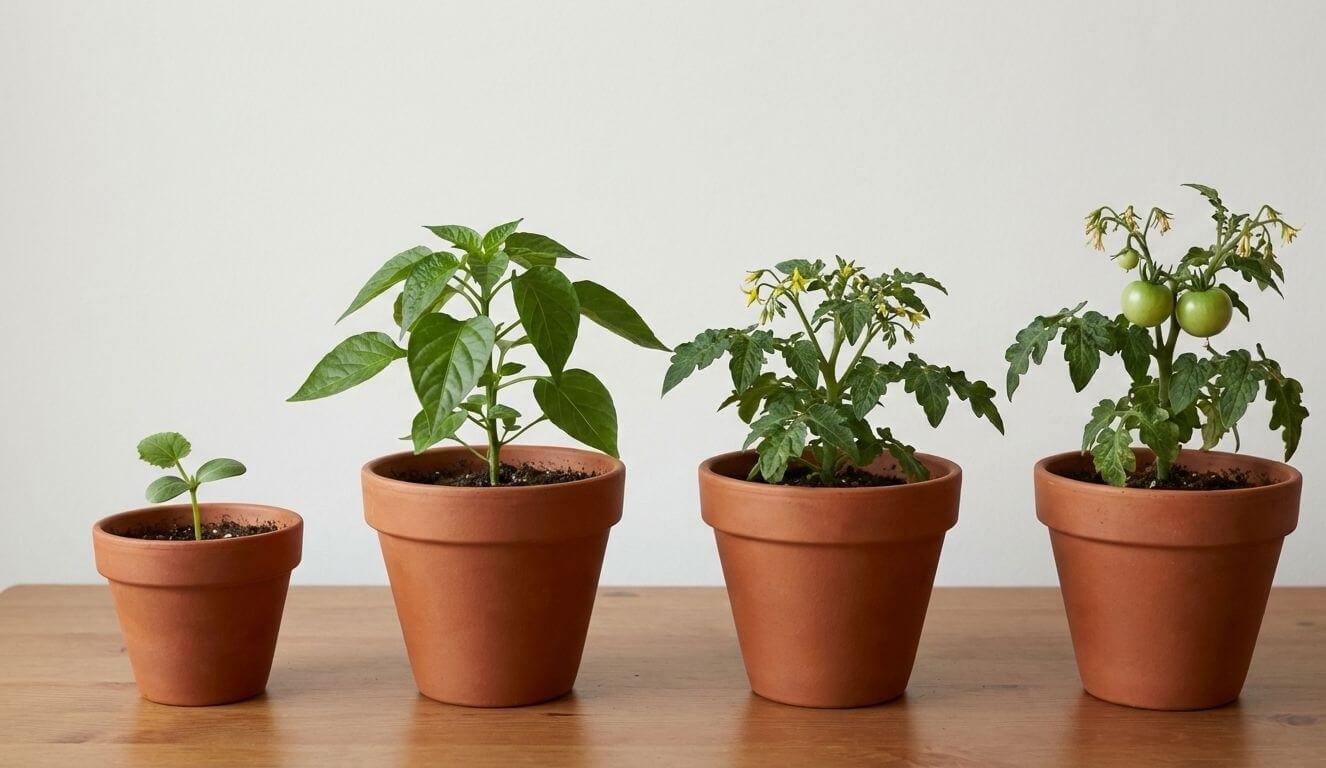
When picking veggies for canning, go for those perfectly ripe. They should be firm, colorful, and free from rot or harm. Avoid those that are too ripe or not ripe enough, as they can spoil the end result.
To get your vegetables ready, first clean off any dirt, bacteria, or pesticides. Start by rinsing them under cold water to get rid of the initial dirt and debris. A vegetable brush can come in handy for scrubbing carrots or potatoes.
For greens like lettuce or herbs, separate the leaves and wash them carefully. Then, dry them off using a clean towel or a salad spinner.
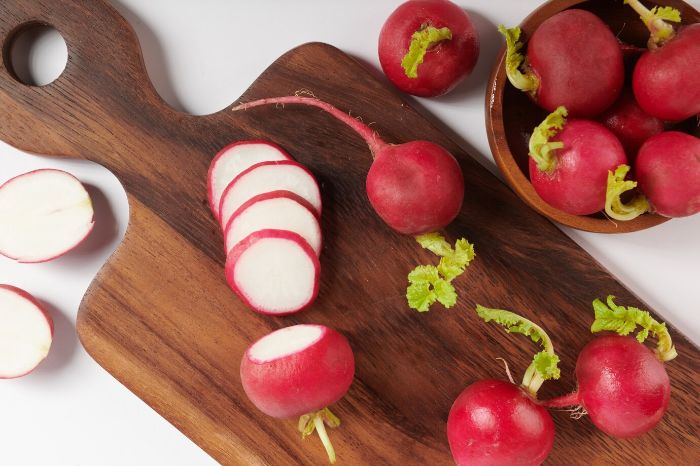
Blanching and Peeling Techniques
Blanching is key for keeping your vegetables just right before canning. It locks in their texture, color, and nutrients. Here’s how you do it:
- Boil a pot of water.
- Put the veggies in for 1-3 minutes.
- Take them out and put them in ice water to stop the cooking.
- Once they’re cool, make sure to drain them well before continuing.
Some veggies need to be peeled to get that perfect texture or to get rid of hard skins. To peel, follow these steps:
- Use a knife or peeler to take off the skin.
- For veggies like tomatoes or peaches, blanching first can make peeling easier.
- After peeling, rinse well to get rid of any leftover skin.
By using these methods, your canned veggies will taste great and keep their nutrition. Selection, cleaning, blanching, and peeling are all important steps for successful home canning.
Step-by-Step Guide to Water Bath Canning
Water bath canning is great for things like tomatoes, jams, pickles, and more. It’s used for foods with a pH of 4.6 or lower. You’ll learn all you need to know to can safely and well.
When to Use Water Bath Canning
Water bath canning works for foods with a pH of 4.6 or lower. These include tomatoes, jams, and chutneys. The heat from canning kills harmful stuff, keeping your food safe.
Detailed Instructions for Water Bath Canning
- Gather your equipment – Get a boiling water bath canner, jars, a jar lifter, and more.
- Prepare your jars – Clean them, then boil in water for a few minutes to sanitize.
- Prepare your ingredients – Wash, peel, and chop your foods as needed.
- Fill the jars – Put your foods in the jars, leaving space at the top as your recipe says.
- Remove air bubbles – Remove bubbles by sliding a tool down the sides of the jar.
- Wipe the jar rims – Make sure the top of the jars is clean.
- Seal the jars – Put the lids on and screw them closed, not too tight.
- Process in the water bath canner – Lower jars into boiling water and make sure they’re covered.
- Process time – Boil the jars for the time your recipe suggests.
- Remove the jars – After boiling, take them out carefully and let them cool.
- Cool and check the seals – After cooling, check if the lids are sealed.
- Store and enjoy – Put labels on your jars and keep them in a cool, dark place.
Step-by-Step Guide to Pressure Canning
Pressure canning is the best way to keep low-acid foods safe. We’ll go through each step to help you preserve vegetables well. You can keep their quality and freshness for a long time.
When to Use Pressure Canning
It’s for foods like meats, poultry, and most veggies. It makes sure they’re safe by killing bacteria with high heat and pressure.
For these foods, water bath canning won’t work. Pressure canning’s higher heat is needed to keep them pathogen-free.
Detailed Instructions for Pressure Canning
First, get your equipment ready. You’ll need a pressure canner, jars, a jar lifter, and a gauge. Make sure to read your canner’s manual.
- Wash and trim your veggies well.
- Fill the jars with your veggies, leaving space at the top.
- Put on the lids and bands firmly but not too tight.
- Follow your canner’s guide to fill it with water.
- Put the jars on the rack inside, not too close together.
- Close the canner with the heat on high.
- Let it steam to get air out, following your recipe’s time.
- Once it’s vented steam, close the vent and let it pressurize.
- Watch the gauge and adjust the heat as needed to keep the pressure steady.
- Process the jars how your recipe says, for your altitude.
- When time’s up, turn off the heat and let the pressure come down by itself.
- Take the jars out carefully.
- Set them on a towel to cool all the way.
- Check the lids to ensure they’ve sealed well.
- Label and store your jars in a good spot.
You’ve finished pressure canning your veggies. Follow these steps and you’ll do great. Now you can enjoy your home-canned veggies for months to come.
Ensuring Safety in Home Canning
Prioritizing safety in home canning is key. We need to know the risks of bad canning to keep our veggies safe. This part will focus on how to prevent botulism and other dangers.
Understanding Botulism and Other Canning Risks
Botulism is very serious and comes from a germ that likes no-air areas. Eating the germ can make you very sick, or even cause death. Foods like meat and veggies that don’t have much acid can get botulism if not canned properly.
Other than botulism, bad canning can cause mold or bacteria. This might happen if food doesn’t get hot enough or if you don’t can it the right way. Knowing these dangers is crucial to protect you and your family.
Safety Tips to Prevent Contamination
To stop contamination and keep your canned foods safe, remember these tips:
- Follow tested recipes – Always use recipes that are proven to be safe. Get them from places like the USDA. Avoid old or unknown recipes online.
- Use the correct canning method – Use the right method based on your food’s acidity. High-acid foods need water bath canning, while low-acid foods need pressure canning.
- Ensure proper processing times – Cooking your canned food for the right amount of time kills bad germs. Always cook as long as the recipe says.
- Inspect jars and lids – Check your jars and lids carefully before canning. Don’t use any that are damaged, as they might let germs in.
- Avoid cross-contamination – Keep everything around you clean as you can. Wash your hands, and make sure all tools you use are sanitized.
- Properly store your canned vegetables – Keep your canned foods in a cool, dry place. Sometimes check the jars to make sure they are okay to eat.
By keeping these tips in mind and always learning about canning risks, you can safely enjoy your preserved vegetables.
Storing Your Canned Vegetables
Proper Storage Conditions and Shelf Life
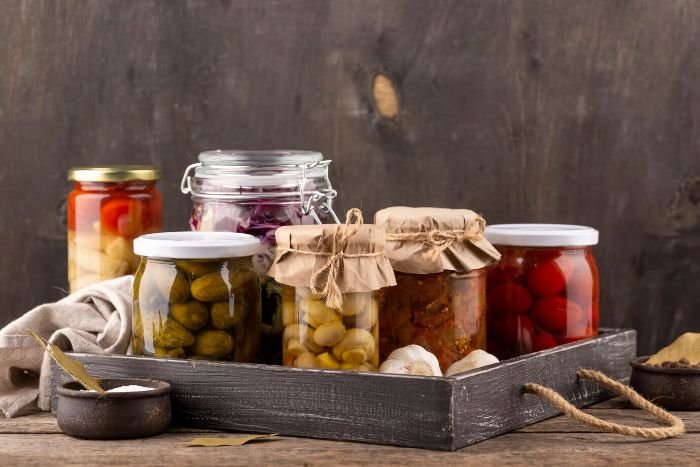
After you’ve canned your veggies, where you put them is key. You need to store them right for freshness and safety. Here’s how:
- Choose a cool, dry, and dark spot for your stuff. The best temperature is between 50°F and 70°F (10°C and 21°C).
- Don’t put your jars where the sun shines or it gets too hot or cold. This means avoiding places near windows or heaters.
- Make sure air can flow around the storage area well. This helps stop moisture from building up, which can cause mold or bacteria.
- Keep jars in order by when you canned them. Put the ones you canned first at the front, so you use them first.
Most home-canned foods stay good for up to a year if you seal and store them right. But, it’s smart to always check on your veggies. Make sure they’re still tasty and safe to eat regularly.
How to Check Seals and Recognize Spoilage
Checking if your jar lids are sealed well is super important for safety. Here’s how to check:
- Look at the lids to see if they’re bulging, leaking, or rusty. These are signs they might not be sealed right.
- Push down on the lid’s center. If it pops back, the jar isn’t sealed well. Throw it away.
- If the lid stays down and doesn’t pop, it’s probably sealed well. You can keep it.
You should also know how to spot when your veggies have gone bad. Watch for these signs:
- They smell bad or strange.
- You see mold.
- If the jar makes noise or bubbles when you open it.
- The veggies look or feel weird.
If you notice any of these signs, don’t eat the veggies. Throw them out right away to stay safe from getting sick.
Troubleshooting Common Canning Problems
Home canning has its challenges. Even with the right steps, you might face problems. It’s important to know how to spot and fix these issues. This helps you get better at canning and get the results you want.
Identifying the Common Problems
Look out for these issues when canning:
- Floating food – Ingredients float to the top of the jar while processing.
- Uneven cooking – Some of your food might be overcooked, others undercooked.
- Liquid loss – Losing liquid could mean the seal is not tight.
- Seal failure – Jars that don’t seal properly can spoil the food.
Fixing the Common Problems
Here’s how to solve these canning problems:
- Addressing floating food – Pack your jars tightly and remove air. A headspace tool helps get the right amount of space. This stops food from floating.
- Resolving uneven cooking – Use a good canner and check the processing times. Stir the food gently before sealing. This helps cook evenly.
- Preventing liquid loss – Make sure jars are sealed well. Test lids for suction. If seals are loose, fix or refrigerate the jars.
- Fixing seal failure – If jars don’t seal right, throw away the food. Sterilize new jars and lids. Always follow safe canning steps.
Learning from your canning mistakes helps you get better. It’s normal to face challenges. But, with effort, you can master canning. Keep trying and you will succeed!
Conclusion
Home canning is a great skill to learn. It lets you enjoy garden vegetables all year. By canning safely and learning the different ways to do it, you can start with confidence. The benefits are many. You’ll save money, cut down on food waste, and know exactly what’s in your canned items.
Getting ready is very important. Choose and clean your veggies carefully. Make sure they’re the best and free of any dirt. Using blanching and peeling will keep your canned veggies looking and tasting great.
Having the right tools is essential for safe canning. Things like a boiling water bath, jars, and utensils are key. Extras like a canning kit can make things even better. With proper storage, your canned veggies can last a year or even longer.
If you run into any problems, troubleshooting can help. Don’t worry if you don’t get it right the first time. Keep trying, and soon you’ll be canning like a pro. Have fun canning, and may your home be stocked with tasty and healthy canned foods!
FAQ
What is home canning?
Home canning lets you save your garden’s goodies to enjoy all year. You put food in jars, then heat it to kill bad stuff like bacteria. This way, you keep the food fresh.
What are the two types of canning methods?
There are two ways to can – water bath and pressure canning. If you’re canning fruits or pickles, go for water bath. But for meats or soups, use pressure canning.
What equipment do I need for home canning?
For canning, you’ll need pots, jars, and some tools. Essentials are jars and a canner. But, things like a food mill can make canning easier and more fun.
How should I prepare my vegetables before canning?
Start by picking only the best veggies and cleaning them well. Use blanching and peeling to keep your veggies looking great in the jars.
When should I use water bath canning?
If you’re canning things like tomatoes or pickles, choose water bath canning. There are easy steps to follow for making these foods safe to keep.
When should I use pressure canning?
If canning low-acid foods like meat or veggies, you must use pressure canning. It’s the safe way to can these types of foods.
How can I ensure the safety of my home-canned vegetables?
It’s vital to know about the dangers of bad canning. Be sure to follow all safety tips to keep your canned foods safe and fresh.
How should I store my canned vegetables?
Keep your canned veggies in a dark, cool, and dry spot. Always check the lids and for spoilage. This keeps your food safe to eat.