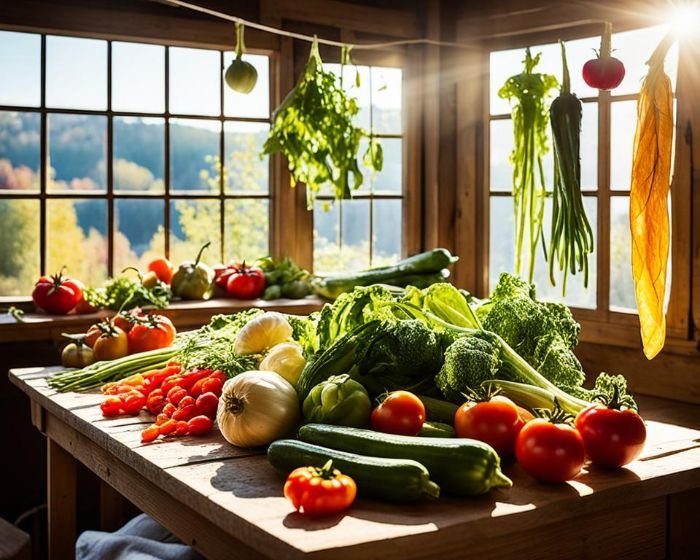
Do your fresh veggies spoil before you can eat them? Maybe you aim to save with bulk buys but face the challenge of keeping them fresh. Drying vegetables at home solves these issues. It secures long-term storage, ensuring a supply of nutritious veggies.
This guide has everything you need to dry veggies at home successfully. You’ll learn the best veggies to dry and how to set up optimal drying conditions. With our tips, you can preserve your homegrown or store-bought veggies for months.
Key Takeaways:
- Learn the benefits of drying vegetables for long-term storage.
- Discover different methods for drying vegetables, including air drying and oven drying.
- Find out how to choose the right dehydrator for your needs.
- Understand the ideal temperature and humidity levels for optimal drying results.
- Get creative with recipes and meal ideas using dried vegetables.
Table of Contents
Introduction to Drying Vegetables
Drying vegetables is a method used for a long time to keep the harvest. It makes sure you have nutrients for a long time. If you grow a lot in your garden or buy in bulk, drying your vegetables is a good idea.
Benefits of Drying Vegetables for Long-Term Storage
Drying vegetables is simple but works well to keep them for later. By taking out the moisture, they stay good to eat for months. This means you can have your favorite veggies even when they are not in season.
Also, dried vegetables keep their vitamins and minerals, adding health to your meals. Use them in many recipes like stews, pasta, or salads. It’s a win-win for tasty and healthy options.
Overview of the Drying Process
To dry vegetables, we remove their moisture. This stops bacteria and enzymes, keeping the food fresh for a long time. Drying is a way to store them more than just a couple of days.
You can dry veggies in many ways. Air drying is natural, if you have a sunny and dry spot. Using an oven gives quick results. Or, a dehydrator is great because it controls the drying perfectly.
Each way to dry vegetables has its own benefits. We will look into them more. Learning about how to dry vegetables at home is a great start to have them all year.
Preparing Vegetables for Drying
Before drying vegetables, it’s vital to prep them well. This makes sure they taste good, keep their texture, and are high-quality. We’ll show you the key steps to getting your veggies ready for drying.
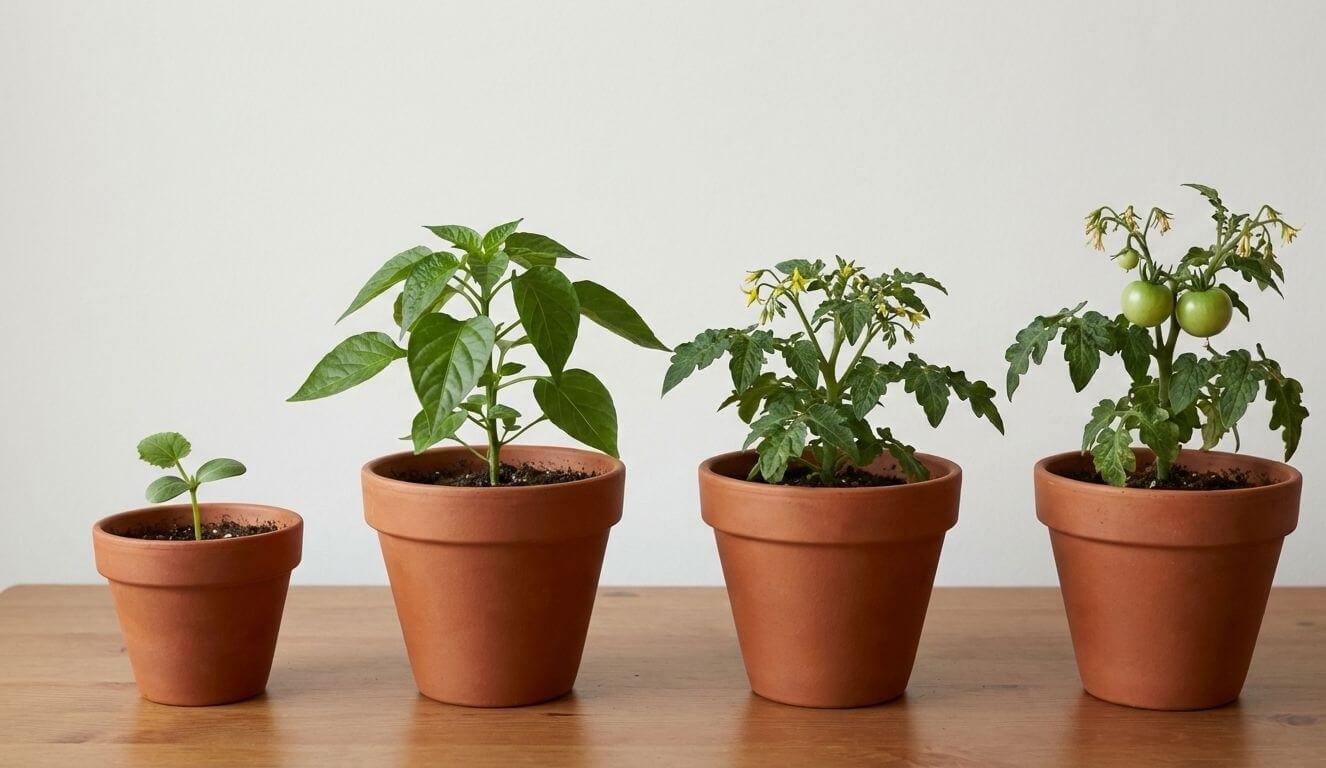
Selecting the Right Vegetables for Drying
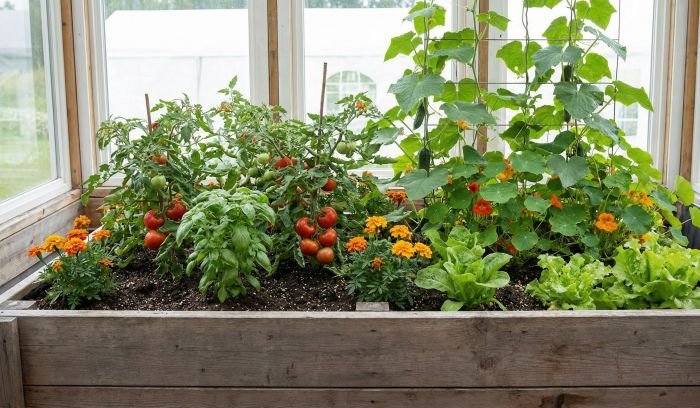
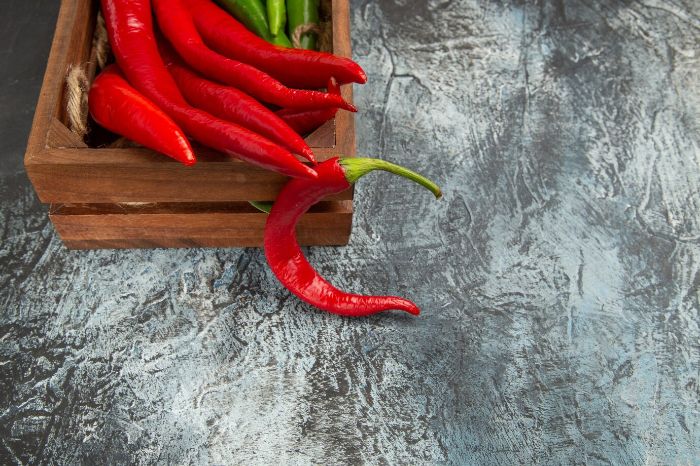
Choose veggies that dry well, like tomatoes, peppers, mushrooms, and leafy greens. These types keep their flavor and nutrients when dried. Not all veggies work for drying, so pick wisely.
Make sure your veggies are fresh and not damaged. Look them over for any spoilage or harm. Only top-quality veggies will give you great results when dried.
Washing, Peeling, and Cutting Techniques
After picking the right veggies, you need to wash, peel, and cut them. These steps are key for clean and even drying.
- Washing – Wash veggies well under running water. Use a vegetable brush if needed. This gets rid of dirt and pesticides.
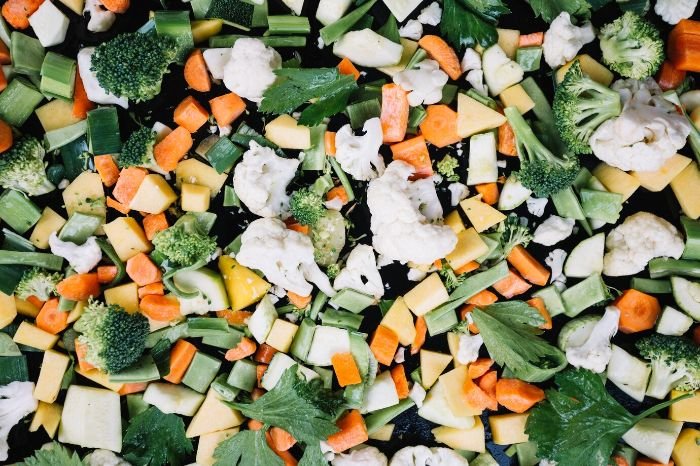
- Peeling – Some veggies, like carrots, must be peeled. Peel them carefully to take off all blemishes. It makes the dried veggies look better.
- Cutting – Cut veggies in similar sizes for even drying. Slice or dice them, as needed. This makes them dry faster and more evenly.
Following these steps will get your veggies ready for drying perfectly. They’ll be clean, even, and set for the next part of the drying process.
Methods for Drying Vegetables
You can choose from several methods to dry vegetables. It depends on what you like and the tools you have. Let’s look at air drying and oven drying. We’ll see how to do it and get the best results.
Air Drying – Steps and Tips
Air drying is a simple way that doesn’t need much. It’s great for keeping the veggies tasty. Here’s how to do it:
- First, wash and dry the vegetables well.
- Cut them evenly so they dry at the same rate.
- Put the pieces in a single layer on a clean, dry spot.
- They need to be in a place with lots of fresh air around them.
- Don’t let them get direct sun or be in very wet places.
- It might take a few days or a week for them to fully dry, depending on the type.
- Sometimes, turn them over so they dry on all sides.
- Start with veggies that have less water for the best outcomes.
- For some, like beans or peas, a quick blanch before drying can help a lot.
- After they’re dry, keep them in a tight container to stop any extra moisture.
- Don’t forget to label when you packed them up.
Oven Drying – How to Properly Use Your Oven
Using your oven is a quicker way to dry vegetables. It keeps the conditions just right. Here is what to do:
- First, set your oven low, between 140°F to 160°F.
- Prep the veggies as if you were going to air dry them.
- Put them on a pan with paper or a mat to keep them from sticking.
- Leave some room between the pieces for the air to move.
- Open the oven door a bit to let moisture out.
- It’s important to check them and move them around so they dry evenly.
- It might take 2 to 6 hours, depending on the vegetable.
Some extra advice for oven drying:
- Don’t set the oven too high; it might dry them out too fast or lose nutrients.
- Always keep watch to avoid burning or over-drying the veggies.
- A thermometer helps to make sure the oven is at the right temperature.
- Let the vegetables cool before you put them away.
Finally, drying your veggies with air or oven is easy. Try different vegetables to see what you like best.

Using a Dehydrator for Drying Vegetables
Drying vegetables with a dehydrator is easy and it works great. A dehydrator takes the water out of food. This keeps the taste, vitamins, and feel of the food. We’ll show you how to dry vegetables with a dehydrator, and give good advice for the best results.
Choosing the Right Dehydrator
Picking the right dehydrator is key before you start. There are many kinds to choose from. Think about how much you’ll dry and where you’ll put the dehydrator.
Look for dehydrators with adjustable heat and good airflow. These make sure your vegetables dry evenly. Also, check if it’s easy to clean. Removable trays can help a lot.
Step-by-Step Guide to Dehydrating Vegetables
- Prepare the vegetables – Wash and cut them evenly. This helps them dry well.
- Arrange the vegetables – Lay them out in the dehydrator. Leave room for air to move around.
- Set the temperature – Pick the right heat for the type of vegetable. Use guides to know the best temp.
- Start the drying process – Turn on the dehydrator and let them dry. It can take from 6 to 12 hours.
- Monitor the progress – Check the vegetables often. They are done when they are dry and feel crispy.
- Rotate and rearrange trays – Move the trays around to dry the vegetables evenly. This helps them all dry at the same time.
- Store the dried vegetables – After they’re dry, cool them and store in containers to keep them fresh.
Drying vegetables with a dehydrator is a good way to keep their nutrition. With the right dehydrator and process, you always have dried vegetables for cooking.
Ensuring Optimal Drying Conditions
Drying vegetables at home requires the best conditions. The right temperature and humidity levels are key. They help the vegetables dry well and stay quality for storage.
Ideal Temperature and Humidity Levels
The best temperature for drying veggies is 120 to 140 degrees F (50 to 60 C). This range removes moisture well without losing nutrients or taste. Different vegetables need different temperatures, so check a guide for details.
Humidity is also vital. The right humidity for drying vegetables is 40% to 60%. High humidity can cause mold. Too low humidity can make veggies dry too fast, losing taste and texture. Use a dehumidifier or a well-ventilated place to control humidity.
Tips for Achieving Consistent Drying
- Space vegetables evenly – Spread vegetables out in a single layer. This aids in even air circulation and prevents moist spots.
- Rotate trays – To dry vegetables evenly, rotate the trays now and then. This ensures all parts dry the same, avoiding hotspots.
- Check for dryness – Always check if the vegetables are dry. They should feel leathery or brittle. If not, keep drying until they are as you like.
- Store in airtight containers – After drying, keep them in airtight containers. This keeps them fresh. Don’t forget to label the containers with the name and date.
Follow these strategies, and your dried vegetables will be perfect. From tomatoes to leafy greens, the key is consistent drying. This way, you get tasty and healthy veggies all year round.
Storing Dried Vegetables
Keeping dried vegetables storaged the right way is crucial. You want to keep them tasting good and full of nutrients for a long time. Let’s look at how to store dried vegetables well and make them last longer.
Best Practices for Packaging and Storage
Choosing good storage containers is key for dried veggies. Use airtight ones like glass jars or food-safe plastic bags. They keep out moisture and air. Always make sure your containers are clean and dry first.
Don’t pick materials that let light in. Light can harm the taste, color, and nutrients of your veggies. If you use glass, store it in a dark place to avoid light.
Label your containers with the vegetable name and packing date. This helps track freshness and make sure to use the older ones first.
Keep dried vegetables in a cool, dry, and dark spot. Stay away from heat and places with big temperature changes. Heat and moisture can ruin your veggies faster.
Shelf Life and How to Extend It
Dried vegetables last longer than fresh ones. Well-stored, they can stay good for 6 to 12 months.
To make dried vegetables last even longer, try these tips:
- Use a vacuum sealer – Vacuum sealers remove air to keep veggies fresh longer. They stop mold and bacteria growth too.
- Check and remove moisture – Make sure your veggies are totally dry to prevent spoilage. If they do get damp, dry them out and put in new containers.
- Use the oldest veggies first – Rotate your stash to keep them from going bad. This helps you use up the older ones so you always have fresh ones.
- Freeze for a longer haul – If you won’t use them within a year or two, freeze them. This can keep them good for up to 2 years. Just know they might lose some texture and flavor when you freeze them.
Using these methods will let you enjoy dried vegetables for a long time. Keep track of where and how you store them. Check them every now and then for signs of spoilage. It’s a great way to have veggies ready whenever you need them.
Rehydrating Dried Vegetables
After drying your veggies, it’s time to make them fresh again. Rehydrating them brings back their natural taste, feel, and nutrients. We’ll look at how to rehydrate veggies and ways to use them in cooking.
Methods for Rehydrating Before Use
There are several ways to rehydrate veggies based on your time and what you like. Try these popular methods:
- Soaking – Place veggies in a bowl of water to soak. Soaking times vary by size and type. After they plump up, drain them and add to your meal.
- Boiling – Some veggies rehydrate faster in boiling water. Cook in a pot of boiling water until ready. Watch closely, they might rehydrate fast.
- Steaming – Steaming keeps veggies’ nutrients and flavors. Steam over boiling water until they’re soft and full.
Try different ways to see what works best for your veggies. Always check the veggie package for special rehydration tips.
Culinary Tips for Using Rehydrated Vegetables
Rehydrated veggies are great for many dishes. Here are tips for using them:
- Put them in soups, stews, and casseroles for extra taste and health.
- Top pizzas or put in wraps for a tasty crunch.
- Make dips or spreads by mixing veggies with other ingredients.
- Use in pasta, stir-fries, or omelets for color, crunch, and nutrition.
When using rehydrated veggies, adjust cooking and seasoning. They might be softer and have more flavor. Be creative with recipes and tastes!
Troubleshooting Common Drying Issues
Drying vegetables at home may lead to issues with texture and flavor. It’s important to know the causes to get better results. We’ll talk about these issues and how to fix them.
Identifying Problems with Texture and Flavor
To get the right texture and flavor in dried vegetables, moisture removal is key. You might face a few common problems. Let’s look at them:
- Leathery or tough texture – If your veggies are tough, they weren’t dried enough. Dry them longer at the right temperature.
- Brittle or crisp texture – Too much drying makes veggies too crisp. Watch the drying time and temperature, especially near the end.
- Mushy or soft texture – Soft veggies might be over-dried or got too much moisture later. Follow the proper drying times and store them well.
- Loss of flavor – If veggies don’t taste as good, they might have been prepared wrong or dried in bad conditions. To keep the flavor, use fresh veggies and store them right.
Solutions for Common Drying Mistakes
To fix drying issues, try these solutions:
- Adjust the drying time and temperature – If veggies aren’t dried well, test different drying times and temperatures. Different veggies need different settings.
- Use proper storage techniques – Keep dried veggies in airtight containers or vacuum-sealed bags. Store them in a cool, dry spot away from sunlight to keep the flavor and texture.
- Rehydrate when necessary – If veggies are too dry, consider rehydrating them. This can make them moist again and better to eat.
- Optimize the drying environment – Make sure your drying place has good airflow and the right temperature and humidity. Avoid drying where it’s too humid or temperatures change a lot.
By solving these drying problems, you can make your dried vegetables taste and feel great. Remember, trying different methods and learning from your mistakes is part of the fun. Enjoy making your own tasty and healthy dried veggies at home!
Creative Uses for Dried Vegetables
Dried vegetables can bring a new level of taste and health to your dishes. They add flavor and texture, making your meals enjoyable and unique. We’ll look at how to use dried veggies in recipes, snacks, and soups. Let’s get cooking with these nutritious and exciting ingredients.
Recipes and Meal Ideas
Enjoy making tasty recipes with dried vegetables. They’re perfect for meals that are full of flavor:
- Vegetable Stir-Fry with Dried Bell Peppers – Rehydrate bell peppers and stir-fry them. The dish will have a sweet, smoky taste everyone will love.
- Pasta Primavera with Dried Zucchini and Tomatoes – Make your pasta bright with dried zucchini and tomatoes. It’ll bring a taste of summer to your plate.
- Dried Vegetable Pilaf – Mix dried carrots, peas, and corn with rice and spices. You’ll have a tasty, wholesome side dish for any meal.
Using Dried Vegetables in Snacks and Soups
Dried vegetables are not just for meals; they’re great for snacks and soups, too. Here are some innovative ideas:
- Dried Vegetable Trail Mix – Mix carrots, green beans, and cauliflower with nuts and fruits. This trail mix is perfect for a quick snack or energy boost.
- Dried Vegetable Soup Mix – Blend dried onions, celery, and mushrooms for a soup mix. Just add water, broth, herbs, and spices for a delicious, warm meal.
- Dried Vegetable Chips – Turn kale, beets, and sweet potatoes into crispy snacks. Season and bake them until they’re crunchy and tasty.
With these tips and recipes, cooking with dried vegetables can be fun and flavorful. You can use them in many ways, from snacks to full meals. They’re a great addition for anyone looking to enjoy healthy and exciting food.
Conclusion – The Advantages of Home-Dried Vegetables
Drying vegetables at home is a fun way to make them last longer. You can control the process, so they taste great and are good for you. This way, you keep more of their nutrients than when you buy them dried.
It’s also super handy to have dried veggies in your pantry. You won’t worry about running out, even when fresh ones are out of season. Just add water to your dried veggies, and they’re ready to use.
Another good thing is that it saves you money. Dried veggies are pricey at the store. But if you do it at home, it’s much cheaper. You get to choose your favorite veggies and how you dry them.
To get the most out of your home-dried veggies, you need to do it right. Make sure to dry them in the best conditions for flavor and texture. And store them well to keep them tasty for a long time.
In summary, making your own dried veggies is about more than just saving time, money, and eating healthy. It’s also about the fun of creating your own food. Start today and enjoy your homemade veggies all year long.
FAQ
What are the benefits of drying vegetables for long-term storage?
Drying vegetables removes moisture, stopping spoilage and extending their life. It makes their flavors stronger and better when used in recipes.
What is the drying process for vegetables?
The drying process removes moisture, stopping bacteria and mold growth. It’s done by air drying, oven drying, or using a dehydrator. The veggies are cut into small pieces, then dried with heat and airflow.
How do I select the right vegetables for drying?
Choose fresh, mature vegetables in good shape. Avoid ones with a lot of water, like cucumbers and tomatoes. Try peppers, mushrooms, and leafy greens instead, as they dry better.
What are the ideal temperature and humidity levels for drying vegetables?
The best drying temperature is 120-140°F (50-60°C) with low humidity. These conditions dry veggies well and stop bacteria growth.
How should I package and store dried vegetables?
Store dried vegetables in airtight containers or bags to keep out moisture. Keep them in a cool, dry, dark place. They can last from months to a year when stored well.
How do I rehydrate dried vegetables before use?
To rehydrate, soak them in water, broth, or a preferred liquid for a few minutes or hours. Or, add them directly to dishes like soups and stews.
What are some common drying issues and their solutions?
Vegetables might get tough or lose color. To fix this, cut them thin and even. Blanching before drying can also help keep color and texture.