Ever wondered why a small wall dent can cause big problems at home? Drywall repair is key to keeping your home looking good and standing strong. Damage from daily life, like bumps and age, can harm your walls.
Learning how to fix drywall can make your home look better and stronger. It’s all about knowing how to patch up damage. This includes figuring out how bad the damage is and using the right tools and methods.
Key Takeaways
- Knowing why drywall gets damaged helps prevent problems.
- Important tools for fixing drywall include joint compound, drywall tape, and spackling compound.
- Using the right materials, like quick-set mud, makes repairs last longer.
- Small holes in drywall can be fixed with lightweight spackle for a quick fix.
- A good repair job starts with getting the area ready, applying patches, sanding, and priming before painting.
Table of Contents
Why Drywall Repair is Essential for Home Maintenance
Keeping drywall in good shape is key for any home. Many homeowners don’t see the big deal about fixing drywall. But, ignoring it can cause bigger problems later.
Fixing drywall damage early on makes your home safer. It also keeps your home’s structure strong.
Common Causes of Drywall Damage
Many things can damage drywall. Here are the main reasons:
- Settling homes, which leads to cracks and uneven surfaces.
- Nail pops and small holes from hanging decorations.
- Moisture damage resulting from leaks, particularly in areas like bathrooms and basements.
- Wear and tear from everyday activities, including moving furniture.
Leaks can come from burst pipes or roof problems. These are common in places that flood easily. Fixing these issues quickly is very important.
Benefits of Regular Wall Maintenance
Regular wall care has many benefits. Here are some:
- Preventing minor issues from evolving into major repairs.
- Enhancing the overall appearance of the home.
- Increasing the longevity and durability of your walls.
- Maintaining energy efficiency by keeping drafts, bugs, and moisture out.
Fixing drywall damage fast stops mold or mildew. This is because of moisture. Keeping up with maintenance is crucial for your home’s value and health.
Tools and Materials Needed for Drywall Repair
Fixing drywall needs the right tools and materials. The right tools make the job easier and look better. This part talks about the tools you need and how to pick the right materials for a smooth fix.
Essential Tools for Patching and Repairing
Having the right tools makes fixing walls easier. You’ll need:
- Drywall saw – cuts drywall well
- Utility knife – good for scoring and trimming
- Measuring tape – for accurate measurements
- Putty knife – for applying compound
- Sanding sponge – smooths edges
- Joint compound applicator – for even compound application
For bigger jobs, you might need a jab saw and electric tools. These tools cut down on dust. A drywall T-square helps with precise cuts.
Choosing the Right Materials for a Seamless Finish
Picking the right drywall is key for a perfect fix. You’ll need drywall that matches your wall. For joint compounds, you have:
- Regular joint compound – good for most repairs
- Quick-setting joint compound – for fast jobs
Use the right screws for your studs. 1 5/8 inches is a good length for most. If your wall is textured, add texture to match. Always prime before painting for the best look.
Types of Drywall Damage and How to Fix Them
Drywall can get damaged in many ways, needing different fixes. Knowing the damage’s type and size helps choose the right fix. Here are common damage types and how to fix them.
Small Holes (Nail Holes, Small Dents)
Small holes come from hanging pictures or securing items. Use a premixed drywall compound to fix them. Clean the area around the hole first.
Then, fill the hole with compound using a putty knife. Make sure it’s smooth. After it dries, sand it lightly and paint it to match the wall.
Medium-Sized Holes (1-2 Inches)
Medium holes are from impacts like doorknobs. The California patch is a good fix for these. Cut a piece of drywall to fit the hole, with a paper backing.
Secure it with joint compound. Let it cure, then sand the edges. Paint the area until it looks like the rest of the wall.
Large Holes (Over 2 Inches)
Large holes are serious and need quick fixing. Use furring strips for support around the hole. Cut new drywall to fit and attach it to the strips.
Use joint tape on the seams to avoid cracks. Sand the area after the compound dries. Then, paint it to match the wall. This method ensures a solid fix.
Step-by-Step Guide to Patching Drywall
Patching drywall is a step-by-step process. It makes sure the repair is strong and looks good. You need basic tools and a little patience to do it right.
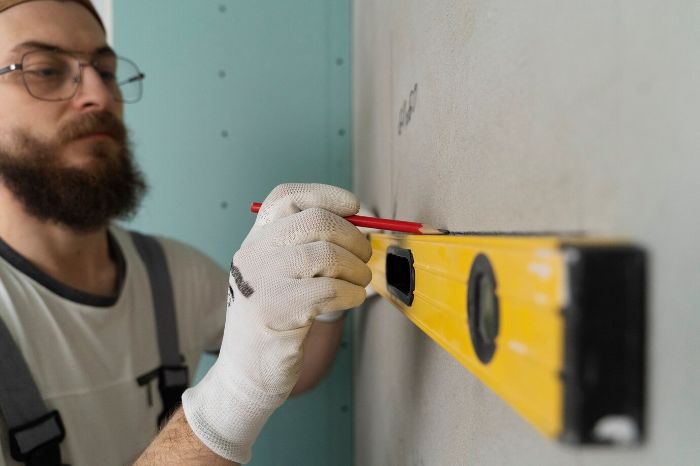
Preparing the Damaged Area
Start by cleaning the damaged spot well. Use a utility knife to cut out the bad part in a neat square. For small holes, an adhesive patch kit works great.
For bigger holes, use drywall patches in sizes like 4” x 4”, 6” x 6”, or 8” x 8”. If nails are sticking out, use a hammer and nail set to push them down.
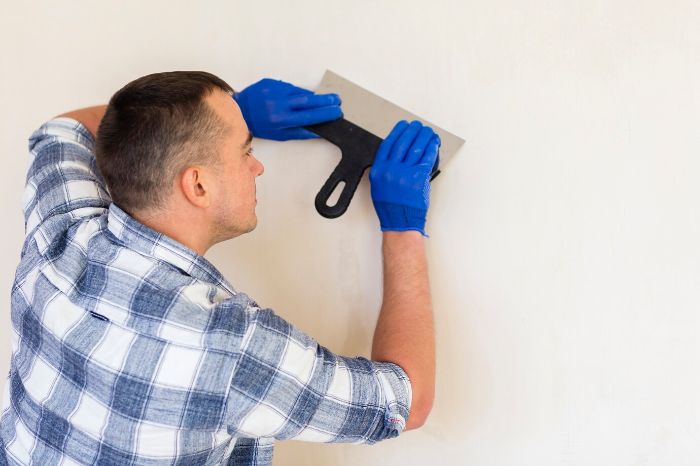
Applying Patches and Joint Compound
After preparing, put the drywall patch in place and screw it in. Then, wrap joint tape around the edges of the patch. Use a taping knife to apply joint compound in a “+” pattern.
For deep holes, use a twenty-minute setting compound. Mix only what you can use in ten minutes to avoid it drying too fast.
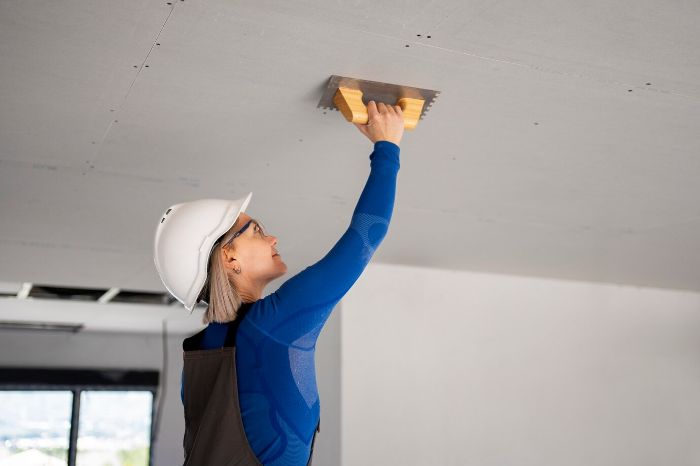
Sanding and Smoothing for a Flawless Finish
After the first coat dries, apply a second coat to fix any bumps. Sand the area when it’s dry to make it even. Use texture sponges to blend with the wall.
Prime the patched area before painting for the best look. This makes the finish flawless.
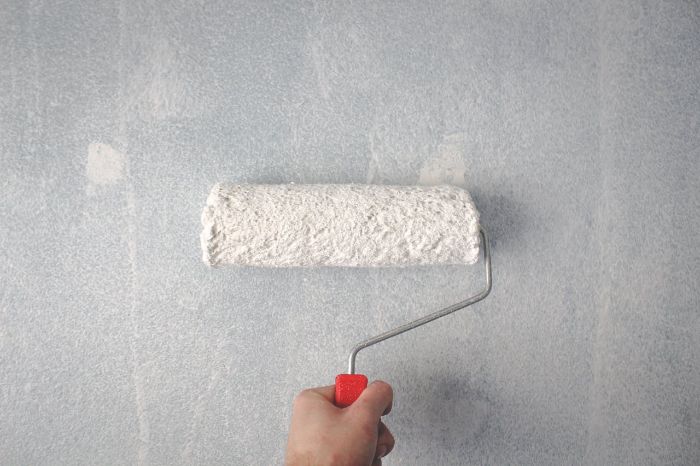
Techniques for Blending and Painting Repaired Drywall
Learning how to blend and paint repaired drywall is key to a great look. It makes your walls look better and last longer. Paying close attention to details saves time and money, and makes your walls look like a pro did them.
Tips for Matching Paint and Texture
- Test paint colors on an inconspicuous area to ensure a perfect match.
- Use primer on patched areas to aid paint adhesion and achieve uniformity.
- Match the texture of the existing wall by feathering the edges of the joint compound.
- Consider different drywall textures like orange peel or knockdown for consistency.
- Practice applying texture on scrap drywall before tackling the actual repair.
Best Practices for a Professional Finish
- Apply paint in smooth, even strokes using high-quality brushes or rollers.
- Utilize multiple layers of texture, allowing sufficient drying time between applications for a natural blend.
- Pay close attention to ambient lighting, which can affect paint appearance when it dries.
- Choose premium paints for better coverage and color consistency.
- Ensure paint cures completely before exposing walls to moisture or heavy use.
Troubleshooting Common Drywall Repair Mistakes
Many homeowners face drywall repair errors. These mistakes happen during DIY projects. Knowing how to fix common issues can help a lot.
By avoiding common mistakes, you can keep your drywall in good shape. This makes your repairs last longer and look better.
Avoiding Uneven Patches
Uneven patches come from wrong joint compound use. To fix this, manage the compound’s amount and thickness well. Here are some tips:
- Use the right amount of tape and mud for adequate coverage.
- Avoid over-sanding, which can damage the drywall and necessitate additional applications.
- Employ a consistent finishing technique to create seamless repairs.
- Utilize well-maintained tools to ensure an even application of materials.
Fixing Cracks in Repaired Areas
Cracks in repaired areas can happen for many reasons. Widening the crack before filling helps the compound stick better. Remember these tips:
- Ensure to feather the edges properly to prevent visible seams.
- Wait 24 hours between coats of joint compound for optimal drying.
- Use fine-grit sandpaper, such as 120 or 150 grit, for smoothing the repaired surface.
- Double-check that corner beads are properly aligned to prevent crooked appearances.
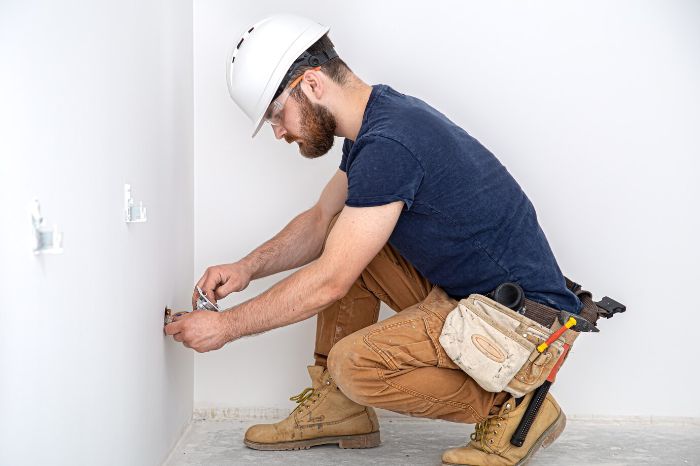
When to Call a Professional for Drywall Repair
Many homeowners can fix simple drywall problems on their own. But, some repairs need a pro. This includes big issues like structural damage or mold. Professionals make sure repairs meet local building codes.
Identifying Complex Issues
Look out for signs of big damage, like nails popping out. These can mean deeper problems. Also, holes from door handles or big cracks need a pro.
Getting a professional helps fix these issues right. This stops more problems later on.
Benefits of Hiring a Drywall Specialist
Choosing drywall experts, like The Patch Boys or Schwaller’s Painting, has many benefits. They have the skills and tools for fast, quality repairs. This saves time and avoids DIY mistakes.
Experts also follow safety rules, making repairs safer. Their work makes your walls look good and strong.
FAQ
What are the most common causes of drywall damage?
Drywall damage often comes from moving furniture accidentally. It can also happen from nail holes when hanging pictures. Dents from doorknobs and natural events like humidity and settling are common too. Knowing these causes helps keep your drywall in good shape.
How can homeowners prevent minor drywall issues from escalating?
Regular checks and care for your drywall can stop small problems from getting big. Fixing small damages quickly and doing routine checks can make your walls look better and last longer.
What are the essential tools needed for drywall repair?
You’ll need a drywall saw, utility knife, and measuring tape for repairs. A putty knife, sanding sponge, and joint compound applicator are also key. Depending on the damage, you might need drywall screws and corner beads too.
What types of drywall materials should I use for repairs?
Choose the right drywall material for your repairs. Use regular drywall for most areas. For places with a lot of moisture, go for moisture-resistant drywall. Fire-resistant drywall is best in fire-prone areas.
How do I fix small holes in drywall?
Small holes from nails or screws can be fixed with spackling compound. Clean the area, apply the compound, and sand it smooth once it’s dry. This will give you a seamless finish.
What is the California patch method for medium-sized holes?
The California patch method uses a drywall piece with a paper backing. Cut the damaged area, fit the patch, and secure it with screws. Finish with joint compound for a smooth look.
What are the best practices for finishing patched drywall?
For a perfect finish, sand the dried compound and blend the edges. Apply more joint compound if needed. Make sure the final coat of paint is smooth and even for a professional look.
How can I avoid common mistakes during the drywall repair process?
To avoid uneven patches, control the joint compound amount and thickness. Use the right sandpaper and technique to smooth areas and widen cracks slightly. This ensures proper adhesion.