Soil pH can make or break a garden. Too acidic and moss creeps in, too alkaline and leaves yellow no matter how much you feed. A simple soil test tells you where you stand and points the way toward balance. Once you know the number, you can bring the soil back into the 6.2-7.0 range where roots thrive and nutrients stay available. Correcting pH is less about heavy treatments and more about steady adjustments that keep growth on track year after year.
Key Takeaways
- Test soil pH before making any changes to the bed
- Adjust lime or sulfur rates by soil texture and need
- Keep the reading within 0.2-0.3 of your target
- Avoid over-correcting with one heavy application
- Retest twice a year to hold steady progress
Table of Contents
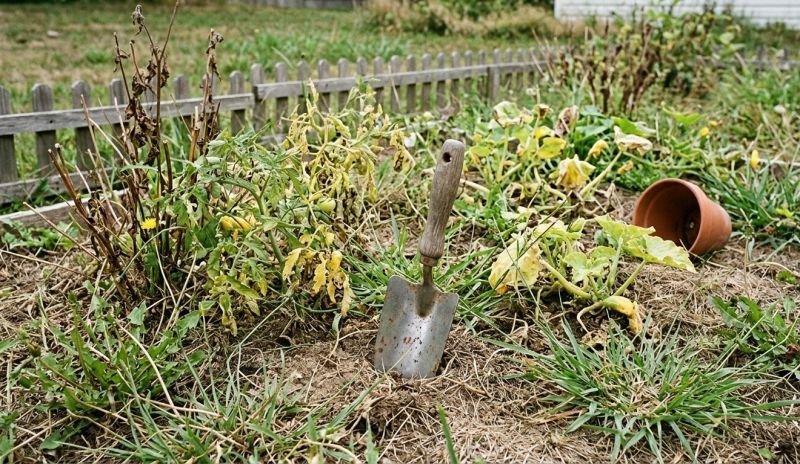
Diagnose a Soil pH Imbalance
Soil pH problems show up fast in growth and leaf color, so confirm the pattern, then test the soil the right way. Good diagnosis saves time, materials, and rework later.
What are signs of low soil pH?
Low soil pH often shows as slow growth and nutrient lockout that begins on older leaves. High pH creates a different pattern tied to iron and zinc unavailability.
- Low pH – stunted plants, dull green to yellow older leaves, weak roots, poor brassica performance, moss pressure in beds and lawns.
- High pH – interveinal chlorosis on young leaves, tip burn on new growth, purple cast in cool weather from phosphorus tie-up, crusted surface after irrigation.
Pro tip: If symptoms improve after a light foliar iron feed but return quickly, soil pH is usually outside the workable range.
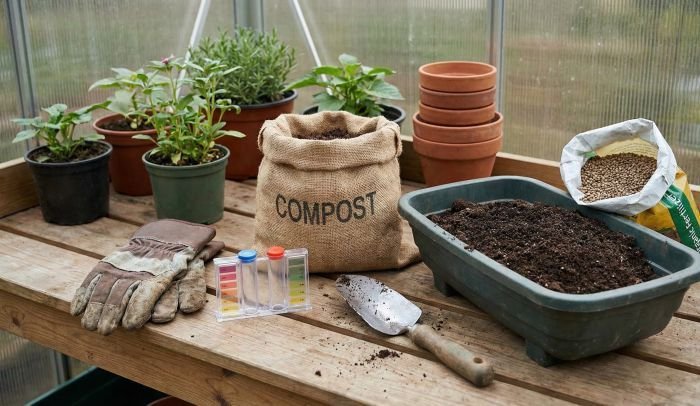
How to test soil pH correctly
Use one composite sample per management zone so a single odd spot does not steer the result. For beds, collect 8-12 cores across 200-400 sq ft at 4-6 in depth; for lawns, use 2-3 in. Avoid sampling within 7-10 days of fertilizing, liming, or sulfur applications.
At home, reliable numbers come from clean tools, distilled water, and a simple protocol:
- Remove mulch and surface debris.
- Mix cores in a clean bucket and take 1 cup of soil.
- Create a 1:1 soil-water slurry with distilled water, stir, and rest 15 minutes.
- Soil pH meter – calibrate with pH 7.0 and 4.0 solutions, rinse, then read.
- Soil pH test kit – match color as directed under natural light.
- Repeat on a second sub-sample; average the two readings.
Targets that flag action – readings under 5.5 tend to limit many vegetables; readings above 7.8 often trigger iron chlorosis in ornamentals and fruiting shrubs. Retest each zone every spring and after any major correction to track the trend.
When a result is suspect
Retest before you change the soil if the average differs by more than 0.5 pH between nearby spots or if two sub-samples vary by more than 0.2 pH. Check for three common errors – tap water with high alkalinity, dirty probes, or uneven soil moisture in the slurry.
Send a lab sample when any of the following applies:
- Readings below 5.0 or above 8.2.
- Leaf chlorosis persists even though readings sit in the target range.
- Calcareous layers, marl, or fizzing with vinegar indicate free lime.
- New site setup where rate recommendations will drive a season of work.
Pro tip: I log meter calibration dates and replace probe storage solution monthly; stable gear prevents phantom drift that wastes a season.
Good diagnosis ends here. You now know the pattern, the number, and the confidence in that number, so the correction step can be sized accurately.
Set a Practical Soil pH Target
Corrections only land well when you aim at a clear number. Pick a soil ph target by plant group, then stop adjusting once the meter sits inside that band for two readings.
What is the ideal pH level for garden soil?
For mixed gardens, 6.0-7.0 is the ideal working range; 6.5 is a reliable center point that keeps most nutrients available. If beds host very different plant groups, split them into zones and assign each zone its own target.
Vegetables and herbs – working ranges and tolerance bands
Most vegetables and common culinary herbs perform in 6.2-7.0. Leafy brassicas tolerate up to 7.2 without issues, while potatoes do better at 5.2-6.0 to limit scab. Hold a 0.3 pH tolerance band around your target. If the reading sits inside that band on two tests a week apart, stop adjusting and let biology stabilize.
Pro tip: For tomatoes and peppers, push toward 6.4-6.8 in cool, wet springs to reduce nutrient tie-up.
Lawns and ornamentals – when to stop adjusting
Cool-season turf stays healthiest at 6.2-6.8; warm-season turf handles 6.0-7.5. Mixed ornamental beds track close to 6.0-7.2, with chlorosis risk rising above 7.8 on young leaves of maple, dogwood, and hydrangea.
Use a simple rule – if the pH is within 0.2-0.3 of the target and growth looks normal, stop. Extra lime or sulfur at that point buys very little and increases drift later.
Acid-loving plants – intentionally lower targets
Azalea, rhododendron, blueberry, and camellia favor 4.5-5.5. Keep that range in isolated beds or raised containers rather than moving an entire yard downward. In regions with calcareous soils and hard irrigation water, hold at the high end of the range and plan for steady maintenance instead of chasing the absolute low number.
| Plant group | Target pH | Outside-range signal | Direction |
|---|---|---|---|
| Vegetables (general) | 6.2-7.0 | Slow growth, pale older leaves | Raise if under 6.0; lower if over 7.2 |
| Herbs (culinary) | 6.2-7.0 | Weak aroma, reduced vigor | Raise under 6.0; lower over 7.2 |
| Lawns – cool-season | 6.2-6.8 | Thin turf, moss pressure | Raise under 6.0 |
| Ornamentals (mixed) | 6.0-7.2 | Interveinal chlorosis | Lower over 7.5 |
| Acid lovers (ericaceous) | 4.5-5.5 | Yellow new leaves, poor bloom | Lower above 5.8 |
| Potatoes (special case) | 5.2-6.0 | Scab lesions on tubers | Lower above 6.2 |
Use the table to assign a number to each bed, then document it. Targets guide the rate choices later and keep corrections tight rather than open-ended.
A clear target keeps inputs modest and prevents over-correction. Record the number in your garden log so every later test has context.
Raise Soil pH with Lime
Acidic beds respond well to lime when material, rate, and timing match soil texture and moisture. Pick the right product, size the dose, then retest on a set cadence to confirm the move.
Choose a liming material
Match material to soil needs and handling limits. Calcitic lime raises pH and adds calcium. Dolomitic lime raises pH and adds magnesium, which helps only when a soil test shows low Mg.
Pelletized granules spread cleanly and release steadily. Pulverized powder reacts faster but drifts in wind and needs incorporation.
Pro tip – If clay reads high in magnesium on past tests, stay with calcitic to avoid tightening the structure further.
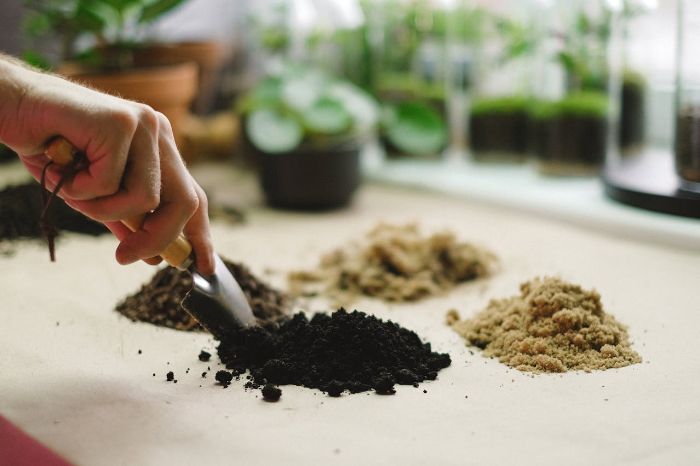
Apply by soil texture and moisture
Texture drives dose. As a field rule for a 6 in working depth, to move roughly 0.5 pH units:
- Sandy soil – 2-3 lb per 100 sq ft
- Loam – 4-5 lb per 100 sq ft
- Clay – 6-8 lb per 100 sq ft
Work new beds by tilling lime into the top 4-6 in. For established beds and lawns, topdress pelletized lime in split applications – no more than 5 lb per 100 sq ft per pass, spaced 6-8 weeks apart, until the seasonal total is met. Apply on calm, dry days, then irrigate 0.25-0.5 in to settle granules.
Pro tip – Keep lime separate from ammonium fertilizers. Space applications by 7-10 days to avoid ammonia loss.
How long does it take for lime to change soil pH?
Under warm, moist conditions, pelletized lime typically shifts soil pH in 6-12 weeks, with full effect showing by 3-6 months. Powdered lime can act sooner after incorporation, but only when moisture is steady. Cold or dry periods slow the reaction; plan adjustments for fall or early spring so weather works with you.
Set a verification rhythm:
- First retest – 8-10 weeks after the first application
- Second retest – 5-6 months after the first application
- If the reading sits within 0.2-0.3 of your target, stop adding lime and switch to monitoring
Application steps and safety
- Wear gloves and eye protection; avoid windy spreads.
- Calibrate the spreader with a small test strip.
- Broadcast evenly in two perpendicular passes.
- Water lightly to settle, then resume normal irrigation.
- Keep granules off foliage; if contact occurs, rinse leaves.
- Store lime dry and sealed to maintain granule integrity.
A measured lime program moves numbers without overshooting. Log dates, product type, and rates so each retest has context and later maintenance stays light.
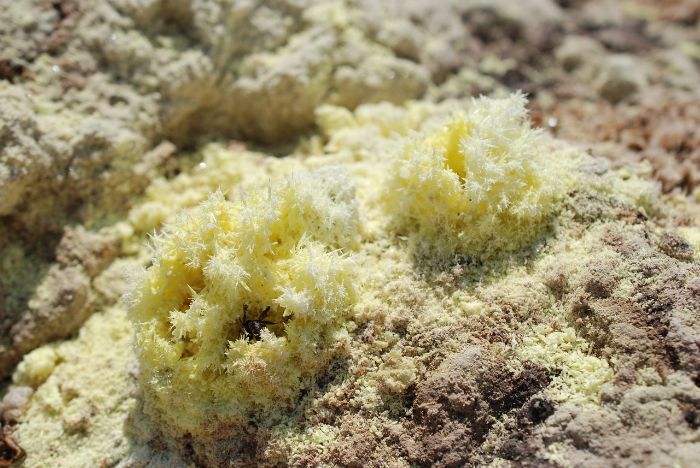
Lower Soil pH with Sulfur
Alkaline ground calls for steady acidifying inputs rather than one heavy treatment. Elemental sulfur is the main tool, but rates and timing must respect soil texture and weather.
Elemental sulfur and aluminum sulfate
Elemental sulfur lowers soil pH by oxidizing into sulfuric acid over time, driven by moisture and temperature. Finer sulfur particles act faster but are dusty and need careful handling. Aluminum sulfate reacts quickly in moist soil, but over-application can burn roots and overload aluminum. Use it only for small beds or fast pH adjustments around ornamentals.
Pro tip – If irrigation water is already alkaline, aluminum sulfate only masks the problem briefly; elemental sulfur remains the sustainable option.
Rates and incorporation depth
Texture drives the dose. To drop soil pH by about 1.0 unit in the top 6 in:
- Sandy soil – 1-1.5 lb per 100 sq ft
- Loam – 2-3 lb per 100 sq ft
- Clay – 3-4 lb per 100 sq ft
Work sulfur into the top 4-6 in for new beds. For established areas, topdress and water in, knowing the change will take longer. Avoid more than 5 lb per 100 sq ft in a single season, as soil microbes need time to process the material.
Organics that move pH vs myths
Peat moss mixed into the top 8 in lowers soil pH moderately and holds the shift for years. Acid-forming fertilizers like ammonium sulfate nudge the pH downward while feeding crops. Pine needles and coffee grounds on the surface have little measurable effect on bulk soil pH, despite the common claim. Gypsum improves soil structure in sodic soils but does not lower soil pH.
Pro tip – I rely on peat or sulfur for true pH movement, then use ammonium sulfate to hold the line season by season.
Lowering soil pH is a steady process, not a quick flip. Track applications, retest on a seasonal schedule, and let biology and weather help carry the shift.
Keep Soil pH Stable After Correction
Shifts from lime or sulfur hold only when you keep watch on inputs and retest at the right times. Stability comes from steady monitoring and simple adjustments, not repeated heavy doses.
Retest cadence and sampling map
Plan for two routine checks each year: one in spring before planting and one in late summer after peak growth. In problem beds, add a mid-season check. Use the same sampling map each time so readings track trends, not random spots. For lawns, 4-6 cores across 500 sq ft are enough; for beds, one composite from 6-8 cores per 200 sq ft works well. Retest sooner if irrigation water changes source or heavy rain leaches nutrients.
Pro tip – I keep a laminated yard map with numbered zones and record each reading beside the number. Over a few years you’ll see patterns that explain plant performance.
Inputs that shift pH over time
Fertilizers, water, and mulches often move the needle slowly. Ammonium-based fertilizers nudge soil downward, while repeated nitrate sources edge it upward. Irrigation water with high bicarbonates pushes soil alkaline over time. Hardwood ash, when used freely, will raise pH, while peat-based mulches will drift it downward. Track those inputs so you know why a test number changed.
Decision flow for corrections
Use a stepwise rule once the soil pH leaves your target band:
- If the reading moves less than 0.2 units from target, monitor for another cycle before acting.
- If the reading moves 0.3-0.5 units, adjust with a light application of lime or sulfur, no more than half the rate used in a full correction.
- If the reading moves more than 0.5 units or plant symptoms appear, treat as a new correction cycle and resample 6-8 weeks later.
- If readings move in opposite directions across adjacent zones, pull a lab sample before applying anything.
A stable soil pH comes from steady recordkeeping and light, well-timed adjustments. Keep your corrections modest, and let seasonal biology hold most of the balance for you.
Practical Wrap-Up
Soil pH management rewards those who move in small, steady steps. Work with numbers, not impressions, and keep each change within 0.5 units per season to protect root systems. If pH drifts outside your target by less than 0.2 units, patience often does more good than more product. When numbers shift by 0.3-0.5 units, half-rate corrections usually bring the soil back without overshooting.
Failure signals worth watching include repeated chlorosis despite nutrient feeding or readings that swing sharply between spring and fall. In both cases, stop adding inputs and run a lab test to confirm what the meter is missing. Retest each zone on a spring-fall cycle, and mark those readings on a yard map to see long-term trends.
- Record pH per zone twice each year
- Apply no more than 5 lb amendment per 100 sq ft at once
- Space applications 6-8 weeks if multiple passes are needed
- Stop when within 0.2-0.3 units of target
- Retest before every new season’s fertilizer plan
FAQ
How do I manage pH when my irrigation water is alkaline?
Test water alkalinity first; bicarbonate above 120 ppm pushes soil upward over time. Blend with rainwater when possible, switch to acid-forming fertilizers such as ammonium sulfate at label rates, and add light elemental sulfur topdressings seasonally based on texture. Retest zones every 8-10 weeks while you adjust the inputs.
Is vinegar a safe way to lower soil pH?
Vinegar changes pH in containers briefly but is unreliable in garden beds. For pots, a mild mix of 1-2 tbsp 5% white vinegar per gallon of water can nudge acidity for a month. For beds, use elemental sulfur to lower soil pH and verify results with follow-up testing.
How should I handle calcareous soils that fizz with vinegar?
Accept a realistic floor near 7.2-7.8 and avoid heavy product chases. Use raised beds for acid lovers, apply shallow elemental sulfur annually at conservative rates, and treat chlorosis with EDDHA chelated iron while you monitor. Retest after warm, moist periods when sulfur activity is highest.
Do I need a meter or a soil pH test kit?
Use a meter when you aim for a tight band of ±0.1-0.2 and can calibrate with pH 7 and 4 buffers before each session. A soil pH test kit is fine for directional decisions within ±0.3. For large purchases or conflicting results, send one lab sample to anchor the numbers.
What if I overshoot with lime and pH rises above target?
Stop any lime for soil pH immediately, switch to neutral or acid-forming fertilizers, and apply elemental sulfur at a conservative rate sized to texture. Favor low-alkalinity water sources and retest in 8-10 weeks before any second pass.
How does soil texture change correction speed and dose?
Sandy soils respond fast with smaller doses, often within 6-10 weeks, but drift more quickly afterward. Clay soils need higher rates and react over 3-6 months, yet hold the result longer. Set your retest cadence to match the texture-driven timeline.
Should pH targets or methods change for containers and raised beds?
Container mixes buffer less, so aim 5.8-6.5 and use small, split doses with a 4-6 week retest. Raised beds turn faster than native ground; start with half the in-ground rate, water consistently, and verify after 6-8 weeks.
When do I switch from active correction to monitoring only?
When two readings a week apart sit within 0.2-0.3 of the target and growth looks normal, stop amendments and move to spring-fall checks. If drift continues in one direction, audit inputs like fertilizer type and water alkalinity before any new correction.