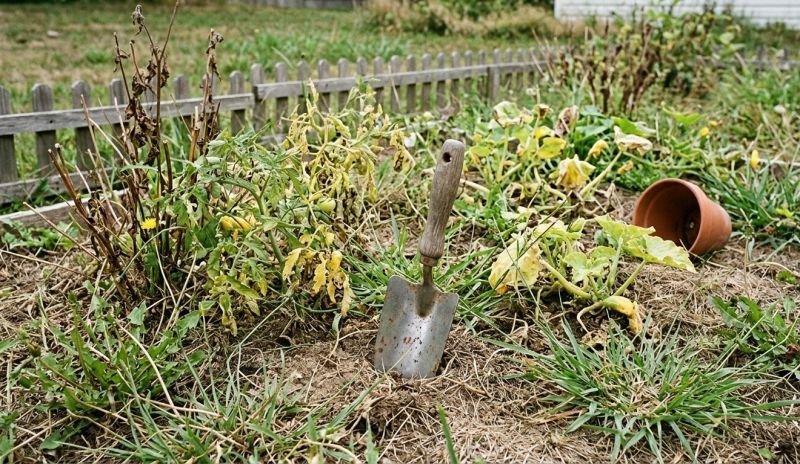
Sprinklers and hoses leave the same scars: thirsty plants at the far edge, muddy walkways near the tap, and hours lost chasing even coverage. Drip irrigation cuts straight through those frustrations by giving you quiet, measured control over every zone. When it’s designed with the right balance of supply and demand, beds fill in evenly, weeds thin out where paths stay dry, and heat no longer topples plants in the late afternoon. The difference is visible within days, and once the system is tuned, it runs in the background while the garden thrives.
Key Takeaways:
- Build zones that prevent hidden weak spots from forming
- Catch the mistake that leaves shrubs dry while beds flood
- Spot faucet strain before it ruins your distribution balance
- Test uniformity with simple checks that expose hidden gaps
- Keep flow smooth by flushing lines after heavy weather
Table of Contents
Plan Zones and Map the Layout
A clear map cuts mistakes and keeps the drip irrigation system simple to build later. Walk the garden at midday and again near sunset to see where heat, wind, and shade truly land.
Group beds by similar needs and exposure
Start with practical zones that share light, plant type, and watering frequency. Full sun areas that run 6-9 hours usually drink more than beds that sit in 3-5 hours of light. Separate zones where soil texture changes sharply or where slope exceeds 5 percent, because those beds accept water at different rates.
If a mixed border forces variety, cluster thirstier plants toward one lateral and drought-tough plants toward another. I flag any newly planted trees as a stand-alone loop so they can get deeper drinks during establishment.
Map mainline and lateral paths
Trace the mainline along durable edges such as fences, curbs, or bed borders to protect the tube and simplify access. Keep routes outside mowing paths and avoid tight corners; aim for broad bends with a radius at least 8 times the tube diameter to maintain flow.
Plan laterals to run with the slope rather than across it where possible. Where a path or driveway must be crossed, draw a short sleeve location now to avoid trenching surprises later. Place service points where they are easy to reach for future flushing and repairs.
Mark emitter density per plant type
Mark dots on the map to show how many emission points each plant group will need without choosing exact hardware yet. Vegetable rows and herb strips often suit a continuous line of wetting, while shrubs prefer several discrete wet spots around the canopy line.
Use a simple rule of thumb for density planning – fine roots need an even wet area, woody plants need multiple wet spots around the feeder roots. Keep the dots a modest distance away from trunks and stems to avoid rot and to wet the active root zone.
A tight plan here keeps later work smooth and prevents zone sprawl. Save measurements, counts, and hardware choices for the next steps once the map holds up in real light and soil.
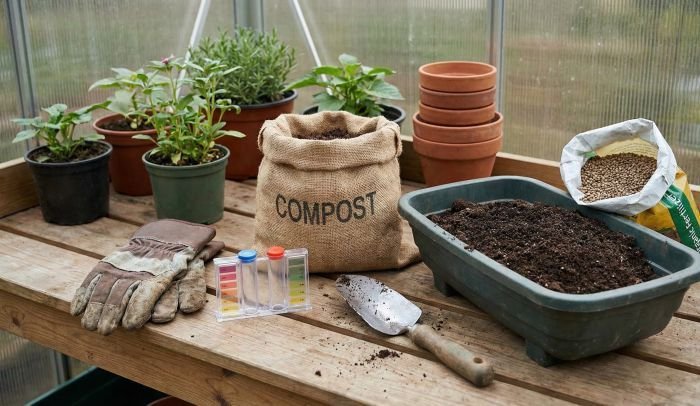
Choose Components for Your Drip Irrigation Kit
Match parts to your water source first, and headaches drop away later. Build a clean assembly at the tap with backflow protection, a serviceable filter, and a regulator, then choose tubing, fittings, and emitters that suit terrain and plantings.
Do I need a pressure regulator for drip irrigation?
Yes – use a regulator set in the 20-30 psi range to keep output even and to stop fittings from popping. Municipal lines often arrive above 50 psi, and well pumps can surge; both push small emitters off spec without regulation. Pair the regulator after a backflow device and filter so debris does not scar its seat.
Use a fixed regulator for simple beds and an adjustable unit when zones vary in elevation.
A screen filter in the 150-200 mesh range handles most garden sediment; switch to a disc filter where algae or fines are common. Clean the filter every 2-4 weeks in peak season or anytime you see misting at emitters, which signals pressure creep or partial clogging. A vacuum breaker or anti-siphon valve protects potable lines and is mandatory in most codes.
Pro tip: install a short union right after the filter so service takes minutes, not an afternoon.
Tubing, fittings, and end caps
Choose UV-stable polyethylene for mains and laterals; it rides temperature swings without cracking. For typical garden beds with moderate runs, 1/2 in mains manage flow well; step up a size if the manifold sits far from the planting areas or if zones branch heavily. Use compression fittings when you want a strong, tool-free seal; use barbed fittings with clamps where lines move or see tugging.
Keep bends broad to protect flow and avoid stress at connectors. Stake mains every 4-6 ft and at each fitting to stop creep. Use threaded end caps or figure-eight closures where you plan seasonal flushes; add goof plugs for quick repairs after a misplaced shovel. If you must cross hardscape, sleeve the line in conduit before you pour or backfill to keep future replacements simple.
Emitter types and best use cases
Pick emitter styles to match plant form and spacing, not brand labels. Uniform canopies like vegetable rows want continuous wetting; shrubs and trees prefer multiple points around the feeder roots.
| Type | Typical flow GPH | Best use | Spacing style | Notes |
|---|---|---|---|---|
| Button dripper | 0.5-2.0 | Shrubs, perennials | Per-plant points | Precise, easy to scale |
| PC button dripper | 0.5-2.0 | Mixed elevation zones | Per-plant points | Holds rate across pressure swing |
| Inline dripline | 0.4-0.6 | Vegetable rows, borders | Even emitter spacing | Hides under mulch, fast to lay |
| Micro-spray/mister | 8-25 GPH | Groundcovers, young beds | Small spray arcs | Higher evaporation in wind |
| Bubbler | 0.5-4.0 | Trees, large shrubs | Per-plant basin | Quick deep soak, avoid runoff |
Pressure-compensating drippers pay off on slopes or where laterals vary in length. Inline dripline disappears under mulch, cuts weed pressure, and survives sun better than exposed button drippers.
Choose hardware that matches your site and maintenance habits, and service stays quick and predictable. With a solid tap assembly and durable connections, later sizing and install go smoothly.
Size Drip Irrigation Tubing for Flow and Run Lengths
Right-sizing keeps output even and prevents weak tail ends, which is the backbone of any garden irrigation system. Measure real supply, convert to a safe design number, then cap emitter counts and run lengths so pressure stays within spec across the zone.
Convert supply to a safe design GPH
Start with a timed fill at the spigot using a 5-gallon bucket. Divide 300 by the seconds it takes to fill to get gallons per minute, then multiply by 60 for gallons per hour. Use only 70-80 percent of that figure for design to leave margin for filters, regulators, and elevation.
If the source is a well pump or a long hose run, test twice: once with nothing else running and once with a typical sprinkler or washer on. Design to the lower result. When elevation changes more than 6 ft across a zone, treat the lower end as the control point and keep total load lighter.
Match emitter counts and run lengths
Translate design GPH into a hard cap on emitters per zone. Divide design GPH by the dripper rate and stop there, then derate another 10-15 percent when laterals get long or branch heavily. Inline dripline behaves like many small outlets; count each outlet in your math, not just the line.
Set conservative run lengths to keep pressure drop in check. As a rule, hold 1/2 in mains to about 200 ft before another feed or loop, and keep 1/4 in branches under 30 ft. On slopes, shorten laterals by 15-20 percent or break the area into two feeds from the main.
Pro tip: if far-end emitters spit air at startup or look lazy at full flow, the line is overdrawn or too long.
Balance manifolds and branches
Good manifolds split flow without starving the last branch. Feed busy beds from both ends or create a loop so the far side receives the same pressure as the near side. Avoid dead-end trees of fittings; favor tees that allow a circular path back to the main.
Where one branch carries high demand, give it a dedicated feed off the manifold and throttle neighboring light branches with small inline valves. If a splitter sits more than 25 ft from the tap, upsize the supply line to cut loss. I confirm balance by running the zone and measuring catch rates into identical cups at near, mid, and far points for 2 minutes.
| Supply GPH (design) | Regulated PSI | 0.5 GPH drippers (max) | 1.0 GPH drippers (max) | 2.0 GPH drippers (max) |
|---|---|---|---|---|
| 120 | 25 | 180 | 90 | 45 |
| 180 | 25 | 270 | 135 | 67 |
| 240 | 25 | 360 | 180 | 90 |
| 300 | 25 | 450 | 225 | 112 |
| 360 | 25 | 540 | 270 | 135 |
Use the table as an upper bound, then trim counts per the run-length limits and branch complexity. Big numbers look tempting on paper, but even distribution wins in the bed.
Sized correctly, zones water evenly without hiss, mist, or soggy near-ends. With flow, length, and branching set, installation can proceed without rehabbing lines later.
Install Drip Irrigation Step by Step
Clean assembly and calm pacing matter more than speed. Work when tubing is warm so it lays flat, and keep a punch tool sharp for tidy holes and tight seals.
How is drip irrigation done step by step?
Start at the tap and build outward so each connection stays square and leak free.
- Assemble tap stack in order: backflow, filter, regulator, timer, quick connector.
- Uncoil mainline along the mapped route and let it relax in sun 20-30 minutes.
- Anchor the start point, gentle corners, and line ends before punching.
- Punch takeoffs perpendicular to the tube; twist a quarter turn to deburr.
- Run laterals with the grade where possible and avoid tight kinks.
- Place outlets for the plant form: continuous line for rows, multiple points around the canopy line for shrubs and trees.
- Flush open line ends 60-90 seconds to clear fines.
- Cap, pressurize, and walk the zone for weeps, mists, and loose joints.
Lay mainline and punch clean fittings
Set the mainline on firm edges or mulched borders so foot traffic and mower wheels do not rub fittings. Keep curves broad and avoid stacking fittings back to back, which creates bottlenecks and stress.
Punch on a flat pad and press the takeoff straight in until it seats fully. If a hole lands off position or oval, plug it with a repair insert and re-punch nearby. Use service friendly end closures that open quickly for future flushes.

Pro tip: add a short upright with a threaded cap at low spots to make draining fast before winter.
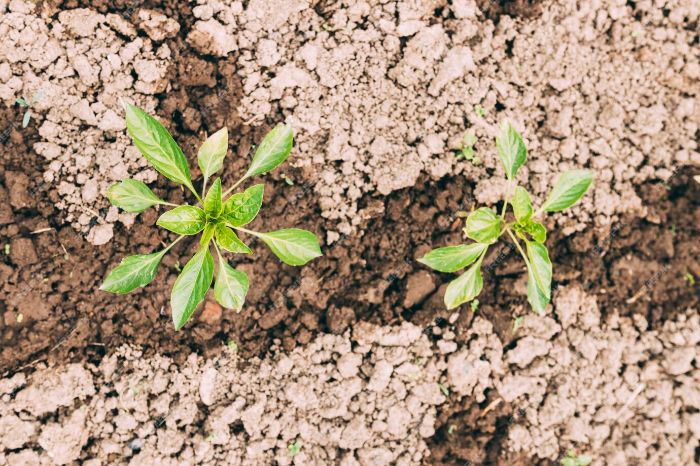
Place and stake emitters at the root zone
Aim water where feeder roots actually drink. For leafy rows, lay inline drip along the crop line so wetting overlaps lightly. For shrubs, set 2-4 outlets spaced around the canopy line; for young trees, use several outlets in a ring and expand that ring as the canopy grows. Keep outlets a small offset from stems to prevent rot and to wet the active roots.
Seat stakes so tubing cannot wander during heat cycles. Where wind is common, choose low arc micro sprays or switch to point drippers to cut evaporation. Raise micro sprays just high enough to clear foliage without throwing water outside the bed.
Flush, cap, and pressure test
Open every terminus and run water long enough to push out air and debris, then close ends and bring the zone to operating pressure. Watch for fine mist at emitters and hiss at fittings; both indicate pressure creep, partial clogs, or a loose seat.
If far outlets look weak, add a second feed to that lateral or shorten the run. Tighten any suspect joints by hand first, then with a gentle quarter turn using pliers if the fitting design allows. I recheck after the first full heat day because warmed tubing can relax and uncover small leaks.
A careful first run saves days of chasing small faults later. With lines seated, outlets staked, and a clean pressure test, the system is ready for runtime setup.
Set Run Times and Fine-Tune for Even Moisture
Runtime comes from plant demand and outlet flow, not the clock on the timer. Convert water needs to minutes, split delivery into short cycles for better infiltration, then use first-week checks to dial it in.

How to calculate how long to run drip irrigation?
Start with minutes = target gallons per plant ÷ total GPH reaching that plant. Two 1.0 GPH outlets delivering 2 gallons need about 60 minutes total for that plant. For a zone, add up the flow of all active outlets and divide the zone’s target gallons by that number to get total minutes.
Keep a safety margin. Run only 80-90 percent of the math on day one, then add time if foliage flags late afternoon. Where beds mix shallow-rooted annuals with woody plants, program separate zones so heavy drinkers do not force long cycles on light users.
Use cycle and soak by soil and slope
Short, repeated cycles push water deep into the profile without puddling. Sandy beds take fewer, longer pulses; tight clay likes several short pulses so water has time to move sideways. On slopes above 5 percent, split runtime into at least three parts to reduce movement downslope.
Starting guide: sand 2-3 cycles at 8-12 minutes each, loam 1-2 cycles at 15-20 minutes, clay 3-5 cycles at 5-8 minutes. If surface sheen appears or tiny rills form, cut each cycle by 25 percent and add one more pass. If soil stays powder dry 2 inches down after a full program, lengthen each cycle by 2-4 minutes rather than adding one long soak.
First-week checks and adjustments
Validation early prevents chronic dry spots. Make a narrow slice with a trowel and feel the core at 3-4 inches; it should feel cool and hold shape without smearing. Check the near, middle, and far ends of each lateral the morning after watering and again at late day when stress peaks.
Failure signals guide the fix. Wilting before noon means under-delivery or clogged outlets – add 10-15 percent runtime and inspect emitters. Leaf tip burn with damp soil points to too much frequency – keep total weekly gallons the same but reduce cycle count. Ponding near the head of a lateral means the cycle is too long – shorten individual cycles and add one more pass. I log small changes on day 1, 3, and 7 so the schedule settles before heat spikes arrive.
- Quick start baselines:
- Sand – 2-3 cycles, 8-12 minutes each.
- Loam – 1-2 cycles, 15-20 minutes each.
- Clay – 3-5 cycles, 5-8 minutes each.
- New plantings – add 25-40 percent for the first 14 days.
- During hot, dry spells – add one extra early morning cycle.
Set the timer to match plant demand and soil behavior, then keep notes on response. Small tweaks during the first week build a schedule that holds up through weather swings.
Practical Wrap-Up
Commission a new drip irrigation system like you’d tune a tool: verify, adjust, then set a simple maintenance rhythm. Run the zone under load and read the regulator with water flowing; the gauge should sit within 2-3 psi of target. If runtime tweaks drift more than 25 percent from the math after a week, reduce emitter count on the longest lateral or split the zone.
Uniformity matters. Sample three outlets near, mid, and far using a kitchen scale – collect 60 seconds of flow into cups and weigh them; variation should stay within 10-15 percent. If the far point trails, add a second feed, shorten that run, or upgrade the main to cut loss. If the head of a lateral stays wet while the tail lags, break cycles into smaller pulses and add one pass.
Keep a lightweight care cadence. Backflush filters after storms or algae blooms. Open line ends at the start of each month until water runs clear, then reseat caps. Before frost, drain low spots and leave caps finger-tight so trapped water can escape. I keep a small kit on hand – spare couplers, goof plugs, a few pressure-compensating emitters, and a clean punch.
- Verify pressure under flow, within 2-3 psi.
- Spot-check output by weight, 10-15 percent spread.
- Trim longest laterals or add a second feed.
- Flush line ends monthly, reseat caps afterward.
- Drain low points before freeze, store spares dry.
FAQ
Can a drip irrigation system run from a rain barrel without a pump?
Gravity alone rarely delivers steady pressure. You get about 1 psi for every 2.3 ft of elevation, so raising a barrel 8-10 ft helps but still trails the 20-30 psi most regulators expect. For reliable output, add a small inline pump or choose low-pressure tubing and short runs, and keep emitters with larger passages in the half to one gallon per hour range to resist clogging.
Is it okay to bury drip lines, or should they stay on the surface?
Under mulch is ideal because it protects tubing and reduces evaporation. If you must bury in soil, keep depth shallow at 1-2 inches so you can service fittings and prevent root intrusion. Avoid burying micro-sprays; they work best just above foliage. Mark flush points with stakes so you can find them later.
Can I mix drippers and micro-sprays on the same zone?
Avoid mixing because micro-sprays apply water many times faster than point drippers, which makes scheduling uneven. If you must combine them, isolate the sprayers on a small manifold leg with a control valve, keep branch lengths short, and set run time to meet the sprayers while limiting their count so drippers do not fall behind.
How do I winterize quickly without special tools?
Close the supply, remove the timer and regulator for storage, open line ends and any low-point drains, and run the faucet briefly to purge water. Leave end caps finger-tight so trapped moisture can escape and cover exposed fittings. Where freezes are severe, use low-pressure air at 10-15 psi to push out pockets, then reseal.
What fixes uneven output on a slope when the top plants stay dry?
Feed long beds from both ends or create a loop so pressure equalizes, use pressure-compensating drip irrigation emitters, and break long laterals into shorter segments. Shorten cycle length and add one more pass so water settles between pulses rather than sliding downslope.
How do I keep hard water from clogging emitters during summer?
Use a disc filter ahead of the regulator, flush lines after long hot spells, and soak removable emitters in plain white vinegar for 20-30 minutes to lift scale. If deposits return quickly, switch to emitters with wider passageways and schedule a short flush after each fertilizer run.
Can one faucet handle multiple zones for a backyard install drip irrigation project?
Yes, if zones run one at a time through a manifold or multiple timers. Keep the combined flow of the active zone within the faucet’s supply, leave a 20-30 percent buffer for losses, and place the manifold close to the tap to reduce pressure drop across long feeders.
What is the cleanest way to add containers to an existing line?
Tee off the nearest lateral with microtubing, keep each microtube under about 8-10 ft, and use one or two small drippers per pot placed near the outer roots. Run containers on their own valve when possible so you can water daily in heat without overwatering the beds.