
How to save tomato seeds for next year depends on choosing ripe, healthy fruit and drying the extracted seeds thoroughly before cool, dry storage. A short fermentation helps loosen the gel so the seeds rinse clean, but it is not the only workable method. The parent plant matters just as much: seed from a known open-pollinated tomato can preserve a favorite variety, while seed from an F1 hybrid may produce very different offspring.
A good-tasting tomato is tempting to save on the spot. Before cutting it open, find the variety name and check the plant’s health. Then keep each batch separate through cleaning and drying. A jar packed too soon can trap moisture; an envelope without a label can lose its identity. Neither problem is solved by a longer ferment. Finish with a germination check before committing next spring’s seed trays.
Choose the parent before choosing the jar
Known open-pollinated
Use sound, fully ripe fruit. Preserve the variety name and consider whether nearby tomatoes could have crossed.
F1 or unknown source
Save as an experiment. Sprouting does not promise the same flavor, fruit size, or plant habit.
Visibly diseased
Choose another healthy source. Fermenting the pulp cannot guarantee disease-free seed.
For a clean batch: extract pulp, ferment briefly, rinse, air dry, then label and store. For a simpler batch: spread mature seeds directly on a nonstick surface and dry completely.
Key Takeaways
- Check the original packet before expecting identical tomato offspring.
- Keep varieties separate through extraction, washing, and seed drying.
- Judge fermentation by loosening gel, not surface mold alone.
- Avoid heating wet seeds to rush them into storage.
- Test a sample early enough to replace a weak batch.
Table of Contents
How to Save Tomato Seeds for Next Year With Known Genetics
Start with the original seed packet, nursery tag, or supplier description. Look for open-pollinated or F1 hybrid, then record the variety name. Heirlooms are commonly open-pollinated. The name alone cannot tell you whether a particular flower received pollen from another tomato.
Open-pollinated varieties can reproduce their recognizable traits when unwanted crossing is prevented. An F1 hybrid comes from a deliberate cross between parent lines. Its saved seed forms the next generation, in which traits can separate into different combinations. That is the distinction used in University of Florida IFAS Extension’s seed-saving guidance: predictability depends on breeding history and pollination.
Hybrid does not mean sterile.
If an F1 was your favorite, decide whether variation would be welcome. Save a small experimental batch if it would; buy fresh seed of that F1 if next year’s crop needs to match. Seeds from a supermarket tomato with no cultivar information are experimental too. You cannot predict their offspring from an unknown breeding history.
Self-pollination lowers crossing risk without removing it
Tomato flowers usually pollinate themselves. Insects can still move pollen between varieties, and flower structure changes how easily that happens. The red fruit in your hand cannot prove that every seed inside was self-pollinated. Genetic differences may appear in the plants grown from those seeds.
For stricter variety preservation next season, protect selected unopened flower buds with breathable blossom bags, then mark the resulting fruit. Bagging a flower after it has already opened cannot undo earlier pollination. Avoid plastic bags, which can trap heat around the flower. Casual seed saving and maintaining a named line have different tolerance for uncertainty; label an unprotected batch honestly.
Fully Ripe Fruit Gives the Seeds Time to Mature
Choose a plant that stayed healthy and produced the traits you liked, then let suitable fruit reach full ripeness on the vine. A tomato ready for seed collection should have its cultivar’s mature color and yield slightly under gentle pressure. Red is not the standard for every variety; yellow, orange, purple, and green-fruited tomatoes have their own mature appearance.
Seed collection belongs at the ripe end of tomato fruit development. Do not choose a hard, immature fruit simply because the season is ending. Nor do you need to wait for sound ripe fruit to rot.
Keep visibly diseased plants and damaged, decaying fruit out of the batch. Healthy mother plants and sound fruit are the starting criteria in Mark Hutton’s University of Maine seed-saving bulletin. Fermentation later on cannot compensate for a poor source.
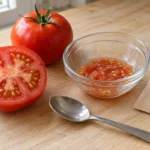
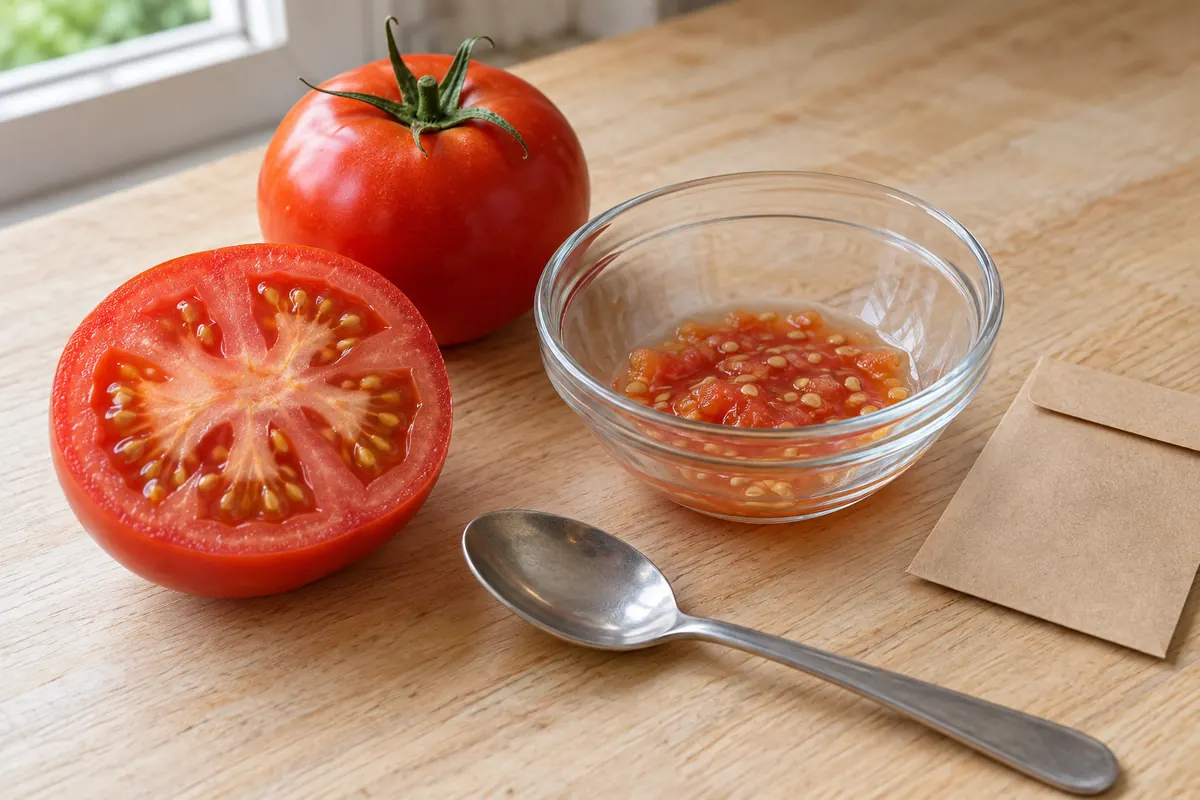
Wash dirt off the fruit, use a clean knife and container, and cut it open. Scoop or squeeze the seeds and surrounding pulp into a labeled cup or jar. The seeds are small and pale inside slippery, glossy gel; collect that wet seed material and leave the bulk of the flesh behind. Process one variety at a time.
Fermentation Loosens Gel Before the Seeds Are Rinsed
Fermentation breaks down the pulp around tomato seeds, making the small seeds easier to separate and clean. It is useful for an open-pollinated batch or an experimental hybrid batch alike. Cleaning changes the coating; it does not change the genetics.
A practical starting method is the short, room-temperature ferment used in New Mexico State University’s wet seed-processing procedure:
- Put extracted pulp and seeds into a clean container, adding a small amount of water.
- Cover loosely or use an air-permeable cover. Keep the container at room temperature, away from direct sun.
- Stir daily and inspect the batch as the gel loosens. That method uses about two to three days; use the changing pulp condition as well as the elapsed time.
- Once the gel has broken down enough to separate the seeds, remove the surface mat and rinse away the loosened residue.
Other Extension methods use longer examples or different amounts of water. Do not combine their longest timings with a different recipe and assume more fermentation is better. A cooler room and a warm kitchen do not run at the same pace. Daily checks let you catch the point when the seeds are ready to clean.
Cloudiness and surface growth are process clues
The liquid can become cloudy and the gel lose its thick, slippery hold on the seeds. A surface film or some mold can develop during a normal short ferment. Those changes alone do not mean the batch has failed, and visible mold is not a requirement you must wait for.
Loosened pulp that washes away is more useful than chasing a particular mold color. There is no reliable home rule that every surface growth is harmless, especially after prolonged neglect. If you cannot tell what happened to an abandoned batch, start again with sound ripe fruit.
Rinse gently and keep flotation separate from viability
Add fresh water, stir gently, and let the heavier seed settle before carefully pouring off loose pulp. Repeat as needed, or use a fine mesh strainer that retains the tiny seeds. A bowl underneath catches any escaped seeds so you can return them to the batch.
Even viable seeds can remain suspended in floating gel, a detail described in West Virginia University’s tomato-seed procedure. Do not discard an intact seed just because it floated in the original pulp. Settling helps clean a batch; it cannot certify that every retained seed will germinate.
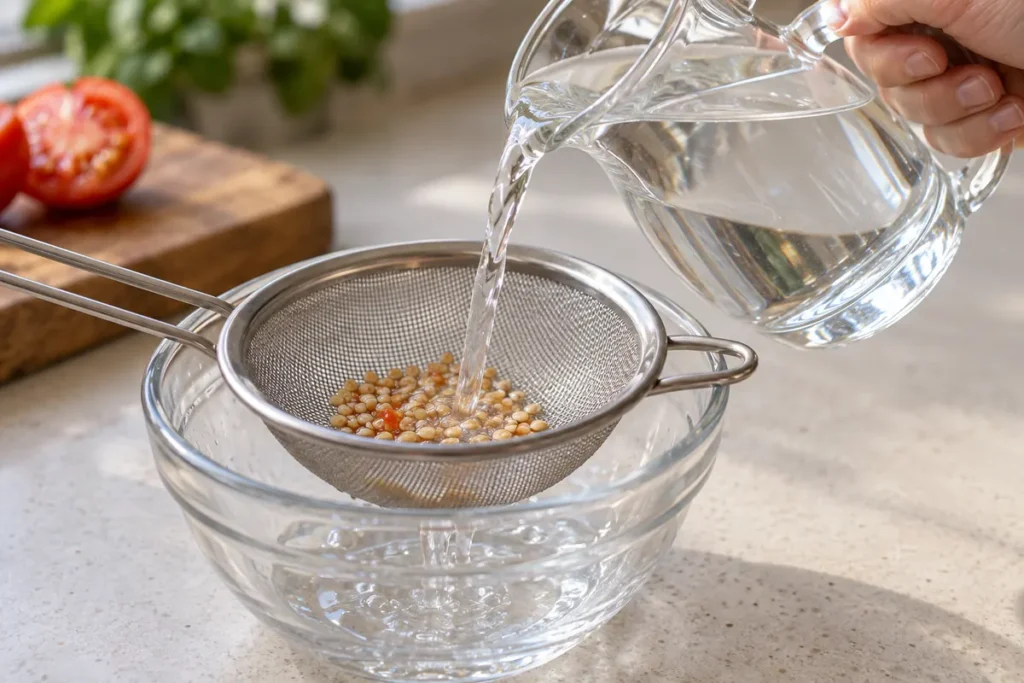
Fermentation may reduce some microorganisms associated with seed. It does not sterilize the batch or remove every seedborne disease. Choose healthy fruit for the seed lot from the start.
Direct Drying Can Preserve Seeds Without Fermentation
Tomato seeds do not have to ferment before they can be saved. Fully mature seeds can be squeezed onto wax paper or a suitable screen and left at room temperature until thoroughly dry. That direct-drying method for tomato seeds is included in Utah State University’s guidance.
Spread a small batch thinly, separate seeds as practical, and remove bulky pieces of flesh. Retained gel makes sticking and clumping more likely, so a thick smear of pulp needs more attention than individually separated seeds. Full drying remains part of this method.
Use fermentation when gel removal and a loose, clean batch would make handling easier. Use direct drying when a small quantity and a simple setup suit you. Either route still needs a healthy ripe source, separate labels, gentle drying, and suitable storage. Neither method turns F1 offspring into copies of their parent.
Gentle Air Drying Removes Moisture Before Sealed Storage
Drain washed seeds, then spread them in one thin layer on a smooth nonstick surface or suitable screen. A clean ceramic saucer is an easy choice for a small home batch. Coffee filters are another commonly used surface; absorbent paper towels can hold seeds tightly enough that removal becomes awkward.
Give each variety its own surface and put the label beside it immediately. Move small clumps apart early in drying. Clean seeds should not be sitting in a puddle or buried beneath fruit residue. Leave them in a dry room with air movement, out of direct sunlight and away from heat sources.
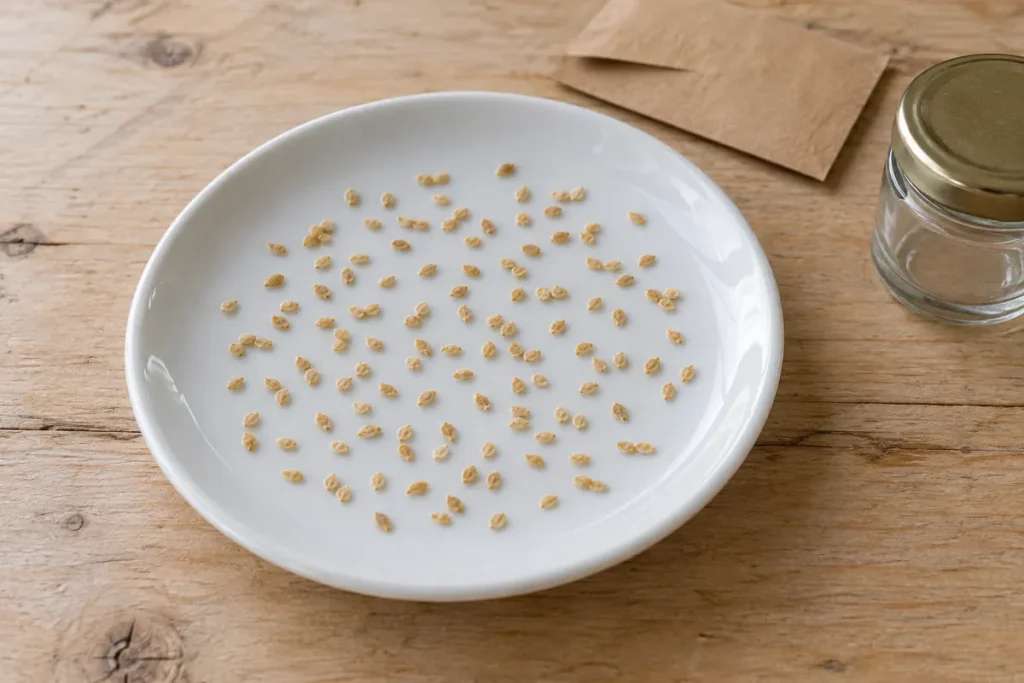
Drying changes a wet, shiny batch into separated seeds without moist pulp between them. Those visible and tactile changes help you inspect progress. A dry-feeling surface after a few hours does not measure moisture inside the seed. Allow thorough drying before packing, especially when room humidity is high.
Do not use an oven, a hot food dehydrator, or a sun-baked windowsill to hurry the process. Drying seed for planting is different from drying food: heat can damage the living embryo you need next spring. More time in gentle conditions is preferable to a fast hot treatment.
Allow room in your schedule for drying to take days or weeks. Humid air, poor circulation, remaining gel, and clumps can all delay it. A calendar cannot confirm readiness. If moisture or sticky residue remains, keep the seed spread out and check the drying conditions before packing.
Cool, Dry Storage Limits Deterioration and Condensation
Put thoroughly dried seed in a labeled envelope, then protect the envelope from household moisture in a tightly closed glass jar or similar container. Write the variety or source, the collection year, and whether the batch came from an F1 or an unknown parent. Add pollination-control notes when preserving a named variety matters.
Store the container somewhere cool, dry, and protected from light. A cool closet can work; a hot garage, damp shed, or counter beside the stove is a poor choice. Keep the batch away from repeated heat and moisture swings throughout the off-season.
Warm a refrigerated jar before opening it
A refrigerator is an option once the seed is completely dry and protected in a sealed container. When taking the jar out, leave the lid closed until it approaches room temperature. Opening cold seed to warm, humid air can put condensation where you worked to remove moisture.
Cold glass that fogs or gathers droplets makes that change visible. Keeping the lid closed during warming protects the contents from the room’s damp air. Refrigeration is not a remedy for packing wet seed.
Keep the seed label with your winter seed inventory so you know which batches need testing before ordering replacements. Good labeling preserves the information; good storage preserves the seed. Initial quality and storage conditions determine how long each lot remains viable.
A Spring Test Shows Whether the Embryos Still Grow
Test the batch about a month before you intend to sow it. The moist-paper-towel method used in Iowa State University’s germination guidance gives you time to replace weak seed. It measures sprouting in a sample. Parent genetics and pollination history determine varietal identity separately.
- Count out a representative sample. Use at least 20 seeds if you have enough. Smaller samples are possible for limited batches and give less confidence.
- Spread the seeds apart on a damp paper towel. Fold it over them and place it in a plastic bag so the towel stays moist.
- Keep it warm, around 70-80 F, away from direct sun. Moisten the towel and let excess water drain before using it.
- Inspect after two or three days, then daily. Count emerging roots and continue until sprouting has stopped; do not condemn the batch at the first early check.
- Divide sprouted seeds by seeds tested. For example, 16 sprouts from 20 seeds is an observed 80% in that sample, not a promise for every seed in the envelope.
If few seeds sprout, check that the towel stayed moist and the test stayed warm before blaming storage. Repeat an uncertain test if seed supplies allow. Then decide whether you can sow extra seed or whether fresh seed would better fill the number of planting spaces you need.
A good test followed by poor tray emergence changes the diagnosis. Check sowing conditions and seedling problems such as persistent saturation before rejecting the remaining seed. After testing, schedule spring planting around frost and soil conditions; an early check need not become an early sowing.
| What you find | What it tells you | Next action |
|---|---|---|
| F1 or unknown parent | Offspring identity is uncertain. | Label as experimental, or use known seed for a repeat crop. |
| Seeds held in floating gel | Cleaning is unfinished; flotation alone is inconclusive. | Loosen and rinse the gel, then test the dried batch later. |
| Wet residue before packing | Moisture will be trapped if the batch is sealed. | Separate clumps and continue gentle drying. |
| Poor spring germination | Seed quality or test conditions need checking. | Confirm moisture and warmth, then repeat or replace the batch. |
Conclusion
Save a tomato’s identity before saving its seeds: record the parent, choose healthy ripe fruit, and keep batches separate. Ferment to loosen gel or use a direct-dry method, then give the seed time to dry fully before sealing it away. Cool, dry storage carries the batch through winter; a spring germination check shows what survived. Whether it grows into the same favorite tomato still depends on the parent and its pollination history.
Frequently Asked Questions
Can I combine seeds from several plants of the same variety?
Yes, when the plants are healthy, belong to the same known variety, and meet the same pollination-control goal. Collecting from several suitable plants can retain more genetic diversity. Keep different varieties and uncertain parent sources separate.
Can I save seeds from cherry tomatoes?
Cherry tomatoes follow the same basic process. Choose healthy, fully ripe fruit. Check whether the plant was open-pollinated or F1 to understand how predictably its saved seed will reproduce it.
Can I plant the seedlings from the germination test?
Sprouted test seeds can be planted if the timing fits your indoor-starting plans. Move them into suitable growing mix without damaging the new root or shoot. An early winter test is not a reason to keep seedlings growing indoors for months.