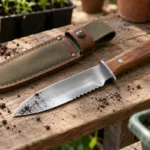
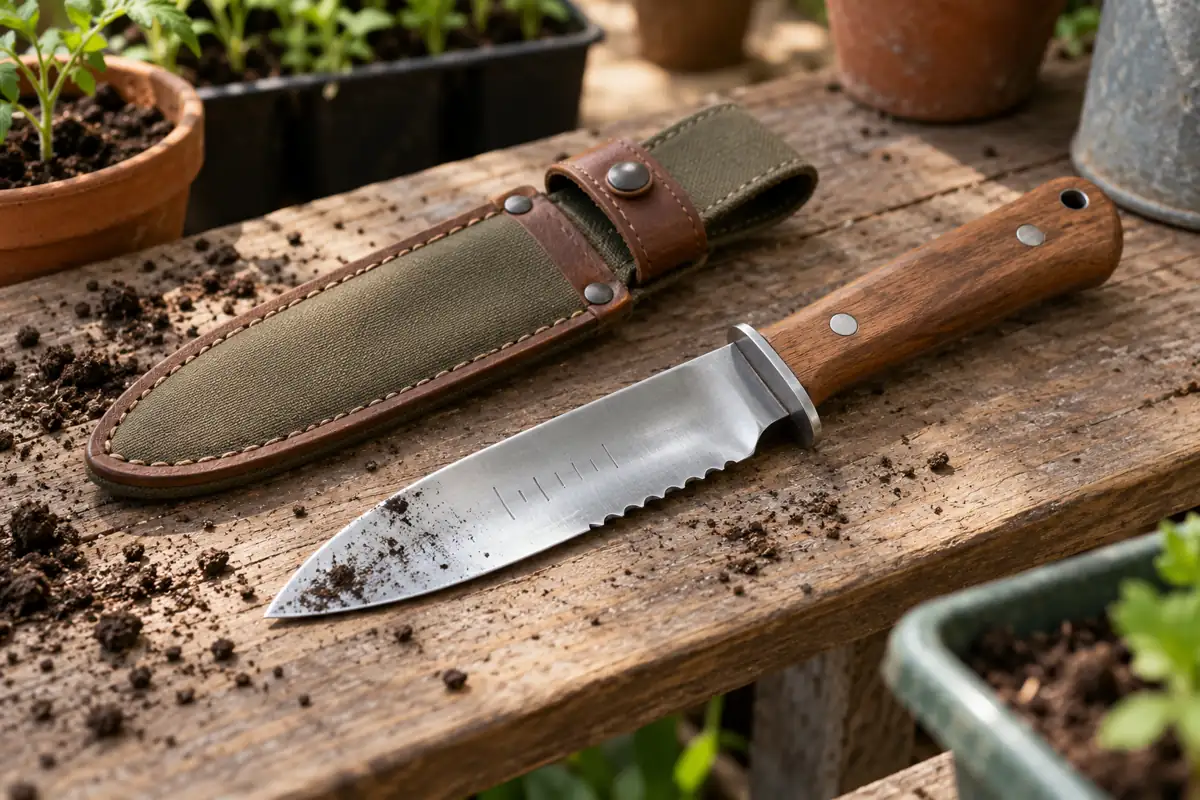
A hori hori knife is a pointed garden soil knife that combines small digging jobs with controlled cutting. Many models have a slightly scooped blade, a smooth cutting edge and a serrated edge. Some also carry depth markings. Those features can help with a weed between crops or a small planting hole, provided the blade suits the task.
Use it as a knife even when you are moving soil. Keep your free hand clear, stop at hard resistance and sheath it before carrying it. A narrow blade does not replace a broad trowel for moving loose mix, a fork for lifting a large clump or a saw for substantial wood. Start by matching the working edge and motion to the job. Then check the plant’s roots, the soil condition and the model’s own instructions before pushing, cutting or measuring.
Match the job before choosing the edge
- One weed: loosen beside its root, then withdraw the blade before pulling. Stop if the crop’s root ball starts moving.
- Small transplants: scoop a hole that fits the whole root ball, not a narrow slit.
- Bulbs: use its planting instructions, then measure from the base to the finished soil surface.
- Perennial division: identify and lift the clump first; cut only where a viable division and safe support are possible.
Key Takeaways
- Match the pointed scoop and cutting edges to small tasks.
- Keep your free hand outside the entire possible blade path.
- Loosen beside weed roots without levering neighboring crops upward.
- Measure bulb depth from its base using plant-specific instructions.
- Clean, dry and sheath the knife after appropriate edge care.
Table of Contents
A Hori Hori Knife Combines a Pointed Scoop With Cutting Edges
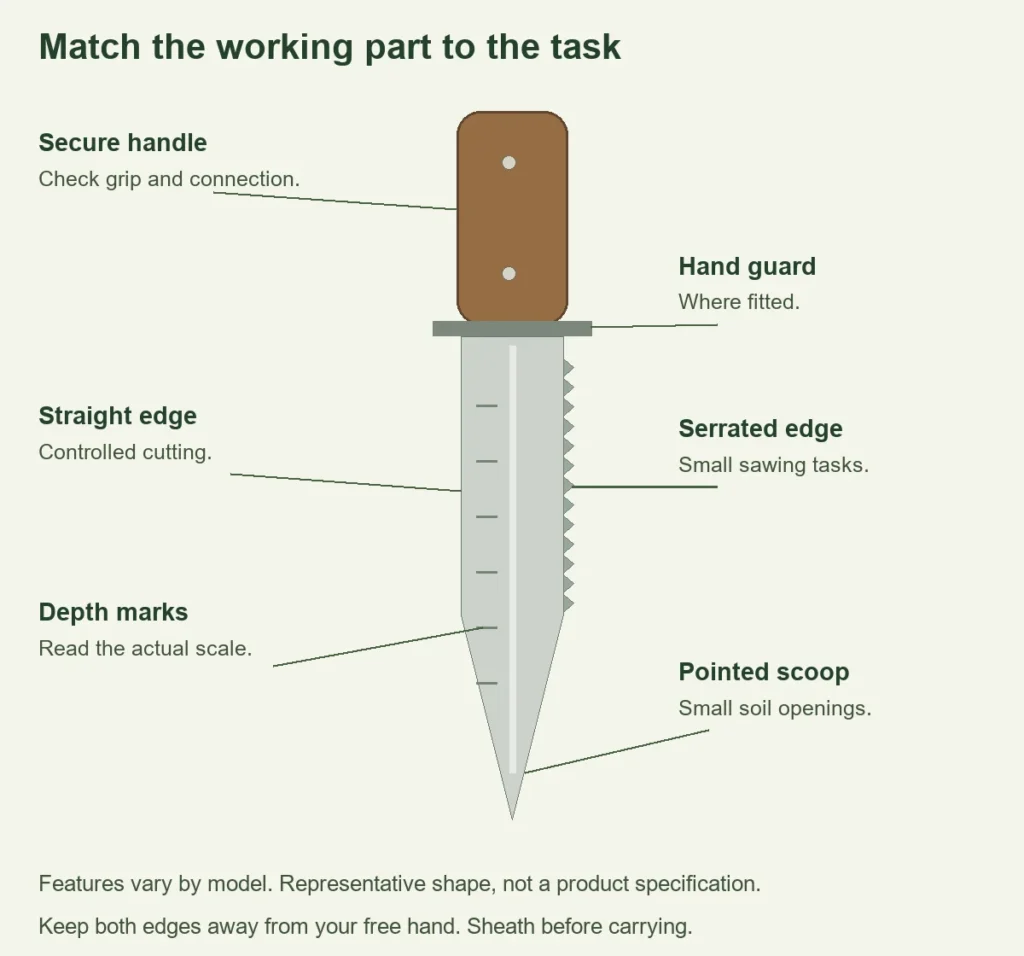
The narrow concave blade can lift small amounts of soil. Its point enters a confined area, the smooth edge makes controlled cuts and the serrated side can saw suitable small material. These combined functions fit the trowel, saw and knife description in Kansas State Extension’s tool guidance. That describes its functions, not a tested claim that it replaces all three for every job.
Check which edges are sharp before handling one. A second cutting edge increases the places your hand can contact. A guard can help separate the grip from the blade, but it does not make slipping harmless. Hold only the handle and keep fingers behind the guard where fitted.
Blade length, curvature, steel, handle and markings vary. Full tang means the blade’s metal continues through the handle; it is a construction feature, not permission to pry against rocks. Inspect the handle connection for looseness and damage regardless of how the tool is described.
For frequent carrying, check that the sheath fits and retains the knife securely. Both cutting sides and the point should be protected. Read the scale before relying on it: establish the units and where measurement starts. Decorative lines are not a substitute for a readable ruler.
Choose the Tool by Soil, Space and the Material You Need to Move
A soil knife is useful for close, small-scale work where its narrow shape gives control. A broad scoop is better suited to moving loose potting mix. Match the trowel’s scoop and handle to that job before assuming a knife is an upgrade.
| Garden job | Where the soil knife fits | When to choose something else |
|---|---|---|
| A weed among established crops | Small controlled loosening beside an identified root | Deep or tangled roots may need a dedicated weeder, fork or repeated control. |
| A small plug or isolated bulb | Opening and measuring a manageable hole in workable soil | A broad root ball or many large holes favors a trowel, bulb planter or spade. |
| A suitable lifted perennial clump | Controlled cuts through manageable roots on stable support | Dense woody crowns need an appropriate larger tool or a different propagation method. |
| Loose soil or a large bed | Occasional small scoops | A trowel, shovel or long-handled tool suits larger volume and repeated upright work. |
| Substantial woody stems or branches | Not a general pruning-saw substitute | Use a correctly sized pruning tool with the plant-specific cutting method. |
For woody stems, pruner type and capacity matter more than whether the knife has serrations. Stop when a short blade needs excessive force. A saw-like edge on a hand knife does not establish a safe branch diameter.
Choose grip and weight for the actual gardener. A large heavy handle can become tiring, and a short blade often means close-to-ground work. Oregon State’s adaptive-gardening guidance includes lighter tools, padded grips and longer handles where useful. A soil knife is optional if another tool or posture gives better control.
Keep the different garden tool shapes and uses in mind when assembling a small kit. Purchase for recurring jobs, not for an untested promise that one implement will do everything.
Loosen Beside the Weed Before Pulling Against Its Roots
Identify the weed and inspect the space around the desired plant. Young annual seedlings and persistent taproots do not respond to the same removal. Perennials can regrow from surviving roots or underground stems. A cleanly sliced top is not proof of control.
Slightly moist, crumbly soil is easier to work than a hard dry clod. Sticky saturated soil smears and compacts, so postpone the job until it is workable. For manual weed removal in a close bed, keep soil disturbance limited to the target area.
- Find the weed’s crown and likely root path. Note nearby crop stems, roots and irrigation lines before inserting the point.
- Enter beside the weed root. Keep the free hand outside the blade’s possible path. Make small controlled movements to loosen surrounding soil.
- Watch the crop-side soil. Stop if the wanted plant’s root ball moves or the root path disappears underneath it. Do not keep levering for a perfect pull.
- Withdraw and secure the blade before pulling. Grip the loosened weed and lift as much viable root as practical. Close disturbed soil around the crop without burying its crown.
- Inspect for regrowth. A broken taproot or remaining spreading stems may need a different tool or follow-up method.
A dedicated dandelion digger can be more suitable for a long taproot. Confined-area use and tool choices appear in Oregon State’s hand-weeding guidance. Do not blindly saw through roots extending beneath a crop.
Shallow cutting of small surface weeds is a different motion from excavating a root. Maryland Extension separates those methods. A cultivation depth used for young weeds cannot be treated as a universal knife setting for bulbs, transplants or deep perennials.
Open Enough Soil for the Plant, Then Use the Markings to Check
Inspect the nursery root ball before digging. The hole needs to receive it without folding or crushing the roots. Lift small portions of soil with the scooped side and widen the opening as needed. Keep the cutting edges away from neighboring plants and unknown roots.
Move a healthy plug with its soil intact, using the crop’s transplanting instructions. Do not squeeze a soft stem or routinely slice a sound root ball just because a sharp tool is available. Set the plant at its appropriate depth, bring soil into contact around it and water according to the plant and site.
If the blade barely enters or sticky clay smears across the hole, stop. Changing soil condition, timing or tool is more useful than forcing a small knife into repeated twisting. A wider trowel or spade can make a large planting hole without pretending the knife’s width is enough.
Depth markings measure the hole; the bulb determines the target
Read the bulb’s identity and package instructions first. Minnesota’s bulb guidance makes depth and spacing dependent on the bulb and soil. Once the target is chosen, measure from the bulb’s base to the finished soil surface. The top of the bulb and the top of an irregular soil heap are different reference points.
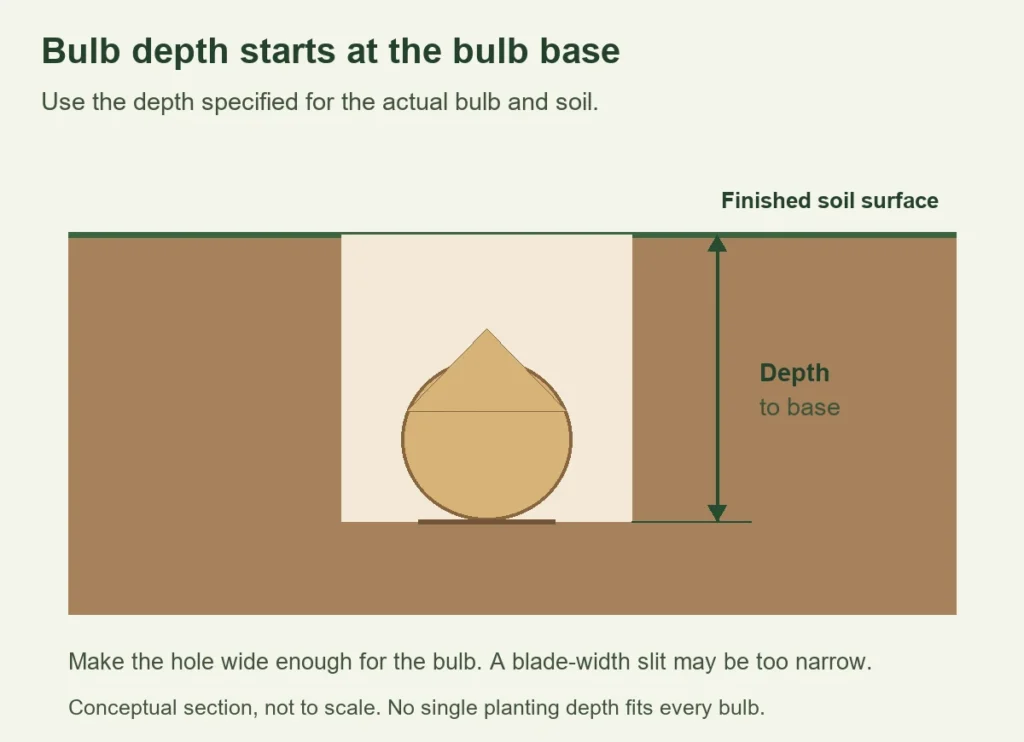
Check the actual graduation against the intended surface level, then seat the bulb without squeezing it into a blade-width slit. Cover and finish the surface as the bulb instructions require. A long blade does not mean every bulb belongs at its full insertion depth.
For a group of large bulbs, a bulb planter, broad trowel or spade may better match the repeated digging. A soil knife suits isolated small openings; choose the workload and hole size before choosing the tool.
Lift the Clump and Find Viable Divisions Before Cutting
Identify the perennial and check whether division is appropriate. Some plants separate readily; others have dense roots or resent disturbance. Baptisia is a notable poor candidate in Minnesota’s guidance. Do not divide every crowded-looking plant by cutting equal wedges.
Prepare to lift the clump with an appropriate fork or spade. If the soil is dry, water ahead as the plant’s care permits. Choose suitable weather and timing for that species, avoiding unnecessary exposure of roots to drying heat.
Once lifted, remove enough loose soil to see crowns, shoots and roots. Tease apart sections that separate easily. If a knife cut is needed, support the manageable clump on a stable surface and identify a path that leaves viable roots and growing points on each intended piece. Keep the free hand out of the cut’s continuation.
A large woody crown is a reason to change tools or method. Do not hold it in one hand and force the knife toward that hand. Protect viable divisions from drying and replant promptly at the species’ correct depth. The necessary number of shoots or eyes is plant-specific; a generic count cannot replace that check.
Grip, Cut Direction and Hard Resistance Set the Working Limits
Inspect the knife before work. A loose handle, damaged guard, cracked blade or sheath that no longer retains the tool needs attention before use. Soil on a handle can also change the grip. Keep movements controlled and low, with a clear space around you.
Think beyond the intended cut: where will the blade go if the root releases suddenly? Keep your free hand and body out of that path and away from the opposite sharp edge. Gloves can improve grip; they are not a guarantee against cuts.
Stop at stone, a large woody obstruction or an unidentified buried object. Clear and identify the obstruction safely with an appropriate method. Do not twist the handle against resistance or use the knife as a crowbar. Full-tang construction is not a tested leverage limit.
Sheath the blade before moving between beds and store it out of reach when others, including children, share the garden. Do not leave an exposed point in a walking path. A small tool can be easy to overlook among leaves and mulch.
Clean Before Disinfecting and Match Sharpening to Each Edge
Remove soil and plant residue after work, then clean and dry the knife as its manufacturer directs. Inspect the point, edges, guard and handle connection. Do not push a finger along an edge to test it. Return a clean dry tool to a dry sheath.
Disease-risk disinfection is a separate step
Visible dirt interferes with disinfectants. Clean it off before treating tools used on infected plants or moving them to another susceptible plant. Choose a method suited to the tool and pathogen, following the product’s directions and required contact time.
Bleach can corrode sharp metal, and alcohol is not a universal disease-control answer. Those limitations are explained in Minnesota’s tool cleaning and disinfection guidance. Use disease-specific advice when needed, including for fire blight, and never combine cleaning chemicals.
The smooth bevel and the hollows of serrations need different sharpening approaches. A flat stone or suitable file can maintain some straight edges. Serrations require a tool that fits their actual profile. Preserve the maker’s bevel and instructions rather than applying one angle or file diameter to every model.
For example, Barebones specifies a particular round-file size for its Ultimate II serrations. That is a model instruction, not a standard for every soil knife. Deep damage, an unfamiliar bevel or difficult-to-secure serrations can justify professional sharpening.
Sharpen according to wear and the tool’s instructions. Soil abrasiveness and use differ, so a universal weekly schedule is unhelpful. Follow compatible protective-oil directions where specified; stainless steel still needs care. Avoid trapping moisture around the blade or leaving the knife outdoors between jobs.
Conclusion
Choose a soil knife for a specific small digging or cutting job, then inspect the roots and working space. Loosen weeds without lifting the crop, make planting holes wide enough and lift suitable clumps before dividing. Stop when force replaces control. Clean, dry and sheath the tool so the next task starts with a sound grip and protected edges.