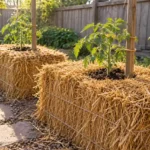

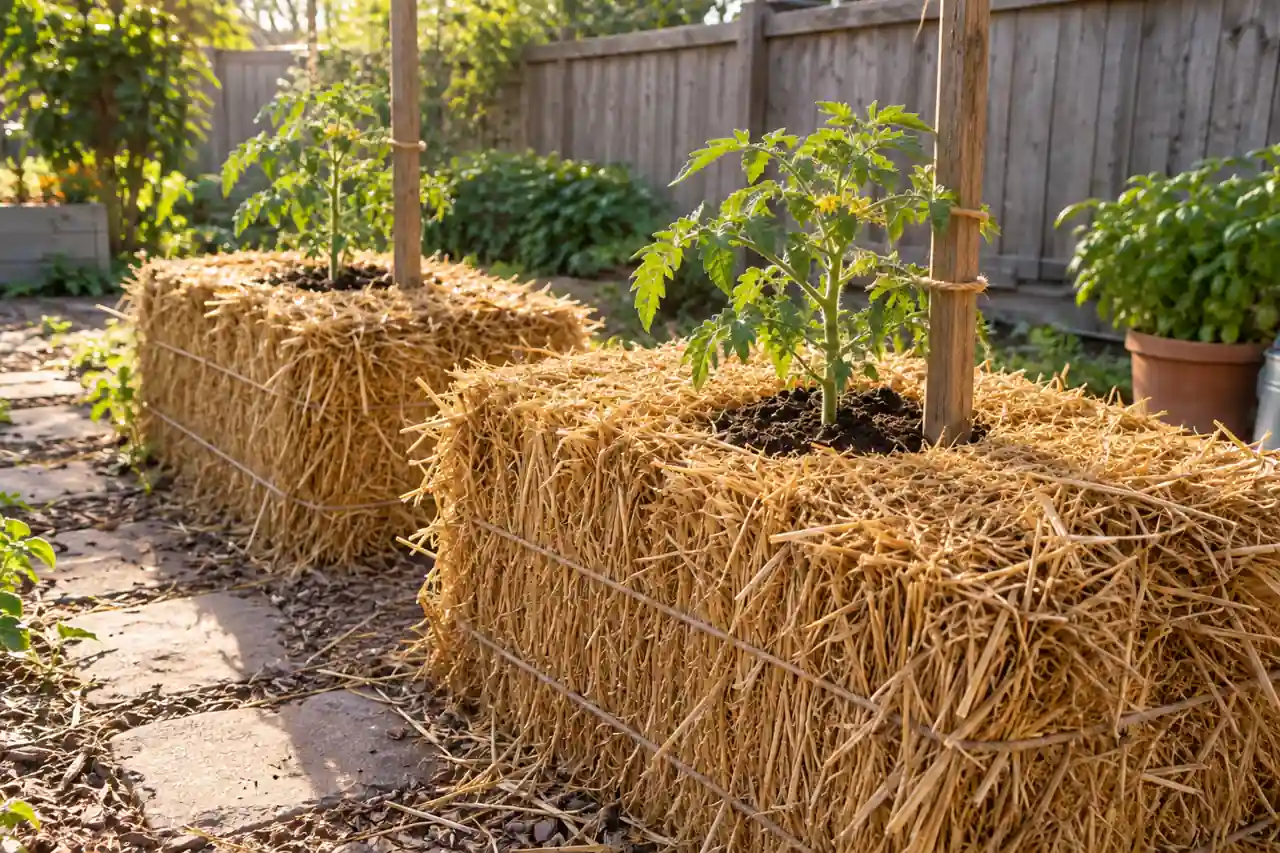
Straw bale gardening starts with a living decomposition process that needs moisture, nitrogen and time before vegetable roots move in. A bale that looks ready on the outside might still be heating inside. Push apart the pale surface fibers and the difference becomes obvious: the center holds moisture and warmth that a quick glance misses.
That makes preparation more important than finding an attractive arrangement. Fresh straw supplies structure, and the gardener manages the changing root environment as that structure breaks down. A sunny patch with poor native soil is a useful starting situation, provided irrigation, drainage and the straw’s treatment history are suitable.
Choose a manageable first planting, leave the bindings intact and give yourself room to change course. Temperature readings, moisture around the transplant and the shape of new leaves offer better direction than a promised planting date.
Before planting, identify the bale’s present condition.
- Dry, newly purchased straw
- Position it permanently, wet it thoroughly and begin one identified conditioning method.
- Moist straw with a heating interior
- Continue monitoring. Hold seedlings outside the bale until the active heat spike has passed.
- Conditioned straw with settled interior temperatures
- Confirm the crop’s local planting season, then prepare transplant pockets or a seedbed cap.
- Unknown field history or unstable bindings
- Resolve the source or structure problem before investing plants and fertilizer.
Key Takeaways
- Trace the straw’s field history before buying your first bale.
- Preserve intact bindings and plan access around independent plant supports.
- Follow one fertilizer protocol without swapping products by cup volume.
- Record interior warmth daily until active heating has settled.
- Inspect planting pockets whenever weather or canopy growth changes.
Table of Contents
Is Straw Bale Gardening Right for Your Space?
A bale lifts a temporary root environment above the ground without requiring a box full of mineral soil. That suits a small trial where the native ground is difficult to cultivate. It also means accepting a material that loses strength as it decomposes and needs closer attention to nutrition and irrigation.
For a permanent planting area, a framed raised bed holds a replenishable soil profile through repeated seasons. Choose the bale when its temporary nature fits your plans. If you regularly leave home during hot weather without irrigation help, that maintenance demand deserves attention before purchase.
Buy straw with a traceable history
Cereal straw consists of the stalks remaining after grain harvest. Hay includes leafy forage and seed heads, bringing more unwanted grass seedlings into the planting. Seek tightly bound straw rather than a soft, loose bale. Dry stalks feel hollow and scratchy; a green, leafy bundle suggests a different material.
Ask which field supplied the straw and which herbicides were used. Persistent residues of aminopyralid, clopyralid or picloram are among the risks described in NC State Extension’s herbicide carryover guidance. Appearance and a decorative-bale label do not establish suitability for sensitive crops. A short conditioning period does not reliably remove those residues.
Set the location before adding water
Wet straw is heavy and awkward to relocate. Set each bale on a stable surface near water, with enough access to reach the plants and inspect the far side. Keep the strings intact. A broad, stable base matters more than gaining another narrow strip of planting surface.
Prefer a site where water soaks into the ground rather than running toward a storm drain. Fertilizer-rich leachate from bales on concrete or asphalt raises a runoff concern in Washington State University Extension’s guidance. A paved site needs a workable drainage and runoff-capture arrangement; a sealed tray that leaves the bale standing in water creates another problem. On a deck or balcony, verify the structure’s wet-load capacity before placing heavy growing materials.
Condition Fresh Bales With One Fertilizer Method
Microbes breaking down carbon-rich straw use nitrogen to build their own cells. During that active stage, nutrients added to the bale are shared with the decomposers, and decomposition releases heat. Planting immediately exposes seedlings to a medium that is changing rapidly beneath them.
Published preparation schedules differ. The University of Arkansas Cooperative Extension demonstration uses a short urea sequence, while Washington State University’s research review describes roughly three weeks with nitrogen additions and cautions about mineral-salt accumulation. Illinois Extension also publishes a short schedule, with different quantities for different nitrogen products. Those approaches are separate choices.
| Stage | Arkansas example, per bale | What to watch |
|---|---|---|
| Days 1-3 | Soak thoroughly; keep the straw damp. | The interior absorbs water; dry central fibers need further wetting. |
| Days 4-6 | Add 1/2 cup plain urea, 46-0-0, each day. Water it in. | Maintain moisture and observe the heat response. |
| Days 7-9 | Reduce to 1/4 cup of that same urea each day. Water it in. | Keep a record of temperature and any missed applications. |
| Day 10 onward | Stop this conditioning fertilizer sequence; retain moisture. | Wait for the active heat spike to pass before planting. |
The quantities above reproduce one published Arkansas conditioning schedule. They apply to the specified urea, not to an arbitrary scoop of fertilizer. Use an appropriate product and follow its directions and handling precautions. Do not substitute a lawn weed-and-feed product.
The nitrogen analysis on a bag describes concentration; the cup measures volume. Equal cups of urea, blood meal and ammonium sulfate do not supply equal nitrogen. If your chosen product differs, use a conditioning recommendation written for that material and its nutrient analysis. Understanding fertilizer types and nutrient analysis helps prevent that mistake.
A slower, organic-nitrogen approach needs its own product-specific directions and additional planning time. Washington State University’s guidance does not supply an interchangeable household cup recipe. Neither path establishes that every bale is ready on the same day. Cold conditions, incomplete wetting and a different starting material change the process.
Check Interior Heat Before Moving Seedlings In
A cool surface does not describe the temperature around future roots. Oklahoma State University Extension uses readings roughly 3-4 inches inside the bale and looks for the temperature to remain fairly constant after active heating. That is a more useful check than pressing a palm against the sunlit top.
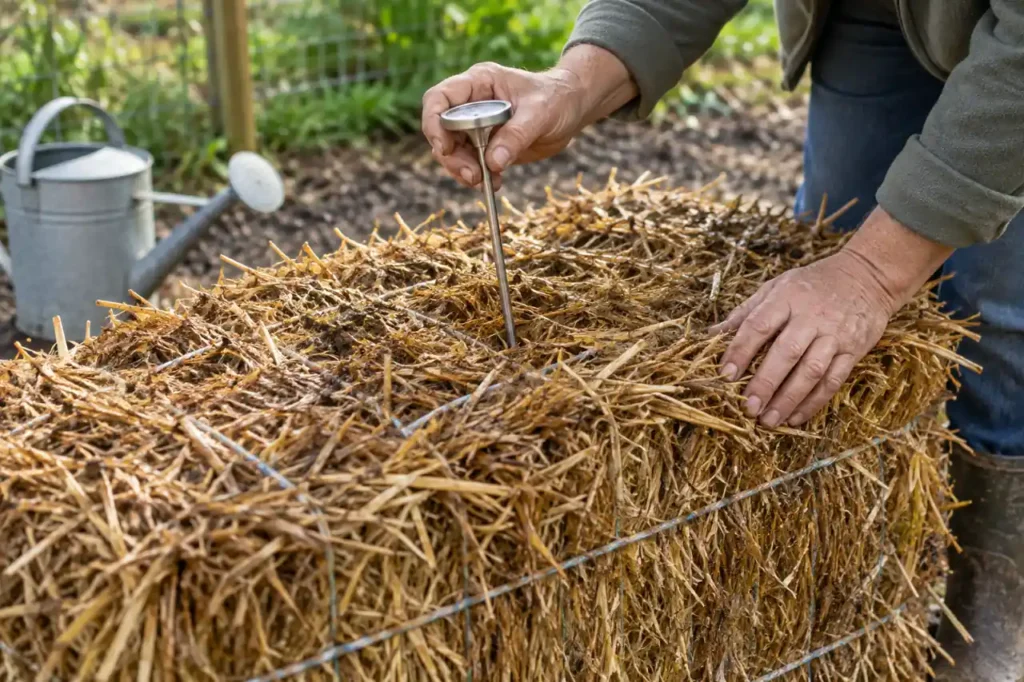
Insert a compost thermometer into a representative part of the bale and record readings at comparable times. Repeat the check in another location when the material feels unevenly moist. Wet, cool fibers near one edge and a noticeably warmer interior point to conditions that a single surface measurement misses.
Keep a simple bale log: date, fertilizer product and amount, irrigation, weather and interior temperature. A missing application or a dry interval becomes easier to identify when the bale’s progress stalls.
Do not treat a falling reading immediately after cold irrigation as proof that active decomposition has finished. Follow the subsequent trend. A bale that continues to heat needs more time before receiving young plants.
If seedlings are already in a heating bale, assess their roots and condition before disturbing them. Move a small, still-contained root ball into suitable growing medium when that is feasible without tearing established roots. Adding another full conditioning dose beside the plant is not a routine rescue.
Also check the crop’s season. A cooled bale does not protect an exposed tomato from freezing air. Use the local transplanting window for tomatoes and peppers; choose cool-season crops only when their own planting conditions fit. Decomposition warmth is an unreliable substitute for frost protection.
Plant Pockets for Starts or a Fine Cap for Seeds
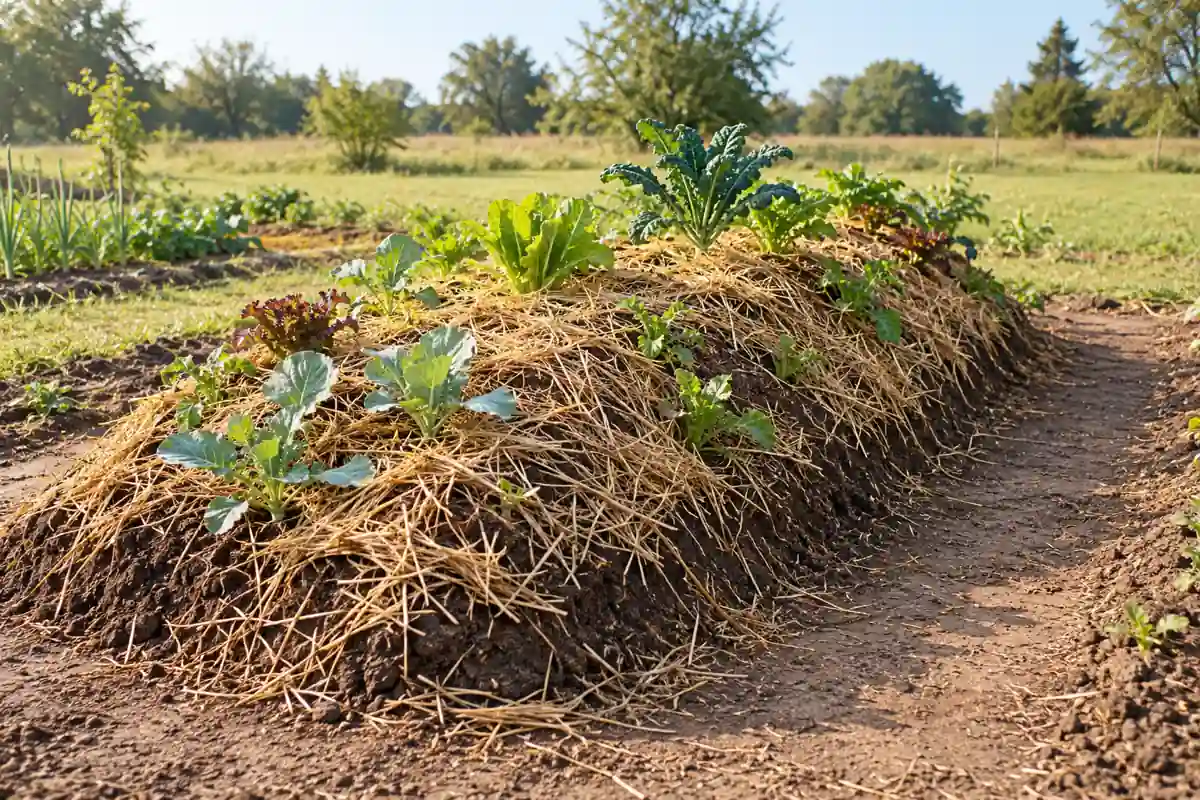
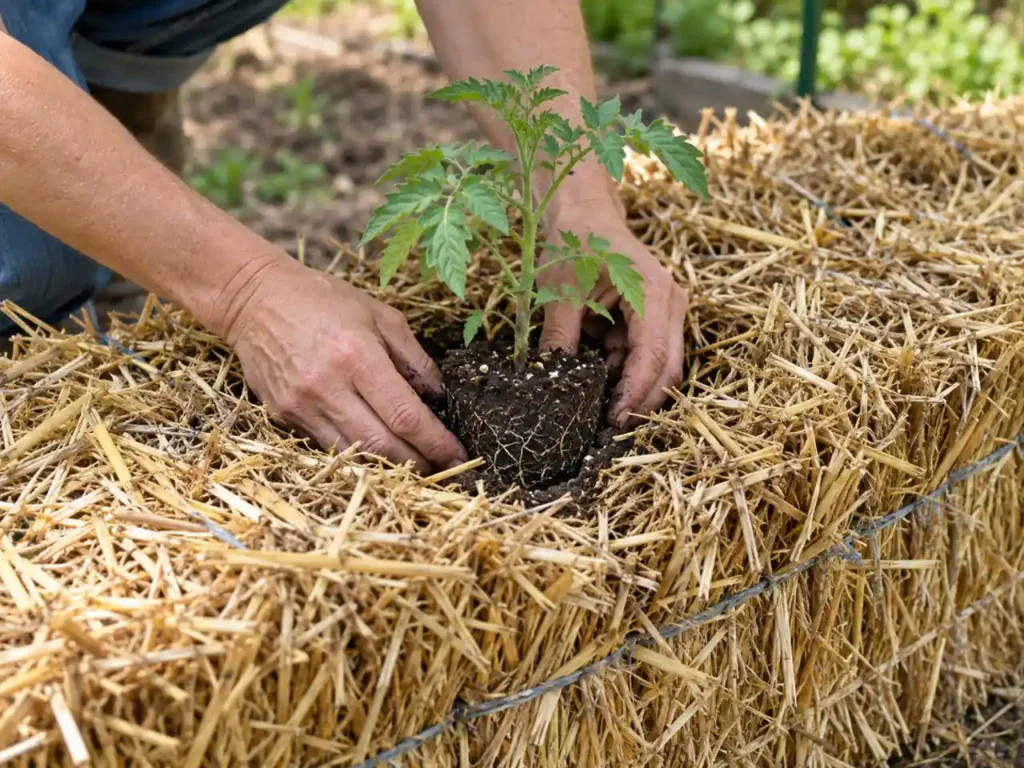
A transplant needs room for its root ball and close contact with suitable growing medium. Gently part the conditioned straw without cutting the bindings. Make an opening large enough to lower the root ball without crushing it, add a modest amount of growing mix around the roots and moisten the pocket.
Settle the root ball into the opening, with growing medium in contact around its sides. Firm the surrounding medium gently so that visible gaps close. A springy straw edge and a compact, damp root ball feel different under the fingers; the growing mix fills that irregular interface.
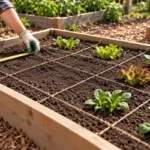
Small seeds need a finer seedbed than coarse hollow stalks. Spread a thin, even cap of appropriate medium, moisten it and sow at the packet’s depth and spacing. Keep the seed layer moist during germination. A suitable potting mix supplies that finer contact without covering the entire bale with a deep soil layer.
Leave space for the mature plant
One tomato per bale or three peppers were manageable examples in Illinois Extension’s bale gardens. Use those as starting examples, then assess the cultivar’s mature size and the bale’s actual dimensions. A large indeterminate tomato and a compact patio cultivar create different canopies and support loads.
Install sturdy supports independently of the decomposing straw. Anchor stakes or a trellis to stable ground or another suitable structure, and keep plant ties loose enough for stem growth. The bale softens as the crop becomes heavier.
Lettuce and other modest-sized crops simplify a first attempt. Large sprawling vines need room beyond the bale and a plan for their weight. Tall corn presents a toppling risk. Deep-root or tuber crops demand a different root environment from a shallow transplant pocket. Avoid packing plants together just because the top still has empty straw.
Adjust Water and Feeding as Roots Fill the Bale
Water running out of the side proves that water entered the bale; it does not prove that every planting pocket received enough. Coarse channels move water quickly. Inspect the medium around each plant as well as the surrounding straw after irrigation, especially where a hose wets only one side.
A drip line or soaker hose reduces repeated hand watering when its outlets reach the planting pockets. Run the system, inspect its outlets and examine moisture at several planting positions. A dry root ball beside wet straw needs a change in delivery. Extending the whole watering cycle without checking distribution might simply increase runoff elsewhere.
Change the routine when the weather changes
Visit the bales daily at first and reassess after hot, windy weather, prolonged rain or rapid canopy growth. Rub a little medium from beside the root ball between your fingers. Pale, loose material that crumbles without a cool damp sensation calls for closer irrigation attention; dark, persistently saturated material calls for a drainage and delivery check.
Which bale dries first after a windy afternoon, and does its emitter actually reach the roots? That comparison is more informative than assuming all bales require identical watering. Record the difference and adjust the affected position.
Continuing decomposition and irrigation also change nutrient supply. Conditioning fertilizer is not a complete season-long feeding plan. Use a crop-appropriate garden fertilizer according to its directions, keeping a record of what the planting pockets already contain. Avoid repeatedly adding nitrogen just because straw is still visible.
Examine new growth before making a correction. Pale older leaves and weak growth warrant a review of moisture, rooting and nutrition. For luxuriant leaves with poor fruiting, assess the crop, weather and recent feeding before changing fertilizer. On a bale that stays soaked, correct drainage or irrigation before attempting to solve wilt with fertilizer.
Separate Heat, Moisture and Injury Symptoms
Several bale problems produce small plants or wilt. The useful distinction is what changed first: interior heat, moisture delivery, fertilizer history or the form of new leaves. Inspect the plant and its planting pocket together before treating the entire bale.
| Visible sign | Check first | Next action |
|---|---|---|
| Interior still heating | Temperature trend and recent conditioning inputs | Delay planting; retain suitable moisture and monitor. |
| Wilt beside a dry pocket | Emitter position and moisture around the root ball | Direct water to that pocket and reassess the plant. |
| Weak growth and pale older leaves | Rooting, water distribution and recorded feeding | Correct the identified limitation; avoid diagnosis by color alone. |
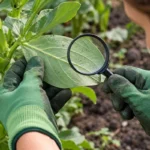
| Twisted or cupped new growth | Straw and compost origins, drift exposure and other plant injury | Stop adding suspect material; seek Extension diagnosis. |
| Bale slumping under a crop | Bindings, support anchorage and leaning weight | Stabilize supports independently and remove unsafe loads. |
Twisting across several sensitive plants sharing the same straw batch deserves particular attention to input history. Herbicide injury is one possibility, not a diagnosis made from one curled leaf. Insects, weather, drift and other root problems also need consideration. Photograph new growth, retain supplier details and record which plants share the material before contacting local Extension.
Fungi decomposing the straw are a different observation from lesions or collapse on the crop itself. Avoid spraying the bale merely because fungal growth appears. Follow the plant’s condition, and never identify an unfamiliar mushroom as edible from its presence in a garden bale.
Plan for the Bale to Lose Its Structure
Breaking down is part of the method, so a productive bale still becomes softer and less dependable as a planting platform. Plan on a one-season system with another planting arrangement for the following year. Inspect it during the season whenever plant supports begin to lean.
After harvest, remove plant supports and separate loose bindings from material intended for composting. Clean-source straw joins other compost materials or serves as organic mulch where suitable. Keep suspected herbicide-contaminated material out of sensitive planting areas and seek local disposal or reuse guidance.
A weathered bale that has never been planted presents a different case from a collapsed, previously cropped bale. Its appearance alone does not establish preparation or safety. Review its history, integrity and internal heating before deciding what to do with it. If repeated replacement and frequent moisture checks prove inconvenient, a permanent soil-filled bed is the better next investment.
Conclusion
Start with a planting small enough to inspect from every side. If the next crop outgrows its support or irrigation arrangement, change that arrangement before adding more plants. Keep the log through harvest so that the next season’s decision rests on your own watering demand, maintenance time and crop response.
On each visit, part the straw beside a planting pocket and inspect the new growth above it. A stable support, evenly damp medium and newly expanding leaves give you concrete signs to follow as the bale gradually softens beneath the crop.