


Potato plant growth stages follow five changes: a seed tuber sprouts, leaves build a canopy, new tubers form on underground stems, those tubers enlarge, and the crop matures for harvest. The most valuable changes happen out of sight. A row can look full and green even as small tubers are only beginning to form beneath the ridge. Flowers can appear after that process has started, and a yellowing plant can signal maturity or trouble. Use the visible canopy to estimate the stage, then check soil moisture or a sample tuber before changing care. That approach tells you when to add soil, when water matters most, and whether to dig tender new potatoes or wait for storage skins that resist a thumb rub.
Find Your Stage, Then Make One Check
Key Takeaways
- Hill young plants before shallow tubers meet daylight.
- Probe below the ridge before watering during tuber bulking.
- Test for new potatoes around week seven, not flowering.
- Avoid late nitrogen when leaves already dominate the plant.
- Wait another week if a storage potato’s skin rubs off.
Table of Contents
Potato Plant Growth Stages: The Five-Part Timeline
Ordinary potato development moves through sprouting, vegetative growth, tuber initiation, bulking, and maturation, the five-stage sequence used by University of Florida IFAS. Its illustrated Florida sequence places emergence roughly within the first month, canopy growth after that, and tuber set before much enlargement. Those day ranges describe crops grown under Florida conditions. A northern spring, a late cultivar, or a cool planting bed can shift the sequence. The physical stage matters more than the date on a packet.
Each stage changes the crop’s main job. At first, the planted seed tuber feeds the shoots. Green leaves then make carbohydrates. Thin underground stems called stolons develop small tubers at their tips. During bulking, leaves continue supplying those tubers as they gain size and starch. Finally, top growth declines as the skin toughens. The stages overlap: a plant can keep leaves active alongside tubers of different sizes below.
Ordinary potatoes are stem tubers. A sweet potato grows storage roots from planted slips, so its vine timeline does not transfer to seed potatoes. For a broader comparison across crops, vegetable growth stages show how the harvested organ determines the useful care window.
Sprouting: What The Seed Piece Can Do Before Leaves Appear
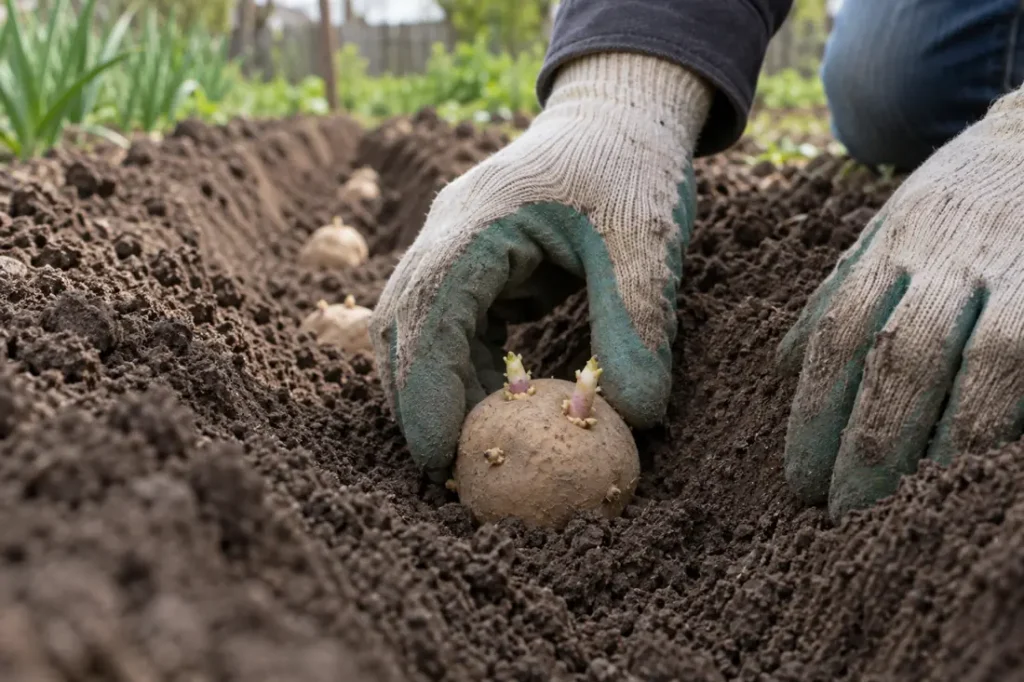
Before a shoot breaks the soil, its energy comes mainly from the planted seed tuber. Eyes extend into sprouts, roots begin forming, and the shoot pushes upward. A quiet row during this stage can be normal. Emergence takes different amounts of time as depth, variety, and soil conditions change.
Keep the planting area moist enough for roots to function, with drainage that prevents the seed piece from sitting in water. If the bed remains cold and saturated after rain, adding more irrigation makes the problem worse. Where a row emerges unevenly, compare the soil around a healthy plant with a gap before digging every seed piece. A single careful check can reveal a rotted or damaged piece, dry soil, or a sprout still traveling through a deeper section of the row.
The seed piece should be sound before planting. Certified disease-free seed tubers lower the risk of introducing a problem that cannot be solved by later watering. At this stage, a fertilizer surge is a poor substitute for suitable soil and viable seed. Once green shoots are visible, the plant’s source of energy begins shifting toward its own leaves.
Leaf Growth: Build A Canopy And Protect The Ridge
After emergence, stems and leaves expand quickly. Their green surfaces begin turning light into the carbohydrates that later feed the underground crop. Strong foliage is useful; its size alone cannot tell you how many tubers have set. Soil condition and timing still decide what happens at the stolon tips.
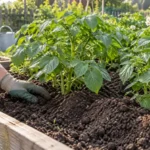
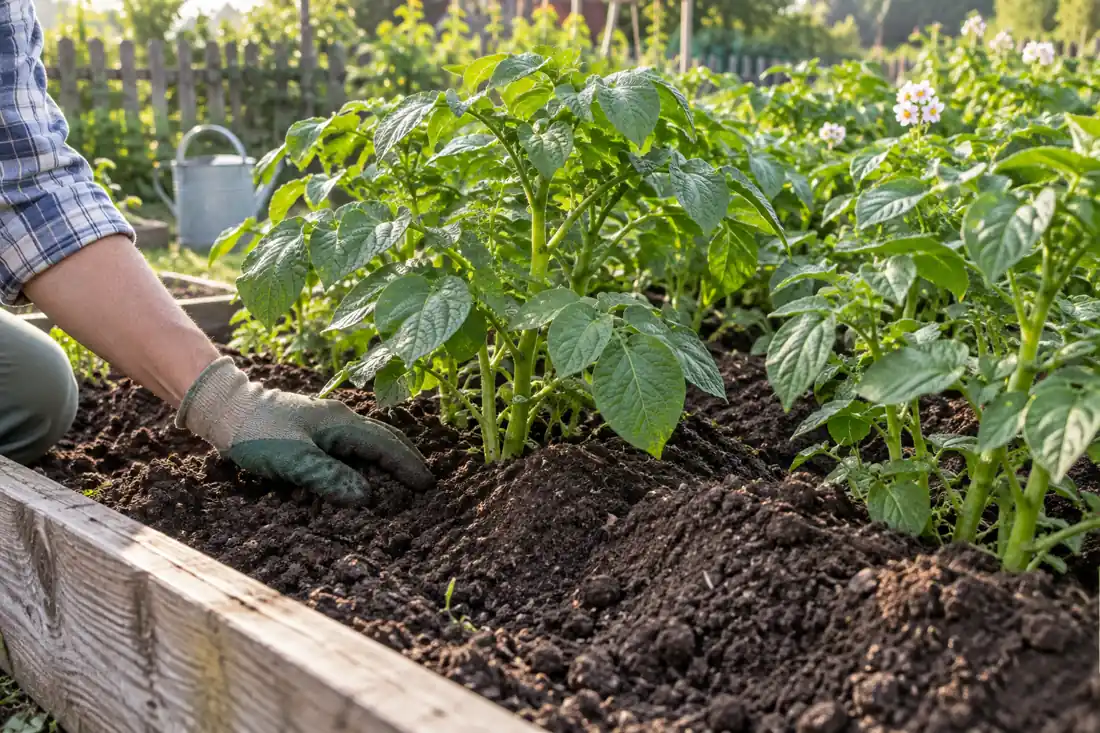
Hill soil around the lower stems as plants grow. A foot-tall stem is the first hilling cue in University of Minnesota Extension’s home-garden guidance, followed by one or two more additions of soil. Keep developing tubers covered and leave enough healthy leaves exposed to grow. Work gently: roots and young tubers sit near the surface, and a deep hoe can cut them.
Hilling also creates a clearer inspection point. If a round shoulder becomes visible through the ridge, cover it promptly. Light can turn exposed tubers green; extensive greening makes them unsuitable to eat. Crumbly soil is easier to move around stems than a wet, sealed clod. In a grow bag, add medium in stages and confirm that drainage holes still let excess water escape.
Potatoes need adequate fertility. An overfed bed can grow impressive leaves without a matching storage crop. Excessive fertilization can also produce tubers that keep poorly, a risk identified by University of Maine Cooperative Extension. Judge the canopy as a working source of energy, then watch what the underground crop does with it.
Tuber Initiation: Why Flowers Are An Unreliable Clock
Small tubers begin at the ends of underground stolons, commonly before visible flowers. A blossom therefore cannot mark the moment tuber formation begins. Some potato varieties flower, and pollination is unnecessary for the tubers you harvest, as University of Minnesota Extension explains. The small green fruits that sometimes follow flowers are not edible potatoes.
Because set happens underground, the most useful management signal is the plant’s age and condition together with a root-zone moisture check. Tuber set and enlargement are the crop’s most water-sensitive period in University of Minnesota Extension’s irrigation guidance. Push a trowel into the ridge after watering. Dark surface soil above a dry, dusty layer means the irrigation did not reach the developing crop. If the deeper soil stays slick and saturated, wait for drainage before watering again.
Do not dig around every plant to prove initiation. A careful check at the edge of one plant can answer a specific question; repeated probing can sever stolons and disturb shallow roots. Healthy foliage without flowers calls for continued monitoring of soil conditions and the variety’s expected maturity window. Missing flowers alone do not diagnose a missing crop.
What would change the decision in your bed: a flower on top, or a dry root zone under an otherwise healthy canopy?
Tuber Bulking: Keep Water Even As Size Builds
At bulking, the small tubers already formed on stolons enlarge. Leaves supply sugars, which the tubers use to build starch and tissue. This stage stretches across a wide period and varies by cultivar. The plant can remain green and vigorous as its harvest shifts from a collection of small tubers toward usable size.
Water consistency matters more now than a fixed calendar interval. Thorough soaking followed by a trowel check shows how deep the water reached. Sand can dry sooner than heavier ground. A sealed clay bed can stay wet beneath a dry-looking crust. A root-zone moisture check tells you whether a watering actually reached the stolons and roots.
Sharp dry-to-wet swings can leave rough or knobby tubers. Persistent saturation can damage roots and promote decay. These two failure states call for different corrections, so feel the soil before adding either water or fertilizer. Late nitrogen is also a poor reflex when foliage is already abundant. UF/IFAS fertilizer guidance ties the strongest nitrogen demand to earlier growth in many Florida cultivars and warns that late feeding can favor shoots over tubers. Home gardeners should use a soil test and local recommendations, never a commercial field rate copied into a bed.
For an early meal, the Minnesota home-garden guidance suggests checking for tender new potatoes about seven to eight weeks after planting. Dig gently beside one plant and judge size directly. Thin-skinned new potatoes are for prompt use; a storage crop needs a later maturity check.
Maturation: Choose New Potatoes Or Storage Potatoes
As the crop matures, healthy tops gradually yellow and dry, tuber growth slows, and the skins become harder to rub off. A sudden collapse with dark lesions, soft stems, or foul tubers deserves diagnosis. Waterlogged soil or disease can also kill foliage. Do not call every dying vine a normal finish.
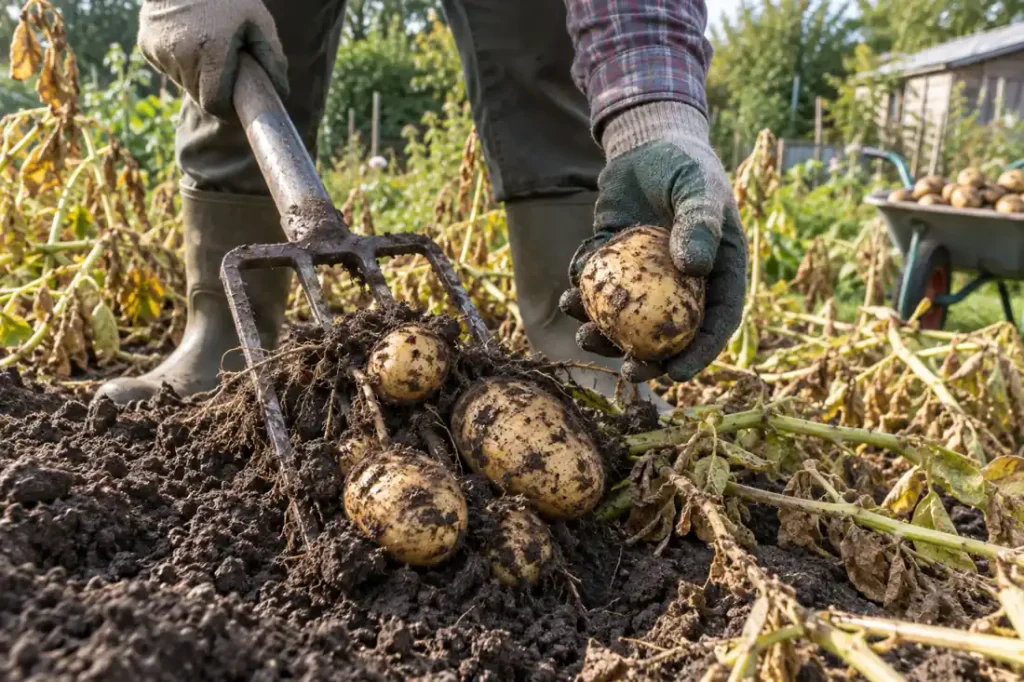
If you want small new potatoes, lift a sample during active plant growth and use the thin-skinned tubers soon. If you want a crop for storage, allow the tops to dry, then dig one representative tuber. Rub its skin gently with your thumb. When the skin slips easily, wait about another week before harvest if weather and soil conditions allow, the test recommended by Oregon State University Extension. A firm skin does not make bruised or diseased tubers safe to store, so sort those out at digging.
Choose a dry digging day and place the fork well outside the main stems. Loose earth should fall away without scraping the skin. Bring tubers out of strong light, because exposure can green them. A dark, ventilated curing period helps minor wounds heal before storage; Oregon State University’s home-harvest guidance gives seven to ten days. Store only sound tubers under the temperature and humidity conditions recommended for your intended use, then inspect them periodically for soft spots.
When The Plant Does Not Match The Expected Stage
A growth-stage label helps only when the plant’s condition fits it. Use the likely cause as a starting point, then check the soil or tuber before acting. Several symptoms have more than one possible cause, and the table does not replace a local diagnosis of disease.
| What you see | First check | Next action |
|---|---|---|
| Late or patchy emergence | Compare soil moisture and planting depth beside a healthy plant. | Inspect one missing seed piece for rot or an intact sprout. |
| Large leaves, small test tubers | Check cultivar age, water history, shade and past fertilizer. | Keep healthy leaves working; avoid an untested nitrogen rescue. |
| Green shoulders through the soil | Look for exposed tubers along the ridge. | Add soil promptly and separate heavily green tubers at harvest. |
| Knobby or rough tubers | Probe for repeated dry-to-wet swings. | Water the root zone more evenly without saturating it. |
| Yellow tops near expected maturity | Look for gradual decline, sound tubers and firm skin. | Use a sample tuber to choose harvest timing. |
| Rapid collapse or rotting tubers | Inspect leaf lesions, stems, soil wetness and tuber condition. | Keep suspect tubers out of storage and ask local Extension for diagnosis. |
A healthy plant that has not flowered is a good example of a false alarm. A plant collapsing across a wet bed before its expected finish is different. The first calls for continued observation and moisture management; the second calls for a specific diagnosis before treatment. This is where local Extension help can prevent an incorrect spray or a storage box full of damaged tubers.
Conclusion
Read the plant by stage, then confirm the underground condition. Shoots call for covered ridges, expanding leaves need protection, tuber set and bulking need even root-zone moisture, and storage harvest needs a skin-rub test.
A calendar tells you when to look; the tuber settles the harvest decision. When a sampled potato keeps its skin under your thumb and the drying vines release easily from a crumbly ridge, the crop is ready to lift with care.