



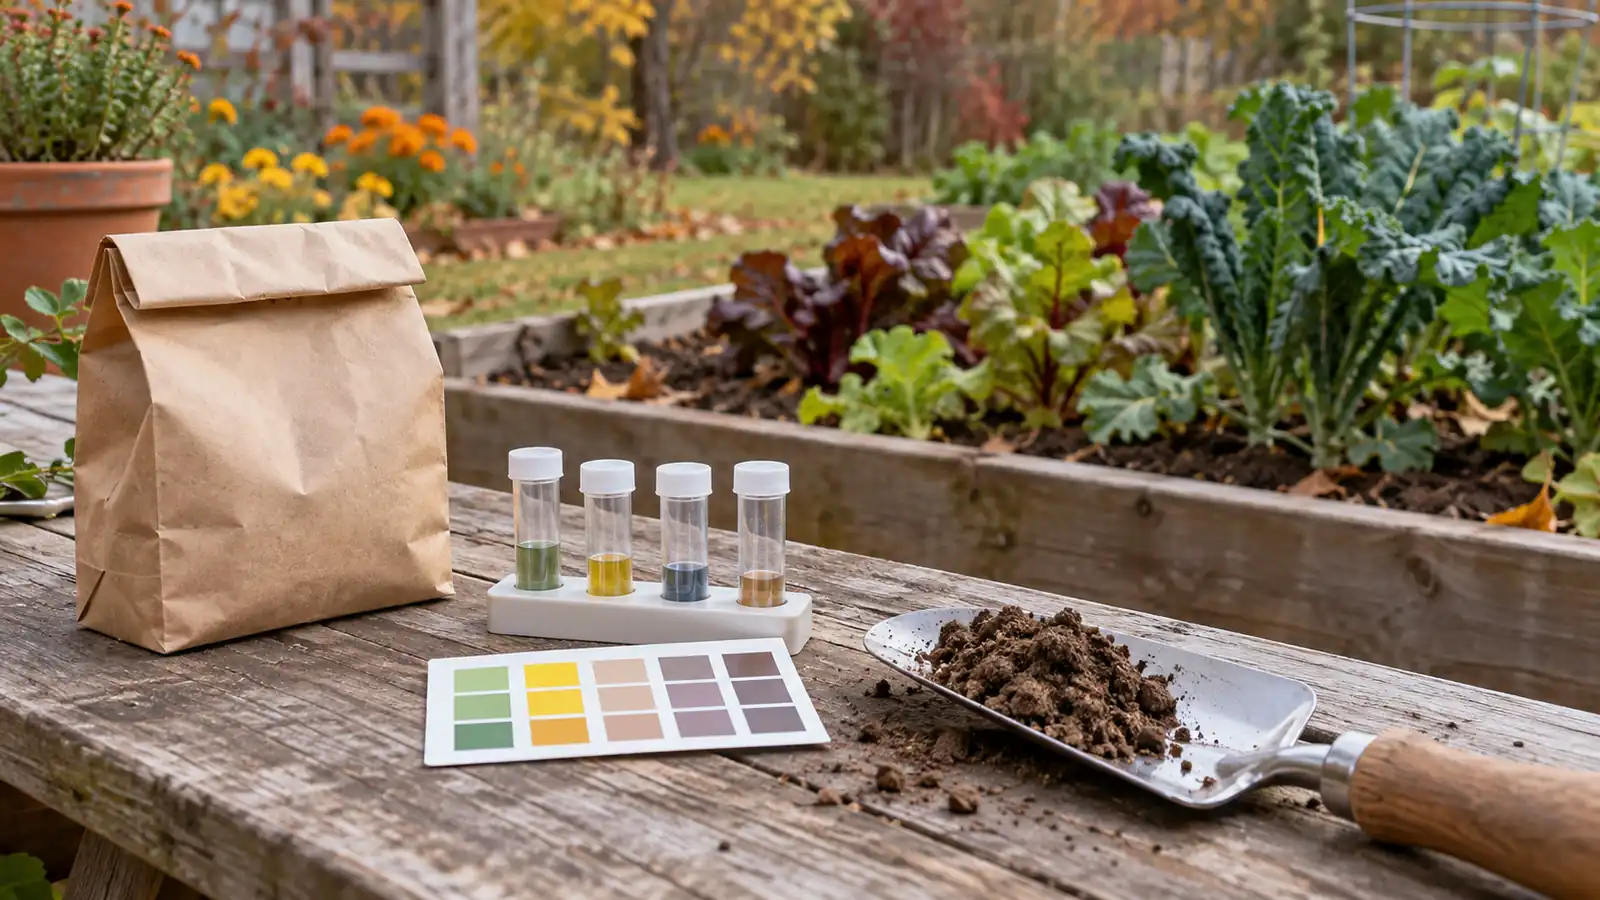
Soil test kit vs lab test comes down to the decision you plan to make: a rough pH check or a measured amendment recommendation. A yellow-green vial beside a tomato bed feels reassuring until you need to decide how much lime to spread. The color gives you one kind of information; a usable application rate requires more.
A home test has a place when you want an approximate direction and will hold off on changing the soil. Laboratory analysis earns its cost when the result will guide fertilizer, pH correction, or investigation of a persistent problem. Even then, the sample matters. A precise measurement from the wrong corner describes that corner. Before buying another bottle, probe, or mailer, identify the action you expect the result to justify.
Choose By Your Next Garden Action
Rough pH direction
Use a home screening test or local pH service. Confirm before setting amendment rates.
Fertilizer, lime, or sulfur
Choose a garden laboratory package with crop-specific interpretation and recommendations.
Lead or another contaminant
Order the named contaminant analysis. Ask for its sampling instructions before collecting soil.
A mail-in kit is a lab test when the sample goes to a laboratory. Read the analysis details before comparing boxes.
Key Takeaways
- Separate two kit types: home analysis and laboratory mail-in.
- Confirm rough pH readings before committing to amendment rates.
- Keep one failing bed separate from the productive garden.
- Compare repeat results through the same suitable lab method.
- Retest routine beds every three years under Maryland guidance.
Soil Test Kit vs Lab Test: What Are You Comparing?
A sample bag bought at a garden center might lead to the same laboratory analysis as a form downloaded directly from a university. The purchase location tells you little about the measurement. Find out where the soil goes and how the result is produced.
At-home reagent kits mix measured soil, water, and chemicals to produce a color response. The gardener follows the preparation instructions and matches the solution against a chart. A handheld device uses a different measurement system, and its stated capabilities need to be assessed separately. A moisture reading alone gives no phosphorus, potassium, or lime recommendation.
Mail-in services collect the soil for analysis elsewhere. In the University of Florida’s UF/IFAS soil-testing program, its partner SoilKit route and direct laboratory submission offer the same analysis with different packaging and reporting arrangements. That example shows why the word kit is too broad to describe analytical quality. It does not establish that every commercial mail-in service uses the same method.
Compare the complete service. A convenient mailer is useful if it delivers the measurements and explanation you need. A direct laboratory route is useful if you are comfortable collecting the sample, completing the crop information, and arranging shipping yourself. Both depend on the soil you send.
On a narrow screen, scroll the comparison sideways.
Home Soil Test Accuracy Has a Practical Limit
Use a home result as a screening observation when you want to decide whether further testing is warranted. If the next move is to calculate a fertilizer or lime application, obtain stronger evidence before treating a color category as a prescription.
Color matching and preparation
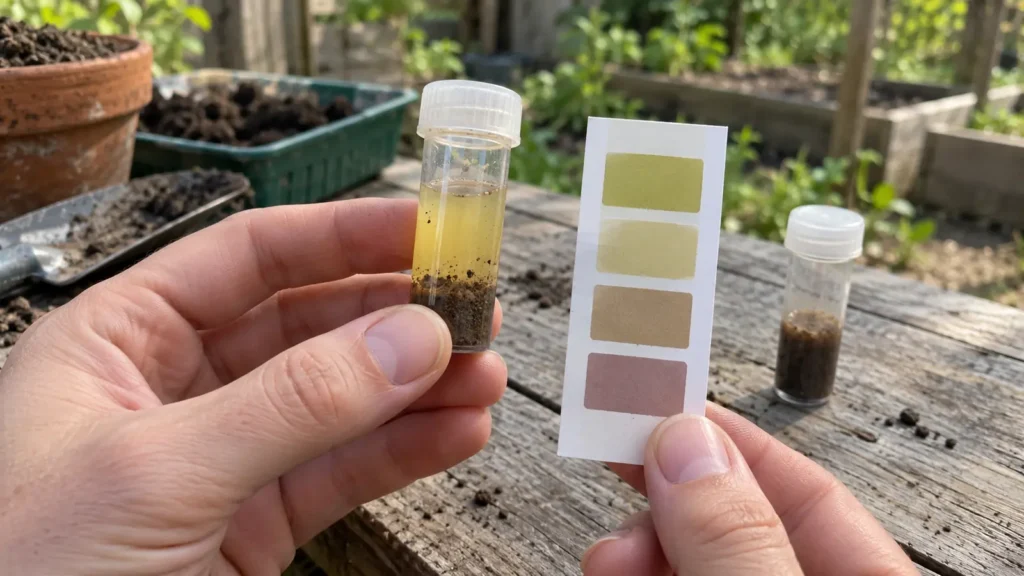
A murky brown suspension and a translucent yellow solution look different against the same pale chart. Hold the tube where the product instructions specify, use the stated water and soil amounts, and allow the stated reaction or settling time. Changing those conditions makes repeat results harder to interpret. Follow the kit’s procedure, including its directions for handling suspended soil.
Reagent condition matters too. Out-of-date chemicals are a documented source of skewed home-test results in a 2026 Benton County Oregon Ask Extension response. Inspect the date and storage directions before interpreting an unexpected reading. Dry soil that feels gritty and leaves a dusty brown mark on white paper gives you a physical observation, not a pH value. For a probe, consult its instructions for cleaning, preparation, calibration, and the medium it is designed to measure. A digital display’s extra decimal places alone do not establish accuracy.
Detailed nutrient troubleshooting exceeds the role of ordinary home kits in Oregon State Extension’s home-garden testing guidance. There is no single error allowance that applies to every consumer product. A claim that a device is accurate enough needs a specified measurement, procedure, and use.
For a thriving bed where you are simply curious about acidity, a rough check need not trigger a full investigation. If readings vary enough to change your planned treatment, pause. A local Extension pH service, where offered, is another route for a narrow pH question without automatically ordering every nutrient analysis.
What would you change in the bed if the result came back high, low, or unchanged? If all three outcomes lead to another handful of fertilizer, the test is not guiding the action yet.
Laboratory Testing Pays Off Before Chemistry Changes
Lime, sulfur, and fertilizer change the root environment, so the supporting test needs to answer more than whether the soil looks dark or a leaf looks pale. Laboratory measurements are more complete and accurate than DIY kits in University of Maryland Extension’s garden guidance. Choose an appropriate service and ask for recommendations for the crop you intend to grow.
A pH value does not set the lime rate
Two beds with the same measured acidity need not require the same amount of lime. Soil pH measures active acidity. Buffer testing assesses stored acidity that affects the lime requirement. Clay and organic matter hold charged ions, so their effect on buffering changes the amount needed to move pH.
A basic pH result alone leaves part of the application decision unanswered. Ask whether the lab provides a crop-appropriate lime recommendation when the soil is acidic. High-pH soil needs its own interpretation before sulfur or another acidifying product is chosen.
Use soil pH correction only after the measurement, crop target, and proposed rate agree. An azalea bed and a vegetable bed deserve separate crop information, even when their current pH values match.
A laboratory baseline also helps when you have applied compost or fertilizer for years and growth remains disappointing. The result might support stopping an input. Once you test garden soil before adding amendments, compare the proposed addition with the nutrient the crop actually needs.
Contaminants require a named analysis
A routine fertility report does not automatically clear soil for food growing. Some packages include lead; others omit it. Old painted structures, unknown fill, or a former industrial use justify asking which contaminant analysis fits the site’s history before you collect the sample.
Separate play areas, food-growing beds, and suspected problem locations for lead investigation under University of Maryland’s Lead in Garden Soils guidance. Ask the testing service for contaminant-specific sampling and interpretation. Do not blend a suspicious patch into a garden-wide sample to obtain an average, or treat a favorable pH reading as evidence about lead.
The first action is to order the correct test. Exposure assessment and a response to detected contamination belong with current local Extension or public-health guidance. Fertility testing serves a different job, and a bag of fertilizer cannot resolve that uncertainty.
Choose a Lab Package That Produces a Usable Decision
Ask for a sample report before paying. Locate the measured categories, the interpretation, and the crop recommendation. A long list of values has limited practical value when you cannot tell whether an application is justified or how the recommendation relates to your garden.
Measurements and recommendations
Garden packages differ. Soil pH, phosphorus, potassium, calcium, and magnesium are common categories in Maryland’s basic-test guidance; organic matter, salts, micronutrients, and contaminants require checking the actual order. Avoid paying for extra analyses without a decision that needs them.
Specify the crop and growing area accurately. A lawn recommendation does not automatically become a tomato-bed recommendation. Report interpretation should identify the appropriate nutrient direction and application basis. When a deficiency is supported, match the fertilizer’s nutrient content to that recommendation rather than choosing by package color.
Methods that fit your region
Nutrient analysis uses an extraction procedure to measure a defined portion of the soil’s nutrient content. Results are interpreted against crop-response data for that method. An apparently higher number from another extraction is not automatically an improvement in fertility.
Regionally appropriate methods and quality control are central to Oregon State’s soil-testing laboratory selection guidance. Oregon’s named methods are regional recommendations. Ask your local Extension office which methods and services fit your soil, especially if the laboratory is outside your region.
For repeated monitoring, retain a reliable lab and compatible method. Keep the sampling depth, season, crop information, and units consistent where practical. If the service changes a method, ask how that affects comparisons. Reliability takes priority over continuing with an unsuitable service.
Total cost and turnaround
Compare the fee for one usable sample, shipping, requested add-ons, and any interpretation charge. Then multiply by the number of separately managed areas. A box containing many DIY tests and a laboratory fee for one sample answer different purchasing questions. Confirm current prices and processing times with the receiving service.
Work backward from the planned amendment date, allowing time to collect, dry if required, mail, and interpret the sample. Testing in fall creates room for slower corrections before spring planting. A problem discovered in another season still deserves investigation; waiting for a calendar preference adds no analytical value.
A Representative Soil Sample Makes the Result Useful
A trowelful from beside a fertilizer spill is a poor description of the whole bed. Mixing it with soil from a healthy area conceals where the difference began. Laboratory precision applies to the material submitted, so decide what area that material should represent before digging.
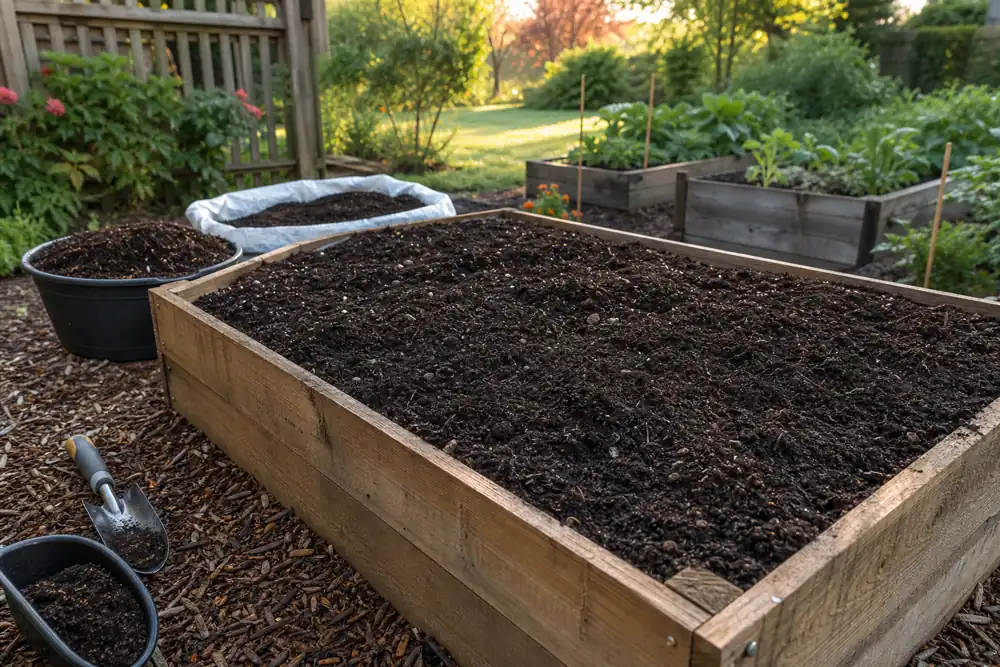
Group soil by the way you will manage it. A vegetable bed, lawn, and ornamental border need separate decisions. Several raised beds with the same fill and treatment history might share a screening strategy if you are comfortable receiving one combined result. Keep a failing bed or a differently amended bed separate when you need its own recommendation.
- Choose one reasonably uniform area and identify any problem locations.
- Collect subsamples throughout that area at the receiving lab’s specified depth.
- Use clean tools and a clean container; exclude mulch and plant debris.
- Mix the collected soil thoroughly, then take the requested submission amount.
- Dry and package as instructed; label the area and complete the crop history.
For example, UF/IFAS home-garden guidance uses 10-15 collection points and a 6-inch garden sampling depth. Those dimensions describe its procedure. Use your chosen lab’s instructions if they differ, rather than combining depths from several protocols.
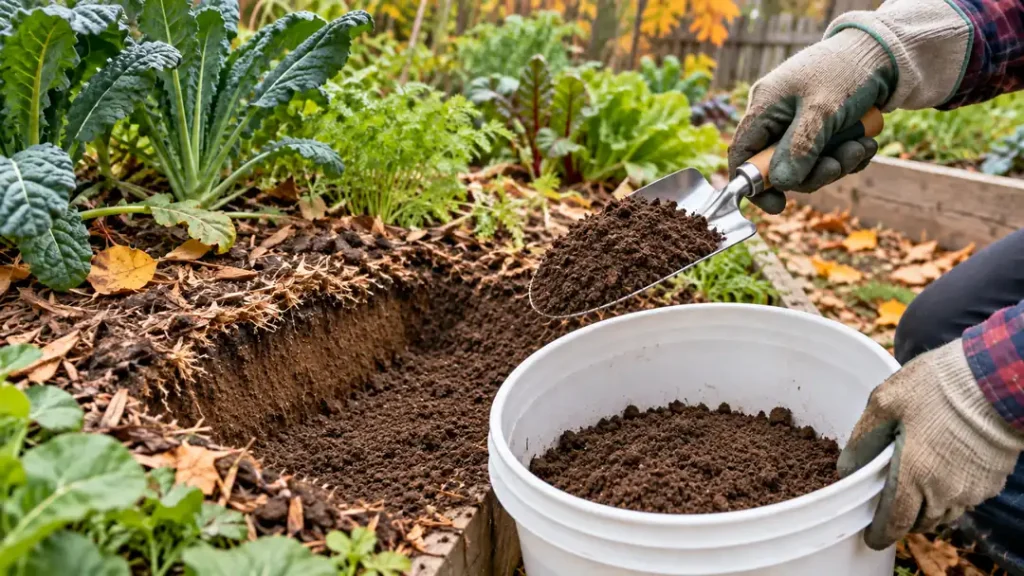
Wet clay smears across the trowel and holds together as a glossy lump; drier soil breaks into smaller crumbs with less resistance. Break clods and mix so the small submitted portion represents the combined sample. If air-drying is requested, follow that procedure and keep the sample away from applied heat.
Do not rely on the bag to remember which bed produced it. Identical-looking samples become difficult to distinguish once they dry. Label first, and retain the submission record with the eventual result.
Dark, earthy-smelling soil with soft crumbs tells you something about its physical condition. It does not establish nutrient balance. Soil health includes water movement, root access, and biological processes that require observation alongside chemical testing.
Conflicting Soil Test Results Need a Method Check
Do not average a home reading and a laboratory value to choose a treatment. Begin by asking whether they describe the same material and measurement. Soil gathered before fertilizing and soil taken from a fresh fertilizer pocket are different samples, even when they come from the same bed.
Find what changed between tests
Compare the collection area, depth, preparation, and amendment timing. Inspect reagent condition for the home kit, then ask the lab about its method and units. A phosphorus result expressed on one reporting basis should not be read as though it uses another.
For a consequential amendment decision, give more weight to suitable laboratory analysis and its interpretation. A surprising result still warrants a question to the laboratory. If the sample was unrepresentative, collect a new one under its instructions before making the correction. Repeat testing is worthwhile when it resolves a named uncertainty.
A normal report with weak plants
Roots depend on oxygen, water, and access to soil as well as nutrient supply. A saturated lower layer limits root function even when the measured fertility categories look acceptable. Dig into the failing area: a wet, slick layer beneath a drier surface points to a different investigation from an isolated low nutrient result.
A soil report alone cannot diagnose root disease, compaction, poor light, or an irrigation fault. Examine the root zone and the pattern of damage before ordering the same chemistry test again. If one corner differs from the rest, confirm that it was sampled separately. Show the report, photographs, and treatment history to local Extension when the cause remains unclear.
Nitrogen also needs interpretation. In the basic home-garden testing approach described by University of Maryland Extension, nitrogen recommendations rely on crop needs because soil nitrogen changes with weather and biological activity. Some labs offer specific nitrogen analyses. An omitted nitrogen value is not proof that the service forgot the nutrient or that the bed has none.
Use the result to make one justified decision and record what changed. More testing becomes useful when there is a fresh problem, a correction to evaluate, or a comparable trend to establish.
Conclusion
Keep the report and the sample map together when you clear the bed for the next season. Before switching test routes, identify the measurement or interpretation missing from the last result. Choose another service when it resolves that gap, and preserve compatible sampling conditions when you want to track change.
After a test-supported correction, judge the garden alongside the numbers. If weak growth continues, inspect the physical root zone before feeding again. Pale new leaves regaining normal color and roots branching through moist, crumbly soil give you something concrete to compare with the next season.
Frequently Asked Questions
How often should I send garden soil to a lab?
Three years is the routine interval in University of Maryland guidance for lawns and vegetable gardens, with more frequent testing for problem sites. Use your local program’s interval and the lab’s follow-up advice after a correction. A new failure or changed bed history gives you a reason to reassess sooner.
Should I sample immediately after fertilizing?
Fresh fertilizer changes the sample you are trying to characterize. UF/IFAS SoilKit instructions specify waiting two weeks after fertilization. Other services have their own preparation rules, so contact the receiving lab and disclose the product and application date before sampling.
Does a garden-soil test suit pots filled with peat or coir?
If your containers contain mostly peat, coir, bark, or perlite, describe that mixture to the testing service before ordering. Ask whether its garden-soil package and recommendations apply to that medium or whether it requires a different analysis. Send the sample only after the service confirms the preparation procedure.