
Cold stratification gives certain dormant seeds a period of cool, moist conditions before they germinate. For these seeds, warmth and water alone may leave the internal dormancy barrier in place. A damp medium in a refrigerator can supply the missing winter-like treatment; outdoor winter sowing can do the same where the weather suits the species. Leaving an unopened dry packet in the fridge is a different process.
Start with the scientific name and the packet’s instructions. Some seeds need a month of moist cold, others need longer, and some need none. A hard seed coat or a required warm period can change the sequence completely. Once the correct treatment is chosen, the practical work is keeping the medium damp, checking for problems, and moving a sprouted seed into growing mix before its delicate root becomes tangled or damaged.
What do your seeds actually need?
Packet specifies cold moist treatment: Use its stated duration and temperature. Choose a damp refrigerator method or suitable outdoor winter sowing.
No cold treatment required, or already treated: Follow the sowing directions. Extra time in a wet bag is not automatically beneficial.
Hard-coat treatment, warm-then-cold, or unknown species: Check the complete species protocol before starting. One generic refrigerator month may miss the actual barrier.
Key Takeaways
- Check the exact species and seed history before choosing treatment.
- Keep cold-treatment medium damp without leaving seeds in pooled water.
- Label each batch with species, start date, and planned checks.
- Inspect for roots and decay before the scheduled treatment ends.
- Sow germinated seeds promptly and protect their fragile emerging roots.
Table of Contents
What Cold Stratification Changes Inside a Dormant Seed
Dormancy helps prevent a seed from sprouting at a poor time. For some temperate plants, a cool, moist interval helps prepare the seed for germination when later conditions improve. The seed must also be viable, and its subsequent light, moisture, and temperature needs still apply. Chilling cannot turn dead seed into living tissue.
Cold-moist treatment and dry storage solve different problems. A dry packet kept cool for storage may never receive the hydration involved in moist stratification. Check whether the instructions actually say cold moist stratification, often abbreviated CMS. Dry storage time may not count toward that treatment.
Scarification addresses another barrier: a hard coat that restricts water entry. A species can need coat treatment as well as a cold period. Eastern redbud, Cercis canadensis, has both coat impermeability and embryo dormancy in the USDA Forest Service’s species account. Chilling its intact hard seeds longer does not necessarily solve the water-entry problem.
Other seeds require a particular temperature sequence. Eastern redcedar is an example of a species with a nursery method that includes a warm-moist stage before a cold-moist stage. Get the complete species instructions for these cases. Scratching every seed or adding a warm phase to every packet creates different problems.
Choose a Treatment by Exact Species and Seed History
Read the botanical name, source, and treatment notes before wetting the medium. A packet sold already stratified needs different handling from newly collected seed. A mixed wildflower packet can contain species with several requirements; ask for its composition and sowing instructions if those details are missing.
The examples below show why durations differ. Each is tied to a named species and a particular published method. They are starting references to compare with your seed supplier’s instructions, not interchangeable schedules for whole plant families. The native-seed winter-sowing chart from Maryland illustrates both treatment regimens and species needing no cold period.
| Seed species | Published treatment example | Context | What changes your next step |
|---|---|---|---|
| Swamp milkweed Asclepias incarnata | About 30 days in the listed Oklahoma State method | Cold-moist example for this species | Some other milkweeds need longer. Check the species and lot. |
| Wild columbine Aquilegia canadensis | 60-90 days in Maryland’s winter-sowing chart | Regional cold-moist regimen | Follow its seed-depth and light instructions after treatment. |
| Globe gilia Gilia capitata | Not required; two weeks may improve germination | Oregon State species guidance | An optional benefit is different from an obligatory treatment. |
| Eastern redbud Cercis canadensis | Scarification first, then 5-8 weeks moist cold near 41°F | Forest Service species method | Obtain a suitable seed-coat protocol; cold alone can miss the barrier. |
| Narrow-leaved coneflower Echinacea angustifolia | Published responses differ | Forest Service review of studies | Check the seed source. Do not assign one fixed period to all coneflowers. |
Cold treatment can improve a seed lot’s germination without being obligatory. Oregon State University’s globe gilia guidance makes that distinction explicitly. The labels benefits from chilling and requires chilling lead to different planting decisions.
Common names can conceal disagreement, too. Maryland’s winter-sowing chart recommends 60-90 days for Rudbeckia hirta, then lists the broader genus Rudbeckia among plants that may not need treatment. The USDA Forest Service’s review of Echinacea angustifolia also reports differing experimental responses to chilling. Neither example supports giving every black-eyed Susan or coneflower packet one compulsory duration.
Use the exact species and seed-lot directions when they are available. If a supplier’s instructions differ from a general list, check whether the seed is pretreated, a different species, or from a different source before combining the methods. Recording that answer is more useful than adding weeks by habit.
Prepare a Damp Refrigerator Batch Without Waterlogging It
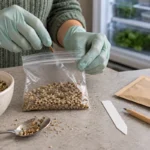
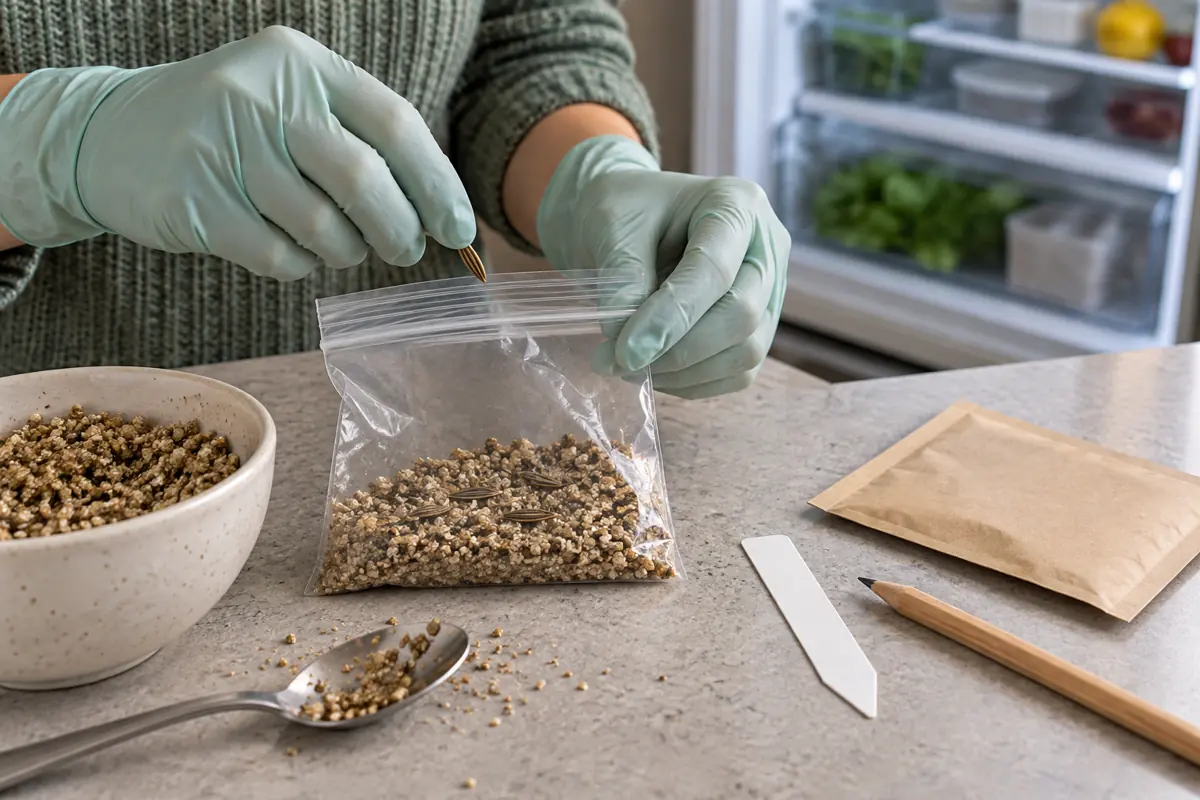
For a species suited to ordinary cold-moist treatment, assemble a clean resealable bag or lidded container, a paper towel or recommended fine medium, water, and a label. Illinois Extension’s refrigerator seed-stratification method uses moistened towel, sand, peat, or vermiculite in a closed container.
- Confirm the species, required treatment, and whether any earlier stage must happen first.
- Moisten the towel or medium. Squeeze excess water from a towel so it stays damp without dripping.
- Distribute the seeds in contact with the medium. Fold the towel gently around them or use the species-approved medium method.
- Seal the batch and label it with the scientific name, source or lot, start date, and intended treatment end or check date.
- Place it in a refrigerator area that stays within the required range, away from accidental freezing.
- Check periodically for moisture changes, decay, and an emerging root. Adjust the next step to what you find.
Illinois gives 33-40°F and roughly one to three months as broad guidance. Your species may call for a different duration. A refrigerator thermometer can help verify the conditions where the bag sits; the appliance’s dial alone does not show the temperature at every shelf or against a freezing back wall.
The towel should feel uniformly damp and pliable. Free liquid sloshing at the bottom of the bag means excess water; a crisp, drying fold no longer provides reliable moist contact. With vermiculite or sand, inspect the medium itself. Condensation on plastic cannot tell you exactly how wet the seed zone is.
Soaking first is not a universal step. Some species need it as part of their treatment, and others can go directly into damp medium. Use an overnight soak only when the particular method calls for it. Keep separate species and lots in separate labeled batches so their schedules remain traceable.
Count Back From the Conditions You Can Supply After Chilling
Allow time for the required cold period and the subsequent germination and seedling stages. A packet needing a long treatment cannot be started a few days before you want plants outdoors. Check your winter seed-starting plans early enough to prepare the next growing space, pots, and labels.
Prepare for an early sprout as well as the planned finish date. A seed showing a root has already changed stages. It needs careful sowing, even when the original calendar still has days left.
Use Outdoor Winter Sowing Where the Weather Fits
Outdoor sowing lets local weather supply the cool, moist interval. It works best when the species’ requirements match the climate and the seedbed remains protected. Maryland Extension gives late November through January as a useful regional window; that is not a nationwide sowing date.
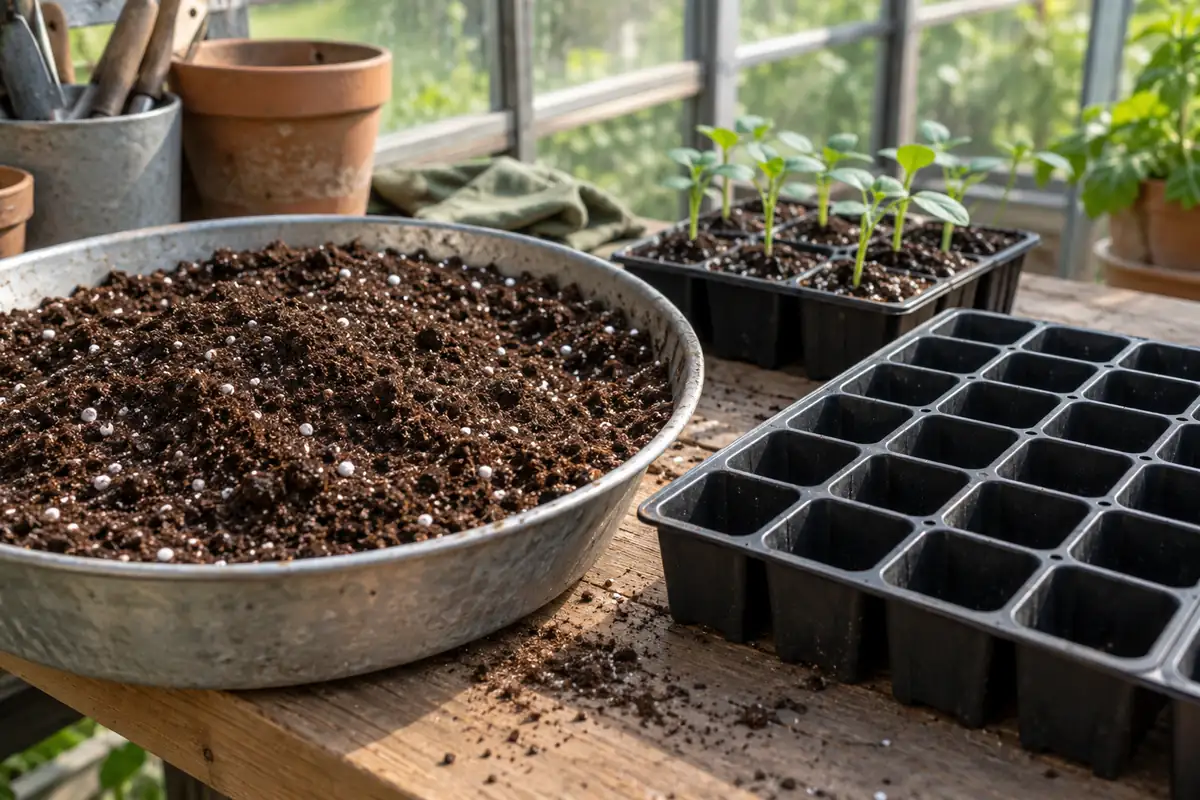
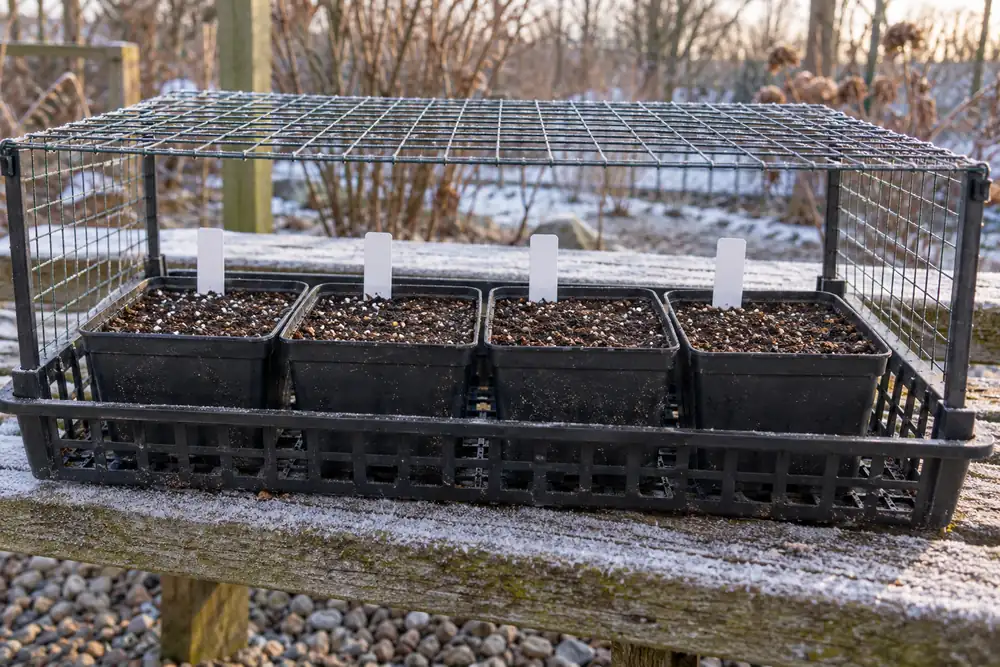
Choose clean pots with drainage holes and fine, premoistened seed-starting mix. The distinction between seed-starting and ordinary container mixes matters for tiny seeds, which can fall too deeply between coarse particles. Sow at the depth and light exposure required by the species.
- Check that the container and tray can release excess water.
- Sow one identified species per labeled pot, recording the source and date.
- Place pots where outdoor conditions reach them, with protection from strong wind, tipping, and animals.
- Use a suitable mesh guard if animals disturb the seedbed, keeping it clear of the growing surface.
- Inspect moisture, drainage, labels, and emerging seedlings as the season changes.
Milk-jug mini-greenhouses are another outdoor container method. They need drainage and ventilation, with checks as sunlight strengthens. A completely sealed jug can retain too much moisture or overheat later. Covers can also reduce rainfall reaching the mix, so inspect conditions inside them.
A mild winter may supply too little cold for the intended species. Wind can dry pots, and animals can remove seeds independently of dormancy. Compare actual conditions with the species requirement; snowfall or one freezing night is not proof that a long treatment is complete.
Watch pots through spring, too. Different native species emerge at different times, and some need warmer conditions well after the first thaw. The late-winter checks around seed trays and beds can include label condition, drainage, protection, and space for later growth. Empty-looking pots do not all need the same response on the same day.
Sow After the Required Treatment or When a Root Appears
At the end of the appropriate cold period, sow sound seeds into suitable growing conditions. Some will still need warmth or light before they sprout. Cold treatment is a preparatory stage, not a promise that every seed will germinate immediately after leaving the refrigerator.
If a pale root appears early, prepare to sow that seed promptly. The emerging root, called a radicle, is fragile and can grow into paper-towel fibers. Waiting for a printed finish date can make a successful germination difficult to handle.
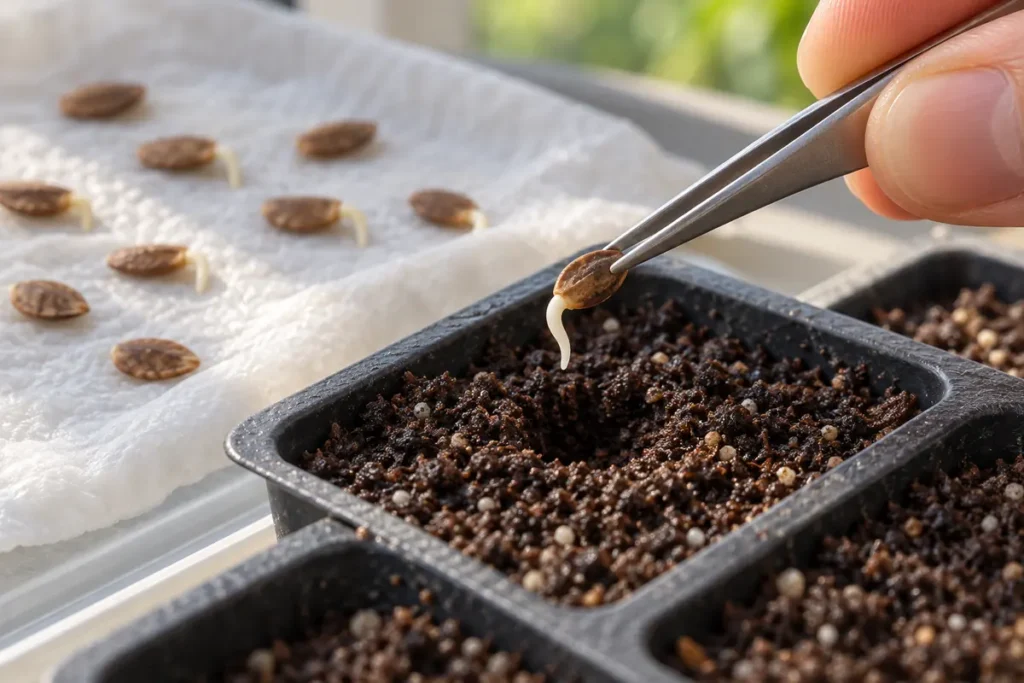
Moisten a fine seed-starting mix and prepare a receiving space before lifting the seed. Handle the seed coat gently, avoiding pressure or pulling on the root. Place it at the species’ recommended depth with room for the root, and settle the surrounding medium carefully.
Keep newly sown seeds and seedlings appropriately moist and draining. Supply their required light and temperature as they begin growing. If emerged plants later stretch, yellow, or collapse, those seedling problems need their own diagnosis; successful dormancy treatment does not prevent every later growing problem.
Check Moisture and Seed Condition Before Trying a Rescue
Inspect a troubled batch by separating the condition of the medium from the condition of each seed. A dry towel, a few surface spots, a softened seed, and a fresh white root can appear in the same bag. They call for different decisions.
| What you find | What to check | Next action |
|---|---|---|
| Towel feels dry and crisp | Loss of moist contact | Restore dampness gently, record the interruption, and check species guidance. |
| Pool of water or dripping medium | Excess liquid around seeds | Replace or adjust the medium to damp, with no pooled water. |
| Small mold patches, seeds still sound | Extent of growth and individual seed condition | Use fresh clean damp medium where the species method permits. Keep checking; limited mold is not universal proof of safety. |
| Soft, decomposing seeds | Decay rather than a dormant intact seed | Discard clearly decayed material and restart a clean batch if needed. |
| A white root appears early | Germination has begun | Sow that seed carefully and promptly instead of waiting for the scheduled finish. |
| No sprouts after chilling and sowing | Species, sequence, warmth, light, depth, moisture, viability | Correct the missing condition; do not automatically add another month of cold. |
A small amount of mold is not always proof that every seed has died. Oklahoma State’s milkweed guidance assesses the individual seeds and allows firm ones to continue in fresh damp paper. That example does not establish a harmless level of mold for every species. Extensive soft decay is a different finding from a little fuzz on a towel.
Use gentle inspection. Squeezing delicate or tiny seeds to test firmness can damage them. For valuable or scarce seed, check a species-specific protocol or ask the supplier before using a treatment that could destroy the remaining batch.
Drying during treatment introduces uncertainty. Restore dampness if the seed remains sound, record the interruption, and consult the species guidance if germination later fails. There is no reliable universal rule that every dry interval resets the clock or that the original finish date remains valid.
Recheck the Missing Condition When Seeds Stay Dormant
Start with the record you made before treatment. Confirm identity, age, pretreatment history, intended duration, refrigerator conditions, and whether the medium stayed damp. Then check the sowing stage: depth, light, warmth, and water can still prevent emergence after adequate chilling.
Hard-coat or multi-stage species need their complete method checked. Additional refrigerator time cannot reliably replace scarification or a missing warm period. Seed that looks intact may also be nonviable. One symptom cannot separate all of these causes.
If enough seed is available and the requirement is uncertain, a small labeled comparison batch can be useful. Keep some seed untreated or follow a supplier-recommended alternative and record the difference. This is a way to learn about your lot, not a substitute for known treatment instructions or a reason to risk an entire scarce packet.
Keep outdoor pots labeled and protected for the period appropriate to their species. Spring warmth arrives unevenly, and emergence can be staggered. Replace clearly decayed seed, but allow sound material the conditions and time its species requires.
Conclusion
Choose the treatment before choosing the container. Identify the seed, check whether moist cold is needed, and keep a labeled record of the method and dates. Maintain damp contact without pooled water, inspect for roots and decay, and sow promptly when the seed reaches the next stage. The species and the seed’s condition should control the next move.
Frequently Asked Questions
Can I use the freezer to speed up cold stratification?
A freezer is not a substitute for the ordinary refrigerator cold-moist method. Maryland Extension distinguishes refrigerator treatment from freezing. Outdoor soil may freeze naturally, and freezing dry seed for storage is another process; neither makes a wet bag in a freezer an equivalent shortcut.
Do all vegetable seeds need cold stratification?
No. Start with the specific crop’s packet and germination instructions. Cold-moist treatment is not a routine extra step for every vegetable packet, and poor germination alone does not prove a cold requirement.
Can I chill an unidentified wildflower mix as one batch?
Ask for its species list and treatment directions first. Different components may need different cold periods, no cold, or different sowing depths. One shared bag and schedule can hide those differences.