Bottom watering plants means setting a pot with drainage holes in shallow water so the growing medium draws moisture upward. Check that the root zone needs water first. Remove the pot once the mix has moistened adequately, let excess drain and empty the saucer. Leaving an ordinary pot standing in water afterward can keep roots too wet.
The method can help with small seedling cells, foliage you want to keep dry or a root ball that top watering bypasses. It does not make overwatering impossible. A dry-looking surface may sit above a heavy, wet base, and a coarse mix may never darken evenly across the top. Feel the medium and compare the pot’s weight as it takes up water. Occasional top-down flushing also matters because repeated bottom-only watering can leave dissolved salts behind.
Soak, check, lift, drain
- Before soaking: confirm the inner pot has open holes and the plant is due for water. A heavy, damp root zone is a reason to wait.
- During uptake: keep the base in shallow water and watch moisture move upward. In an ordinary responsive mix, upper dampness is a useful stopping cue.
- If the top stays dry: inspect the root zone and pot weight. Do not prolong the bath indefinitely to chase a dark surface.
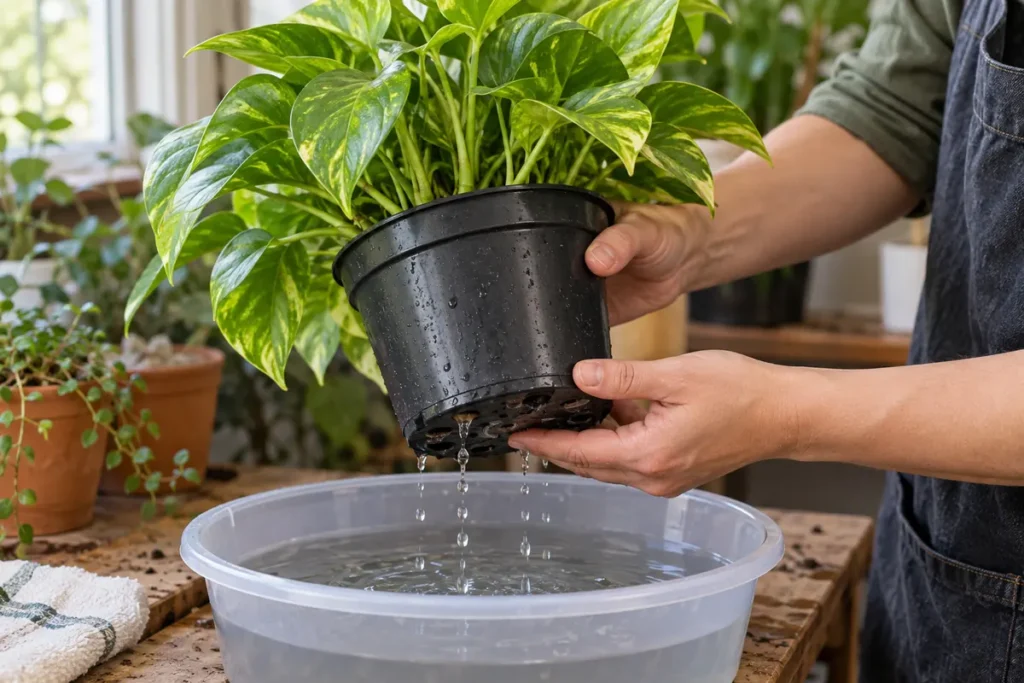
- Afterward: lift the pot, allow free drainage and discard the remaining water. Return it to an empty saucer or outer pot.
Key Takeaways
- Assess plant-specific moisture needs before choosing a watering method.
- Keep drainage openings in contact with the shallow soaking water.
- Use dampness and changing pot weight to judge uptake.
- Remove the container promptly once the root ball is hydrated.
- Flush from above periodically to remove accumulated fertilizer salts.
Table of Contents
Bottom Watering Plants Uses Capillary Movement Through the Mix
Water enters through the base openings and moves through connected spaces in the growing medium. The potting mix carries it upward; roots do not regulate the bath by taking only the amount they need. The mix can become saturated even when the plant itself is using little water.
Particle size, pot height and starting dryness affect that movement. A fine, short plug and a tall pot filled with coarse bark do not wet in the same way. Cornell University’s growing-media teaching material describes how pore structure and container geometry change water retention and aeration.
That physical difference explains why a single timer is a poor substitute for inspection. Two containers can spend the same time in a sink and finish with different moisture patterns. Even identical pots may start with different amounts of water remaining inside.
Air needs space too.
When water fills the pores for too long, roots lose access to oxygen. Bottom watering therefore includes two distinct actions: letting moisture enter, then restoring free drainage. A purpose-built self-watering planter uses a managed reservoir or wick system; an ordinary nursery pot forgotten in a full saucer is a different setup.
Check the Root Zone Before Filling the Basin
Lift a manageable pot before watering and learn how it feels after thorough wetting and drainage. Later, a noticeably lighter container gives a useful comparison. Check the medium below the surface where you can do so without damaging roots. Surface color alone does not establish whether the plant is thirsty.
A cool, damp feel below a dry top changes the decision. So does a pot that still feels heavy after its previous watering. Wilted leaves can occur with dry roots or with roots struggling in wet conditions, so do not use wilting as an automatic signal to soak.
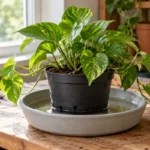
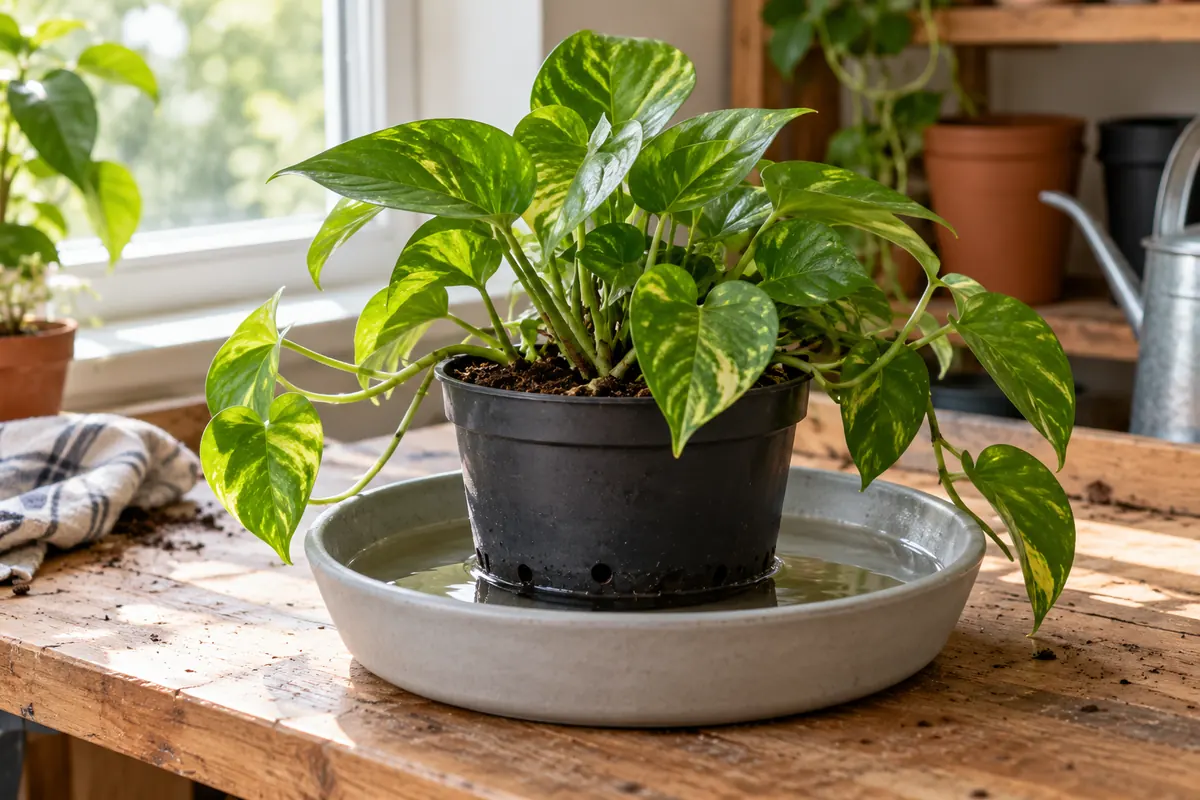
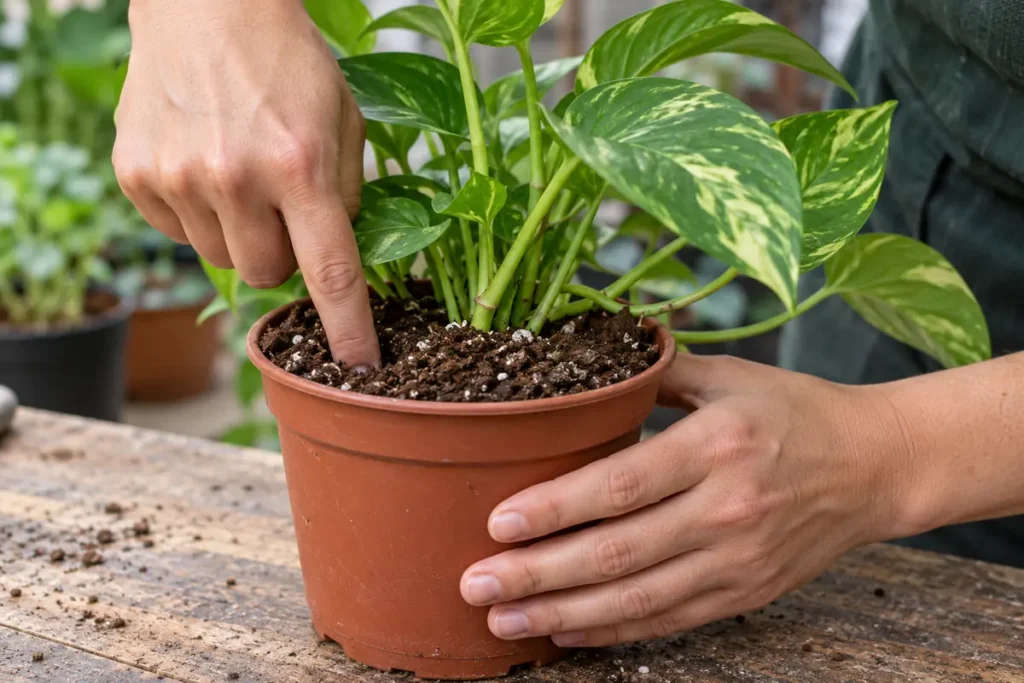
For the pothos pictured here, pothos watering needs still govern when to water. The same basin procedure does not give a cactus, an African violet and a leafy tropical identical drydown requirements. Seasonal growth and the room’s conditions also change how quickly a pot dries.
Next, inspect the container. You need a grow pot with usable base openings and a separate basin, tray or sink that holds water. If a decorative outer pot hides the grow pot, lift the inner pot out to inspect it. Standing water can remain unnoticed below the rim.
Restricted outlets and unsuitable containers call for correcting pot drainage before another soak. Adding porous ingredients cannot give water an exit through a sealed pot.
Let Moisture Rise, Then Lift and Drain the Pot
Use a stable basin and room-temperature water. Put a heavy container where you can lift it safely afterward; soaking in a deep sink is inconvenient if you cannot get a secure grip. Keep leaves and the plant’s crown out of the water.
- Choose a shallow water level. The water must contact the pot’s drainage openings. Match the setup to the container; one fixed depth does not fit every pot and tray.
- Set the grow pot into the basin. Check that raised feet or a tray insert are not holding the openings above the water.
- Observe uptake. Look and feel for the mix becoming damp higher in the pot. Compare weight with the dry starting condition.
- Stop when adequately moistened. In a conventional mix that wicks readily, moisture reaching the upper layer is a useful signal. If the lower pot is wet but the top stays dry, lift and inspect before extending the soak.
- Drain outside the bath. Place the pot over an empty sink or suitable rack so runoff can leave. Empty the saucer or outer container before putting the plant back.
Moisture reaching the top is the removal cue in the houseplant subirrigation instructions from University of Illinois Extension. Use that observation with the pot’s condition, not as a reason to leave a poorly wicking mix underwater indefinitely.
How long should the soak last?
Long enough to hydrate the root zone, followed by drainage. Pot size, medium and initial dryness prevent one reliable number of minutes from fitting all plants. Iowa State’s African-violet guidance includes a 20-to-30-minute example; it should not become a rule for every houseplant or a shallow seedling cell.
Check during uptake. If the mix has already moistened adequately, remove the pot. If little changes, examine water contact and the medium before restarting a timer. Once you know how a particular pot behaves, its usual pattern helps you notice a later blockage or a badly dried root ball.
Match the Method to Leaves, Seedling Cells and Dry Peat
Bottom watering is useful when it solves a specific problem. It can avoid a rough stream across small seeds, keep sensitive foliage dry or help rewet a root ball that water runs around. It does not repair every unsuitable growing medium.
| Situation | Useful approach | Check before continuing |
|---|---|---|
| African violet due for watering | Shallow uptake can keep water off the leaves. | Moisture has risen; lift and drain, then allow suitable drydown. |
| Short seedling cells | Temporary contact between holed cells and a shallow water flat. | Cells are moist, not left in a flooded tray. |
| Dry mix pulled away from the pot wall | A controlled soak may rewet material bypassed from above. | Check the center for moisture as well as the base. |
| Pot still heavy and damp below | Wait and assess the plant’s watering requirement. | A dry-looking top is not masking a saturated lower zone. |
African violets and seedling trays
Keeping cold water off African-violet leaves can avoid spotting. Bottom watering offers one way to do that. Careful top watering is also possible, and it has a role in flushing salts. Avoid turning a useful foliage precaution into a claim that the plant can only be watered from below.
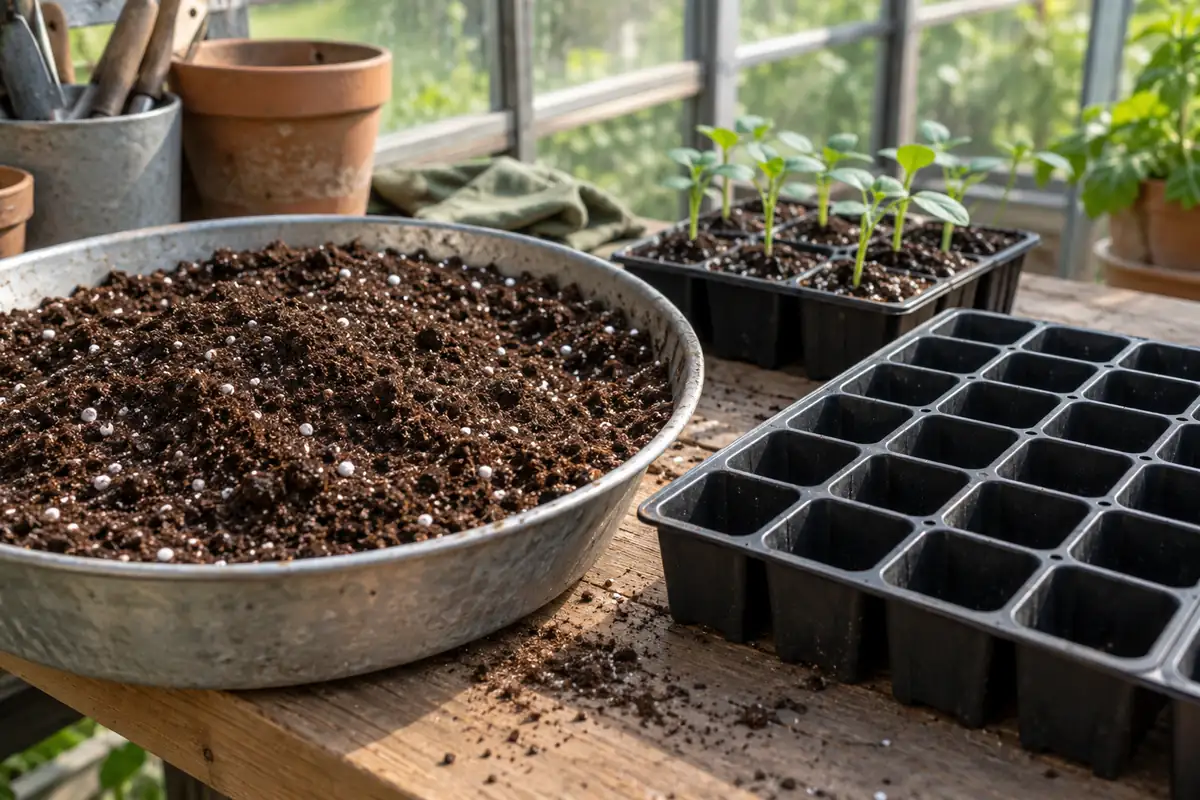
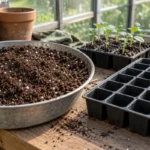
For seedlings, use cells with drainage holes above a shallow water-holding flat. Watch a representative cell as moisture moves upward, then lift the cells out and let them drain. Moist growing medium without saturation is the goal in University of Maryland Extension’s indoor seed-starting instructions. Do not transfer an adult pot’s soaking depth or timing to small plugs.
A dry root ball with water running around it
Dry peat-rich material can shrink away from a container wall. Water poured from above may rush through the gap, leaving the middle dry. New Mexico State University’s top-versus-bottom watering guidance identifies this as a situation where soaking from below can help.
Confirm that the center has changed from dry to damp. Fast runoff from a top watering was not proof of successful hydration, and a wet base after soaking is not proof that every part has rewetted. Persistent hard, dry material may require a medium or root-space correction.
Top Watering Flushes Salts That Bottom Uptake Leaves Behind
Water carries dissolved minerals and fertilizer salts. As water moves upward and evaporates, those substances can remain in the potting mix. A new bottom soak adds moisture without reliably carrying the accumulated salts out through the base.
That is why top watering remains part of care even if bottom soaking is convenient. Colorado State University Extension generally favors top watering for houseplants because of the salt issue. The choice is about what the watering event needs to accomplish, not a permanent rule that one direction always produces healthier roots.
| Method | Useful for | Follow-through |
|---|---|---|
| Temporary bottom soak | Gentle uptake without splashing foliage or disturbing seeds | Stop, lift and drain; retain occasional top flushing. |
| Thorough top watering | Wetting from above and allowing runoff to carry dissolved salts away | Check the center was wetted; discard runoff. |
| Permanent ordinary saucer bath | Not a substitute for either completed watering method | Empty it and reassess root-zone moisture. |
A whitish crust around the pot rim, surface or drainage openings can indicate mineral deposits. Leaf-tip browning and poor growth may accompany salt stress, although those symptoms have other causes. Inspect the texture and watering history before calling every white patch either salt or fungus.
For salt management, top-water with clear water through functioning drainage holes and discard the runoff. Do not leave the container standing in that water to absorb it again. The indoor watering and salt-leaching guidance from University of Maryland Extension includes periodic flushing and more intensive instructions where needed.
Water quality, fertilizer use and the condition of the mix affect how quickly deposits develop. A fixed flushing calendar cannot replace inspection. Persistent heavy buildup, poor drainage or damaged roots may require repotting or further diagnosis rather than another prolonged bath.
Inspect a Dry Top, Wet Base or Stalled Uptake Separately
Check where the water is before judging the plant’s immediate appearance. Leaves may not recover at once, and already damaged roots cannot be assessed by surface color. Let observations guide the next correction.
- No uptake: check that water reaches open base holes. A raised inner pot may never have contacted the bath.
- Wet base and dry upper mix: lift and inspect the moisture profile. Coarse or tall media can behave differently; more time underwater is not automatically the fix.
- Heavy pot with yellowing or wilt: stop watering and investigate signs of overwatering. Root stress can resemble thirst.
- Uneven seedling cells: compare contact with the tray and moisture within individual plugs. Do not flood the whole flat to correct one dry corner.
If seedlings develop yellow leaves or collapsed stems, assess stems, roots and growing conditions together. Changing the direction of watering does not by itself diagnose disease or guarantee recovery.
Record how the pot felt before and after a successful soak. On later checks, that comparison can help you distinguish normal drying from a change in the mix or the plant. Decide when to water from its current condition, then choose the method that fits.
Conclusion
Begin with a plant that needs water and a pot that can drain. Use shallow contact, observe the upward wetting and lift the container once the root ball is adequately hydrated. Empty the catch water and retain top-down flushing for salt management. A dry surface, a wet base and a hard central root ball are different findings; check each before extending the soak.