
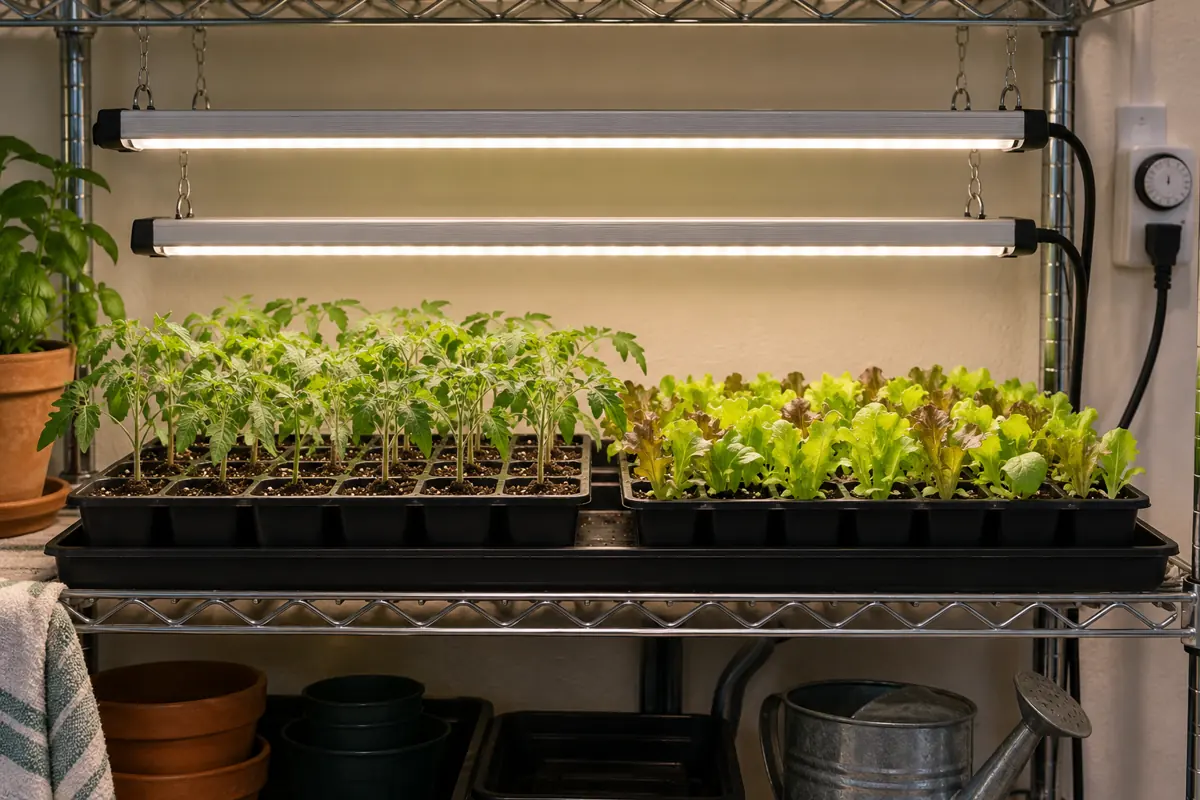
Grow lights for seedlings need to deliver enough light across the whole tray, including the small plants tucked into its corners. A bright strip over the middle can leave those outer cells stretching sideways. Moving the strip closer may brighten the center and leave even less of the tray properly lit.
White LED shop lights, plant LEDs and fluorescent fixtures can all work. The useful choice depends on the planted area, the light reaching the leaves, safe hanging clearance and the hours it runs. Purple bulbs and impressive wattage labels do not settle those questions.
Start with the fixture’s own mounting instructions, then check the plants at leaf height. A timer and adjustable hangers make corrections easier. New growth tells you whether the changes are helping; an already stretched stem will stay long.
Choosing a fixture: Match its documented light footprint to the occupied tray at the stated hanging height. Look beyond a single center reading.
Setting the timer: About 14-16 hours of light with a dark interval is a starting point for many vegetable seedlings. Adjust for the crop and actual fixture output.
Reading the pattern: Thin outer plants with compact center plants call for a coverage check. Pale or scorched leaves directly under the lamp call for a heat and intensity check.
Key Takeaways
- Measure the planted tray before choosing a light fixture.
- Check hanging clearance against the current leaf height.
- Compare corner growth with plants beneath the fixture center.
- Set a timer and keep an appropriate dark interval.
- Judge corrections by healthy new leaves and shorter internodes.
Table of Contents
Choose Grow Lights for Seedlings by Coverage and Output
A standard 10-by-20-inch flat occupies a long rectangle. Place two together and the rectangle changes with their orientation. Lay out the trays before buying a fixture, and measure the area actually occupied by plants. A bulb suitable for one small pot may leave most of a flat outside its useful beam.
Check whether a manufacturer’s coverage claim includes a measurement map at a specified hanging height. The number at the center tells you about that position. It does not establish the amount reaching the ends, corners or a second tray beside it. A claim such as covering a 2-by-4-foot area also needs an explanation of the light levels within that area.
LED shop light, plant LED or fluorescent?
A suitable white LED shop light can grow vegetable starts when its output and spread match the tray. University of New Hampshire guidance includes ordinary shop lights as an option. Long bars can be distributed over a shelf, which helps fit a rectangular planting area. Check the actual model; two bars with similar housings may deliver different amounts of light.
Plant LEDs may offer dimming, documented light maps or mounting arrangements suited to a rack. Those features can justify the choice when shelf clearance or uneven coverage is a problem. A powerful panel also needs its specified clearance and ventilation. Treating it like a low-output tube can expose the nearest leaves to excessive light or heat.
Existing fluorescent fixtures remain usable if their tubes, output and mounting are suitable. Allow room to raise them as the seedlings grow. Hot incandescent household bulbs are a poor sole source for a seedling tray: bringing them close enough can create a heat problem before the tray receives adequate usable light.
Before paying for a fixture, find its real electrical draw, recommended growing distance, light distribution, mounting requirements and timer compatibility. Favor information for the exact model over a photograph of an unusually lush tray. No particular number of lamps fits every flat.
Measure Light at the Leaves, Then Check the Corners
Watts describe electrical input, lumens describe brightness weighted for human vision, and Kelvin describes the apparent color of white light; none measures the photons actually reaching a particular leaf. Broad white light can work without purple illumination, and a daylight color label cannot compensate for inadequate output.
PPF is the fixture’s total photosynthetic photon output, measured in micromoles per second. PPFD describes the photons arriving per unit area each second, measured in micromoles per square meter per second. The second measurement belongs at the leaves. An efficient fixture can still spill much of its output beyond a narrow tray.
The differences between light intensity, duration and daily light integral matter when comparing setups. A brief intensity reading describes light at that moment; the daily total also depends on how long the leaves receive it.
Use a sensor or inspect comparable plants
With a suitable PAR or quantum meter, hold its sensor at leaf-top height, facing upward, and take readings at the center, ends and corners with the fixture at the intended setting. Record the height and dimmer position. Keep the sensor level and avoid shading it with your hand. A measurement above the tallest plant cannot describe the shorter plants below it.
Without a meter, compare seedlings of the same crop, variety and age in different positions. Thin, floppy stems leaning inward at the tray edge deserve attention when the center remains compact. Check moisture differences too; outer cells may dry differently. Plant appearance helps guide adjustments, although it cannot supply an exact PPFD value.
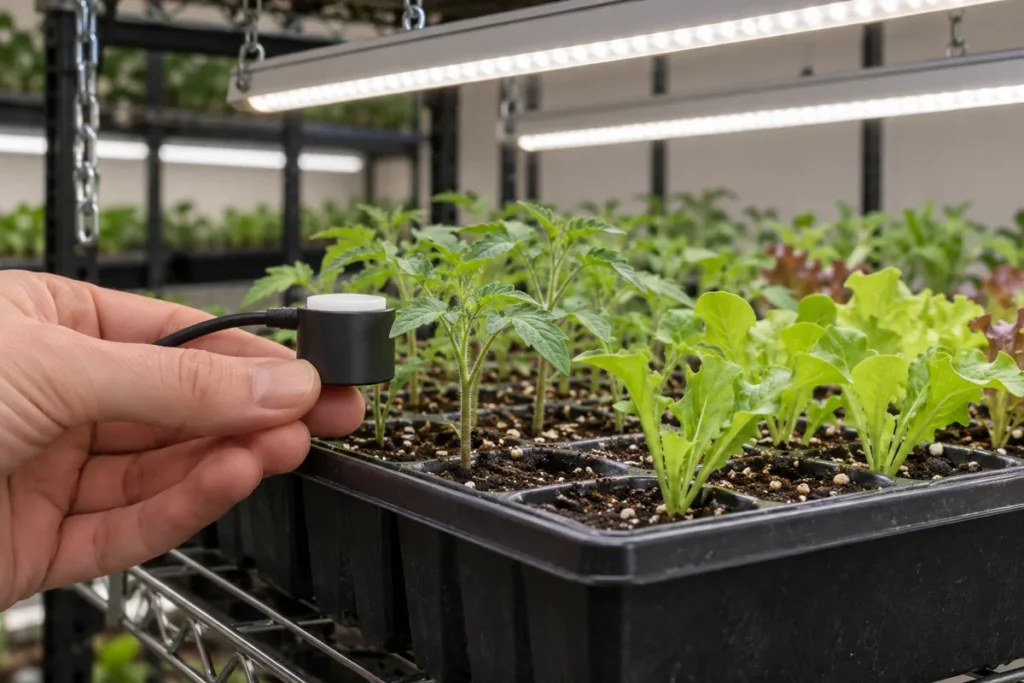
Phone light-meter apps can give approximate comparisons when properly calibrated for the device and light source. A generic lux-to-PPFD conversion is unreliable across different spectra and phones. Use an appropriate quantum meter or a credible model-specific map when a decision depends on accurate photon measurements.
Set Hanging Height Without Creating a Hot Center
Measure from the light-emitting surface to the highest leaves, following the fixture’s instructions. Leave its required heat and ventilation clearance. Chains, adjustable hangers or a suitable light stand let you maintain that distance as stems rise. Secure both ends so the fixture cannot tilt onto a tray.
Published distances differ because the equipment differs. vegetable seed-starting guidance for common indoor light setups from University of Maryland includes fixtures 2-6 inches above plants. That is context for a basic setup, not permission to place every high-output LED panel that close. Iowa State gives substantially greater distances for some LED arrangements. Use the exact fixture’s safe clearance and light map to choose between those situations.
Raising a lamp often spreads its beam across more area and reduces intensity at a particular point. Lowering it can concentrate light over the middle. If seedlings stretch only at the edges, try redistributing bars or adding a suitable fixture rather than automatically moving the existing lamp closer. Recheck the center after every change.
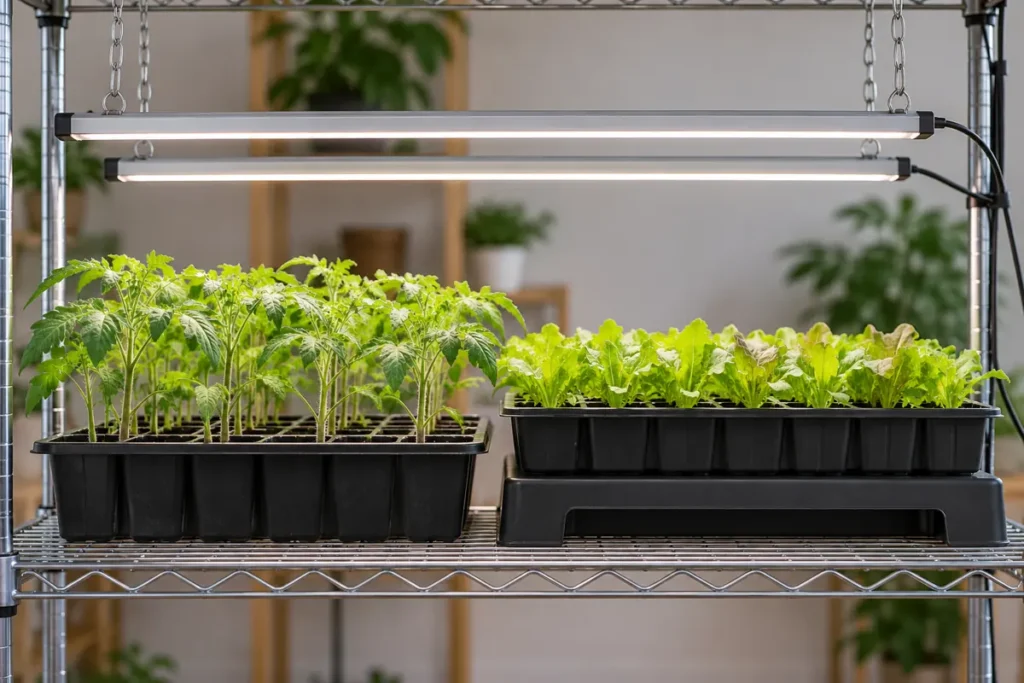
Mixed crops complicate the measurement. Tomato tops can approach the lamp long before a neighboring lettuce tray does. Group similar heights, adjust separate fixtures or raise the shorter tray on a broad, stable, water-resistant support. Keep its drainage open. Recheck both crops after moving anything; bringing their tops closer to the same level does not prove equal light across them.
Set Timer Hours to Match the Daily Light Dose
For many ordinary vegetable starts, 14-16 hours of light followed by darkness is a practical initial schedule. Maryland uses that range for its home seed-starting setup. University of Minnesota’s seed-starting guidance gives 12-16 hours, and other Extension recommendations differ with equipment and growing conditions. A timer setting is a starting adjustment, not a crop-independent optimum.
Daily light integral, or DLI, is the total plant-usable light received over a day. Under a constant artificial light, calculate it as PPFD multiplied by hours multiplied by 0.0036. The following values are hypothetical arithmetic for two positions beneath one lamp. They are not measurements of a product or recommended targets for every seedling.
| Example position | PPFD | Hours on | Calculated DLI |
|---|---|---|---|
| Hypothetical center | 250 micromoles per square meter per second | 14 | 12.6 moles per square meter per day |
| Hypothetical corner | 120 micromoles per square meter per second | 14 | About 6.0 moles per square meter per day |
Extending the timer raises both values and leaves their uneven distribution unresolved. Fix a weak corner’s coverage before assuming the whole tray needs a longer day. Variable sunlight from a window adds another source; a single noon reading multiplied by the entire day will not describe that changing contribution.
Utah State gives 200-400 PPFD as broad vegetable-seedling guidance. Crop, developmental stage and other growing conditions still matter. Use a crop-appropriate reference together with measured output and plant response. Do not push injured seedlings toward a number simply because a general table lists it.
Supply light promptly after emergence for common vegetable starts. Seeds that require light to germinate need an earlier schedule, so check the packet. Control a germination heat mat separately from the light timer if the mat is still needed. After sprouting, reassess that warmth; continued excessive heat can encourage elongated growth.
Read the Growth Pattern Before Changing the Lamp
Check the fixture, actual timer operation, leaf height, root-zone moisture and room temperature before making a correction. A cool, heavy tray of saturated mix and pale, stalled plants needs a different response from dry, papery upper leaves just beneath a hot fixture. Changing several conditions together makes the cause harder to identify.
| What you see | Check first | Useful correction |
|---|---|---|
| Long, weak growth across the tray | Low light dose, excessive warmth or crowding | Improve usable light safely and correct the competing cause. |
| Compact center with stretching edges | Beam spread and moisture differences | Reposition or distribute fixtures; compare edge and center again. |
| Bleaching or dry injury nearest the lamp | Excess intensity, heat, clearance and water stress | Raise or dim within instructions and check the root zone. |
| Pale, wilted plants in wet mix | Drainage, temperature, roots and stem base | Investigate the root problem before adding light. |
Pinched stems at soil level, persistent wetness or wilting despite adequate light belong to a broader seedling problem diagnosis. Increasing light cannot restore roots deprived of oxygen. A suitable container mix with drainage and air space also needs containers that let excess water escape.
After a light adjustment, inspect new leaves and the spacing between new nodes. Old elongated tissue does not shrink. A seedling that remains tall can still be producing healthier growth. Avoid burying every stretched crop’s stem as a general rescue; transplanting depth is crop-specific.
Keep Water Away From Power and Recheck as Plants Grow
Use secure, correctly rated fixtures, hangers, timers and cords. Keep electrical connections outside the path of watering and tray overflow, and keep catch trays from remaining full. Do not spray the lamp or driver. A warm fixture can be normal within its specifications; a damaged cord, hot plug or repeated electrical trip calls for stopping use and having the equipment checked.
GFCI protection is appropriate where electricity and water can meet. A GFCI detects current leaking to ground and disconnects the circuit, the protection described in Electrical Safety Foundation International’s GFCI guidance. It does not make a wet connector safe or replace overload protection. Keep connections dry, avoid chained extension cords and follow the equipment’s installation instructions. Have fixed electrical work handled by a qualified electrician.
Revisit the setup whenever leaf height, tray arrangement or fixture output changes. Stronger light can change drying and growth, so feel the mix and lift the tray instead of preserving an old watering interval automatically. Record the adjustment and watch the next growth before changing another variable.
Stagger sowings to the space you can actually illuminate. During January garden preparation, count the flats and larger pots your rack can accommodate before ordering seeds. For February seed starting, leave room around new trays for seedlings to grow and move into larger pots. Local planting dates and crop growth rates determine when each tray needs room.
Conclusion
Fit the fixture to the occupied tray, hang it at a safe height and check the light reaching both center and corners. Use a timed day with darkness, then adjust from actual measurements and new growth. Better distribution often solves a problem that a longer timer setting cannot.
Frequently Asked Questions
How much electricity does a seedling light use?
Multiply actual watts by daily hours and days, then divide by 1,000 for kilowatt-hours. A hypothetical fixture drawing 40 watts for 14 hours daily over 30 days uses 16.8 kWh. Multiply by your own electricity rate for an estimated cost; dimming or variable draw changes the calculation.
Do seedlings still need hardening off after growing under lights?
Yes. Indoor lighting does not acclimate leaves to outdoor sun, wind and temperature changes. Introduce outdoor exposure gradually under crop-appropriate conditions before planting out. A strong indoor light is not proof that a seedling can tolerate its first full sunny day outside.
Can a grow light stay on all night?
The light period can occur partly at night if a timer gives the plants their appropriate total day and dark interval. Running through the night and the following day continuously is a different treatment. Do not use continuous light as a general remedy for an undersized fixture.