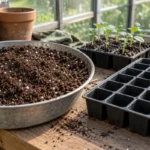

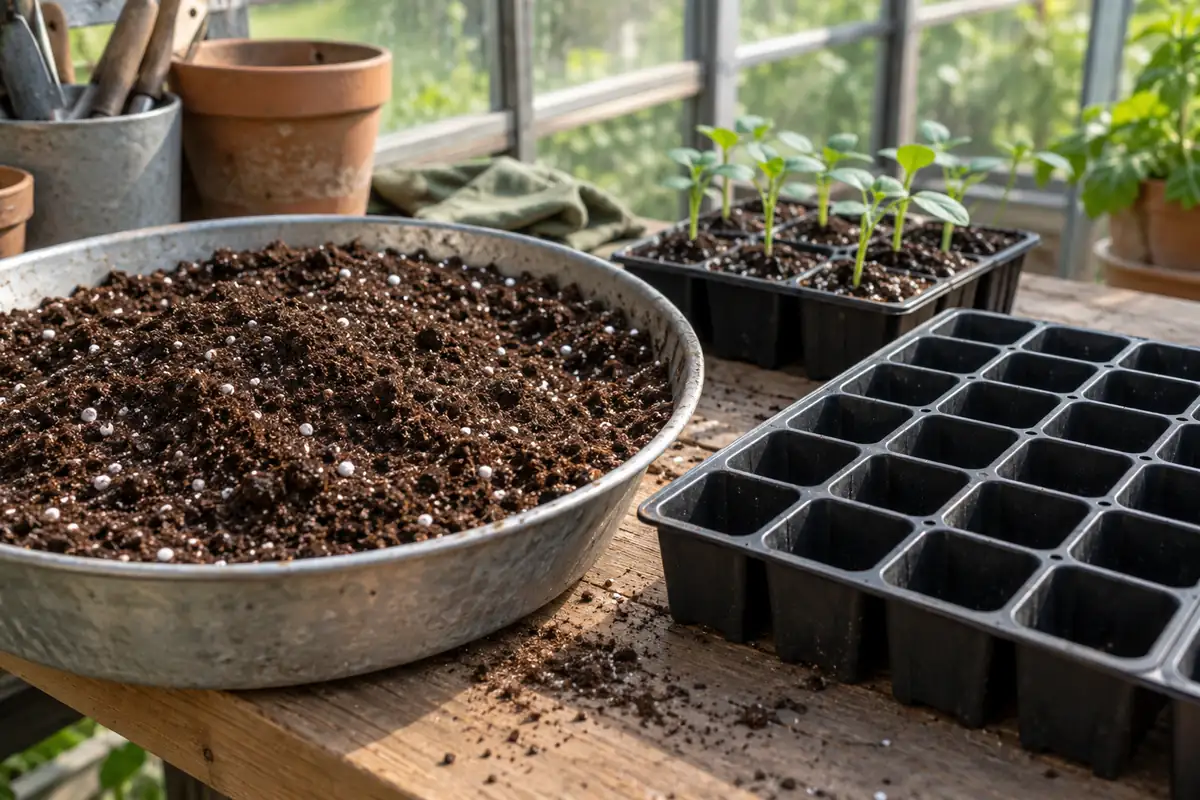
Seed starting mix needs to keep a germinating seed in contact with moisture without leaving its roots in waterlogged material. A fine, loose blend helps, especially with tiny seeds. Many larger garden seeds can also start in a suitable all-purpose soilless potting mix. The useful choice depends on the texture in the bag, the size of the seed and whether fertilizer is already included.
A dry handful can feel light and springy, then resist water when it is first poured into a tray. A dark surface can hide dry fibers underneath. Before sowing, wet the whole batch, check one filled cell and confirm that excess water has an exit. That small preparation step also gives you a clearer starting point for later watering and feeding decisions. You can choose a prepared mix or make a measured batch from appropriate ingredients.
Choose by the seed and the material you have
- Tiny or surface-sown seeds: choose a fine, uniform starter and follow the packet’s light and covering instructions.
- Larger seeds and a suitable soilless mix: check texture, drainage and added fertilizer before buying another bag.
- Making your own: follow one complete recipe. Keep peat-specific limestone amounts with the peat recipe.
- Before filling cells: work water through the batch. Damp crumbs should hold together lightly and break apart without dripping.
Key Takeaways
- Read the fertilizer statement before adding any seedling feed.
- Keep untreated garden soil out of indoor seed trays.
- Measure ingredients consistently and record the recipe you used.
- Test moisture inside one cell before sowing the tray.
- Check true leaves and root space before potting on.
Table of Contents
Seed Starting Mix Balances Fine Contact With Air Space
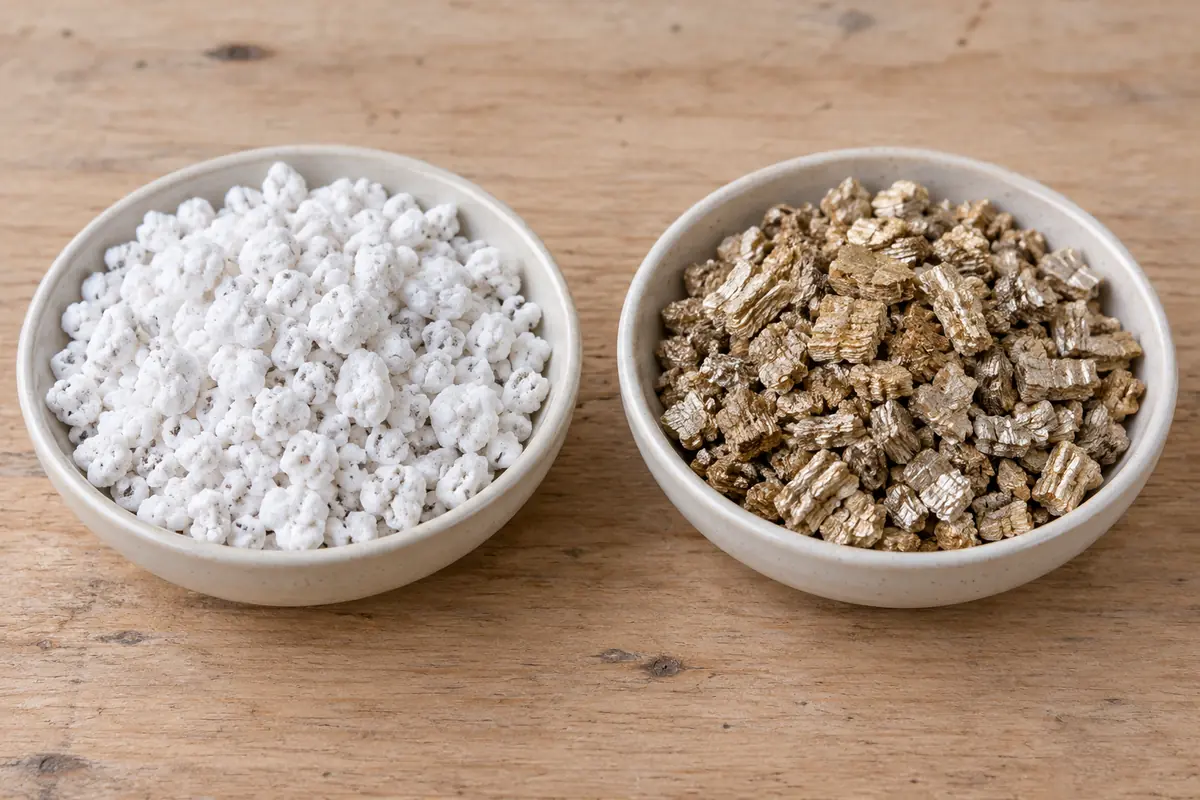
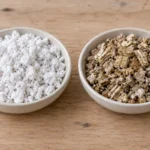
A seed tray needs a growing medium, often called seed starting soil, that wets evenly and stays loose enough for air movement. Peat or coir supplies a fibrous base; materials such as fine vermiculite and perlite change its water-holding and pore structure. The finished blend matters more than the presence of any single ingredient.
Very small seeds can lose contact with moist material among large bark pieces. A finer grade gives a more uniform sowing surface. It must still drain: powder packed firmly into a cell can leave little usable air space after watering. Seeds need oxygen during germination as well as water.
A dedicated starter is not a necessary purchase for every crop. A standard, light soilless transplant mix can work for many garden seeds, with specially fine media most useful for extremely small seeds. That distinction appears in University of Maryland Extension’s guidance on containers and growing media for indoor seed starting.
| Material | When it fits | Check before sowing |
|---|---|---|
| Fine seed-starting blend | Tiny seeds and a uniform surface in small cells | Moisture movement, added fertilizer and drainage |
| Quality soilless transplant mix | Many larger vegetable and flower seeds | Coarse fragments, density and nutrient charge |
| Untreated garden soil | A garden bed, not the default for an indoor tray | Compaction, crusting, weed seeds and possible pathogens |
Read the intended use and fertilizer information together. “Organic” does not mean nutrient-free, and “seed starting” does not guarantee that no fertilizer has been added. A product containing a starter charge needs a different feeding decision from a lean homemade blend.
Fresh, clean material reduces the contamination you bring into the tray. It cannot guarantee that a handled mix remains free of disease organisms. Keep unused mix protected from dirty tools and old growing medium. Mixing equipment should be clean before either commercial or homemade material goes into it.
Measured DIY Blends Keep Texture and Acidity Predictable
Homemade seed starting mix is useful when you can obtain the specified ingredients and repeat the measurement. A small commercial bag is often a better choice when making a batch would require buying several materials you will rarely use. Neither route establishes a universal best mix or a guaranteed germination rate.
A peat and fine-vermiculite recipe
A peat-based germination recipe from University of New Hampshire Extension uses the following quantities. Use US volume measures, a level measuring spoon and the specified ingredient forms.
| Ingredient | Amount |
|---|---|
| Shredded peat moss | 4 quarts |
| Fine-grade vermiculite | 4 quarts |
| Ground limestone | 2 tablespoons |
Combine the materials thoroughly so the small limestone quantity is distributed throughout the batch. The limestone adjusts the acidity of this peat-based formulation. Keep it separate from ready-made mixes that may already be limed. Replacing peat with coir does not justify carrying over the same lime amount.
This recipe has no added fertilizer. Plan for nutrition after germination rather than treating the limestone as plant food. Record the ingredients on the tray label or in a note so its later care is based on the actual blend.
A separate coir or peat option
A simpler soilless combination of coir or peat with roughly half porous material, such as perlite or vermiculite, is described in Oregon State University Extension’s homemade seed-medium guidance. This is a separate option, not a reason to combine amounts from different recipes. Check the base material’s preparation and pH instructions and test the finished blend in a cell before making a large batch.
The same Oregon guidance includes a thirds-based recipe containing soil or compost. That ingredient must be pasteurized; a scoop of untreated backyard soil or compost is not equivalent. Choose clean soilless ingredients if you cannot meet the processing conditions. Do not assume that material is suitable for germinating seeds simply because it grew an established plant well.
Keep dusty ingredients lightly damp during handling and mix where air can circulate. Use the ingredient package’s handling directions. A clean tub large enough to fold the materials together makes it easier to distribute both fine particles and moisture without spilling the batch.
Pre-Wetting Removes Dry Pockets Before Seeds Go In
Dry peat-rich material can resist its first watering. Water may bead on top or run around the sides of a cell, leaving dry fibers in the middle. Adding more from above can flood one part without correcting another. Thorough initial hydration is part of preparing the medium.
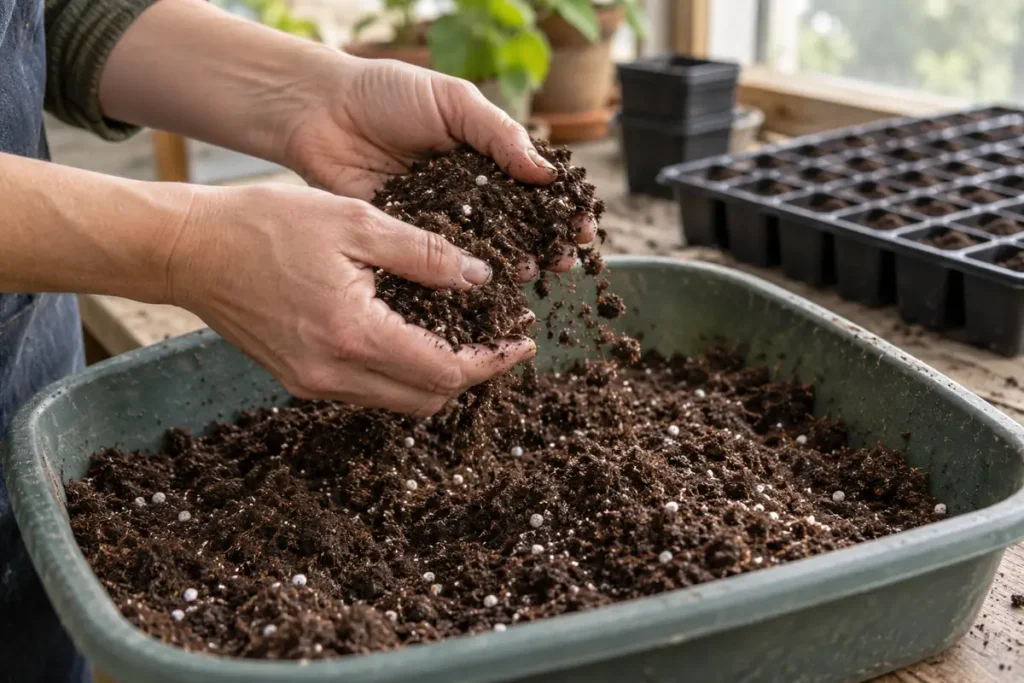
- Place the mix in a clean tub. Leave enough room to turn material from the bottom to the top.
- Add lukewarm water gradually. Fold and crumble the mix between additions. Break apart dry lumps and check material below the surface.
- Test a handful. It should feel evenly damp, hold a weak shape when gathered and separate again under light pressure. A running squeeze of water means it is too wet.
- Fill clean cells with working drain holes. Settle the material gently for even seed contact. Avoid pressing it into a hard plug.
- Check one spare cell. Confirm that gentle watering penetrates and excess can leave. Open the test cell to check its center before sowing the rest.
The spare-cell check is a practical comparison, not a timed laboratory drainage test. A pale, papery center beneath a dark, cool outer layer shows incomplete wetting. Rework the batch and repeat the check. If the whole cell stays sodden, inspect the outlet and the blend before adding more water.
Clean reused trays before filling them: remove old roots and mix, wash away debris, then use an appropriate disinfecting process with its stated dilution and contact time. Combine neither chemical concentrations nor soaking times from different instructions. Rinse where the chosen process requires it.
An undrained outer tray can catch runoff, but the growing cells still need functioning exits. Empty excess water so the cell bottoms are not continually submerged. Problems with container drainage must be corrected at the container as well as in the mix.
Sow according to the seed packet’s depth and light requirements. A fine surface does not mean every seed should be buried. Some species need light to germinate. A thick covering layer can defeat that requirement, so use only the covering specified for the crop.
Label each variety as it is sown. Include the date and which mix was used when comparing batches. Seed viability, depth and growing-medium temperature can also affect emergence; empty cells alone cannot establish that the mix was at fault.
Seed Reserves and Added Nutrients Change Feeding Time
A germinating seed begins with stored reserves. Extra fertilizer does not replace suitable moisture, oxygen and temperature. Once leaves and roots develop, the supply available from the growing medium becomes more relevant. The first feeding decision starts with the bag or recipe, not the date on a calendar.
| Starting medium | What changes the decision | Next action |
|---|---|---|
| Lean mix without added feed | True-leaf development and crop needs | Use a suitable dilute feed when the crop guidance calls for it |
| Commercial starter charge | The product’s stated supply and feeding instructions | Account for existing fertilizer before adding more |
| Unknown formulation | Missing or unclear nutrient information | Check the packaging or manufacturer; avoid an automatic extra dose |
Feeding at the first true leaves accompanies the nutrient-poor peat recipe above. University of Minnesota Extension uses a later true-leaf stage in its indoor-starting instructions. Product formulation and crop guidance explain why one universal “feed on day seven” instruction is unreliable.
Some commercial media already carry enough nutrients for several weeks. The five-to-six-week example in University of Maryland Extension’s seedling-care guidance applies to mixes with that existing supply; it is not an expiry date for every bag. Follow fertilizer directions intended for seedlings or transplants when supplemental feeding is needed.
Check moisture before interpreting pale leaves as hunger. Wet roots, unsuitable temperatures and other stresses can slow growth. Adding concentrated feed to a stressed cell can compound the problem. Keep a record of the medium and fertilizer used so a later correction does not become a second untracked application.
True Leaves and Root Space Guide the Move to Potting Mix
The first leaves to emerge are cotyledons, or seed leaves. True leaves develop afterward and often have a different shape. In young tomatoes, the smooth seed leaves sit below the developing serrated foliage. Seeing that change helps distinguish a newly emerged seedling from a plant beginning its next growth stage.
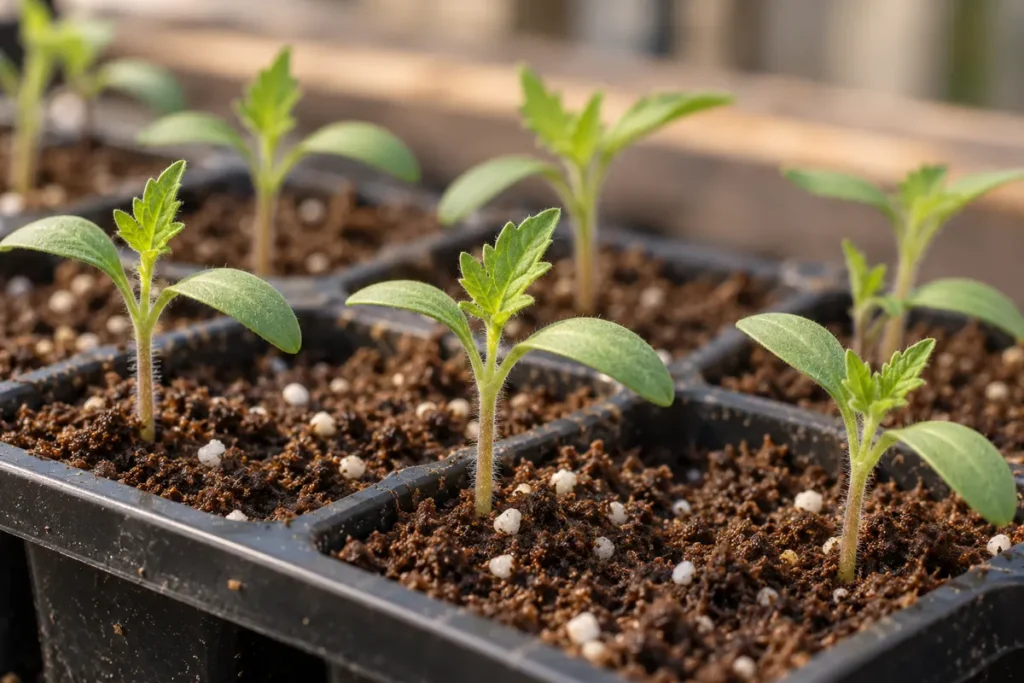
Seedlings sharing a flat can need separation around true-leaf development before roots become difficult to disentangle. Plants in adequately sized individual cells may stay there longer. Root crowding, the size of the container and the crop’s tolerance of root disturbance all affect whether a move is useful.
Prepare the next container and suitable moist potting mix before lifting a seedling. Support its roots with a small tool and handle it gently by a leaf, avoiding pressure on the delicate stem. Keep roots from drying during the move, settle the plant into its new medium and water gently so the root zone is moist and drained.
Choose the later container growing medium for the crop and pot. A lean germination blend is not automatically a complete growing medium for the rest of the season. Nutrition and root space can change independently: a seedling may need feed without a larger pot, or more room without an immediate extra fertilizer dose.
Check Wetting and Compaction Before Replacing the Mix
Inspect the simplest setup problem first. A dry center points to incomplete initial wetting or uneven irrigation. Water trapped beneath cells points to drainage. A hard, compressed plug points to how the cell was filled or to an unsuitable blend. Each observation changes the correction.
- Water beads on a dry batch: premoisten in the tub and work through the fibers before filling. Check the center again.
- Water collects beneath the tray: empty runoff and confirm the cells have clear outlets. A porous ingredient cannot create a missing hole.
- Tiny seeds sit among coarse fragments: use a suitably fine medium for the next sowing and follow the crop’s covering instructions.
- Seedlings are stretching, yellowing or collapsing: assess the plant and root zone together. These are not automatic reasons to add fertilizer or alter the recipe.
For seedling problems after emergence, the distribution of symptoms, stem condition and moisture history help separate causes. Avoid changing the mix, feed, light and watering at the same time without identifying which factor needs correction.
For another indoor seed batch, begin with fresh, appropriate medium rather than recycling used material of uncertain cleanliness and nutrient content. Reusing a tray and reusing its old mix are separate choices. Clean the container and keep the next recipe or product label so the new sowing starts with known conditions.
Conclusion
Choose texture for the seed, check the fertilizer charge and prepare the medium before sowing. A measured DIY recipe can work when its ingredients and conditions are followed; a suitable commercial mix can simplify the same task. Wet the full batch, test one cell and keep drainage open. After emergence, let true leaves, available nutrition and root space guide the next move.