How to get rid of nutsedge depends on stopping new underground tubers, removing young shoots repeatedly and choosing controls that fit the planted area. Hand removal suits a few plants. A recurring lawn infestation may need a selective sedge treatment labeled for the exact turfgrass. A vegetable bed needs a different approach.
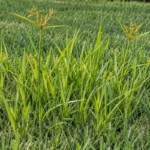
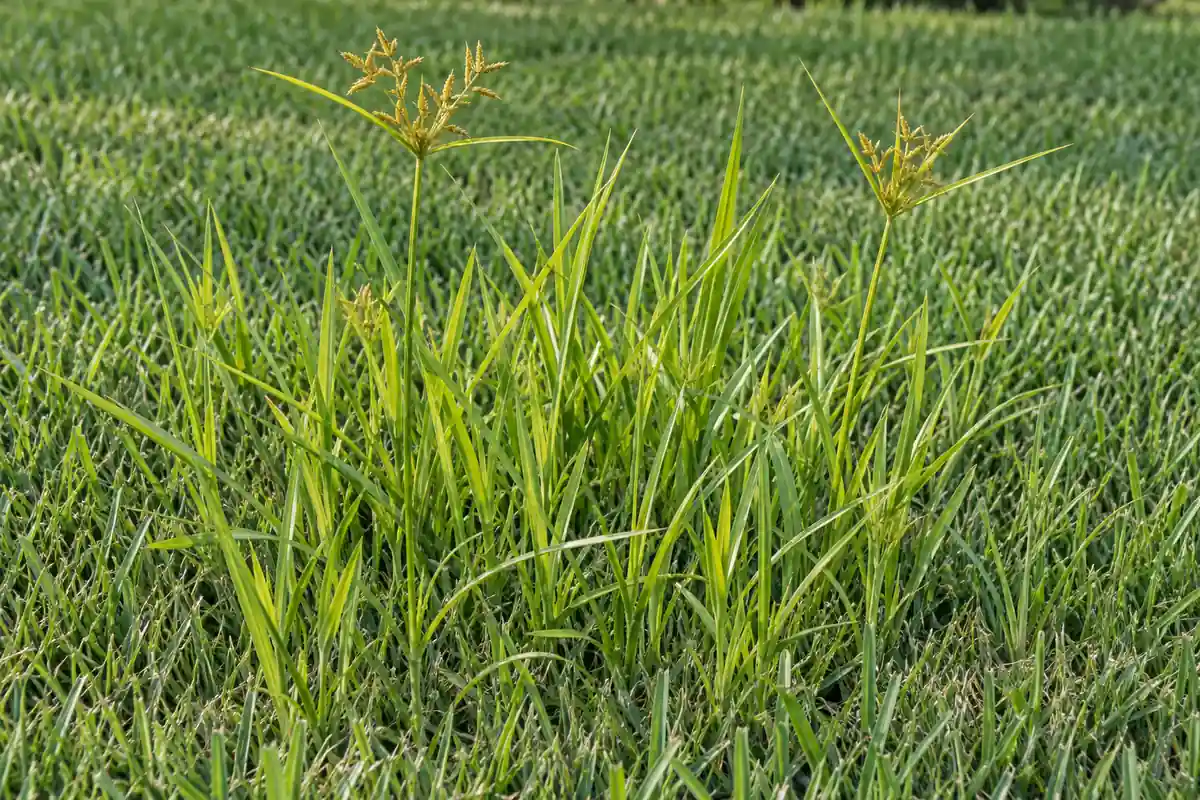
The lime-green leaves often rise above freshly mown grass within days. Rub an exposed stem gently between your fingers: a firm, three-edged shape and leaves arranged in three ranks point toward a sedge. The common name nutgrass is misleading. Yellow and purple nutsedge are perennial sedges, and a treatment aimed at crabgrass may leave them untouched. Before buying another product, confirm the plant, inspect the watering pattern and mark the patch. Those observations determine what to remove now and where to check for returning shoots.
Choose the route that matches the patch
- Uncertain identification: examine the stem, leaf arrangement and flower head before choosing a weed killer.
- A few young shoots: loosen soil where safe, collect visible underground parts and keep removing new growth before it develops more tubers.
- A spreading lawn patch: correct actual irrigation problems and check a sedge-control product against your grass species and its full container label.
- Among vegetables or flowers: protect crop roots and remove shoots early. Lawn-use permission does not authorize spraying a planted vegetable bed.
Plan repeat inspections. Clear ground today can still contain dormant tubers.
Key Takeaways
- Confirm stem shape and leaf arrangement before selecting treatment.
- Interrupt young growth before plants replenish their underground reserves.
- Match any herbicide to the actual turf and formulation.
- Keep viable tubers out of clean soil and compost.
- Track returning shoots through summer and the next growing season.
Table of Contents
Recognize Nutsedge Before Treating It Like Grass
Nutsedge leaves can feel smooth and waxy, with a raised midrib down the blade. A developed stem has three distinct sides. These traits help separate sedges from grasses, but they do not identify every sedge as yellow or purple nutsedge. Green kyllinga and tall flatsedge are possible lookalikes.
Compare several features on a developed specimen. Mowing can remove the flower heads, and pulling can snap the thin underground connections. A missing tuber on one extracted shoot does not settle the identification.
| Feature | Yellow nutsedge | Purple nutsedge |
|---|---|---|
| Leaves | Often light green, with long, gradually tapering tips | Often darker green, with relatively blunter tips |
| Flower heads | Yellowish to golden brown | Reddish brown to purple |
| Underground tubers | Usually single tubers at the ends of rhizomes | Tubers can form chains along rhizomes |
| Shared clues | Solid triangular stem; leaves in three ranks | Solid triangular stem; leaves in three ranks |
Color alone is unreliable. The combined stem, flower and underground features in University of California IPM’s nutsedge identification and management guidance distinguish the two species and their lookalikes. For a different weed growing beside them, compare its complete shape with a broader garden weed identification reference.
If the specimen remains uncertain, photograph its base, leaves and any flower head for your county Extension office. Identifying it first prevents damage from treating the wrong plant.
How to Get Rid of Nutsedge by Interrupting Tuber Growth
The underground system explains the return. Thin stems called rhizomes connect shoots and tubers. A tuber stores energy and carries buds capable of producing another shoot after the first one disappears. Removing green leaves once can leave that reserve intact.
Early, repeated removal changes the balance. Each new shoot spends stored energy pushing upward. Taking it off before it builds a large leaf area and produces more tubers reduces the plant’s chance to replace those reserves. This is a continuing suppression method, not proof that one hand-pulled clump has cleared the soil.
Underground cycle
- A surviving tuber sends up a new shoot.
- Leaves collect energy and rhizomes spread through soil.
- New tubers add to the underground population.
- Early removal interrupts the cycle; missed tubers can restart it.
Yellow nutsedge usually has terminal single tubers. Purple nutsedge can carry chains. Neither pattern is fully revealed by tugging off a handful of leaves.
Many tubers lie in the upper soil, yet some occur considerably deeper. Do not turn a reported biological depth into an instruction to excavate an entire lawn. Pipes, irrigation lines and established roots change what can be removed safely.
Cold weather can kill the visible growth without killing the underground supply. Purdue’s yellow nutsedge publication describes surviving tubers and emergence in later seasons. Keep a location record even after frost makes the patch disappear.
Remove Small Patches Before New Tubers Form
For a few accessible shoots, begin when the soil is workable. Avoid baked-hard ground or soil sticky with water. A hand tool should enter without forcing it through neighboring roots. Loosen beside the base, lift the soil gently and collect visible basal bulbs, rhizomes and tubers. Fine roots or rhizomes may break; check the surrounding soil for pieces left behind.
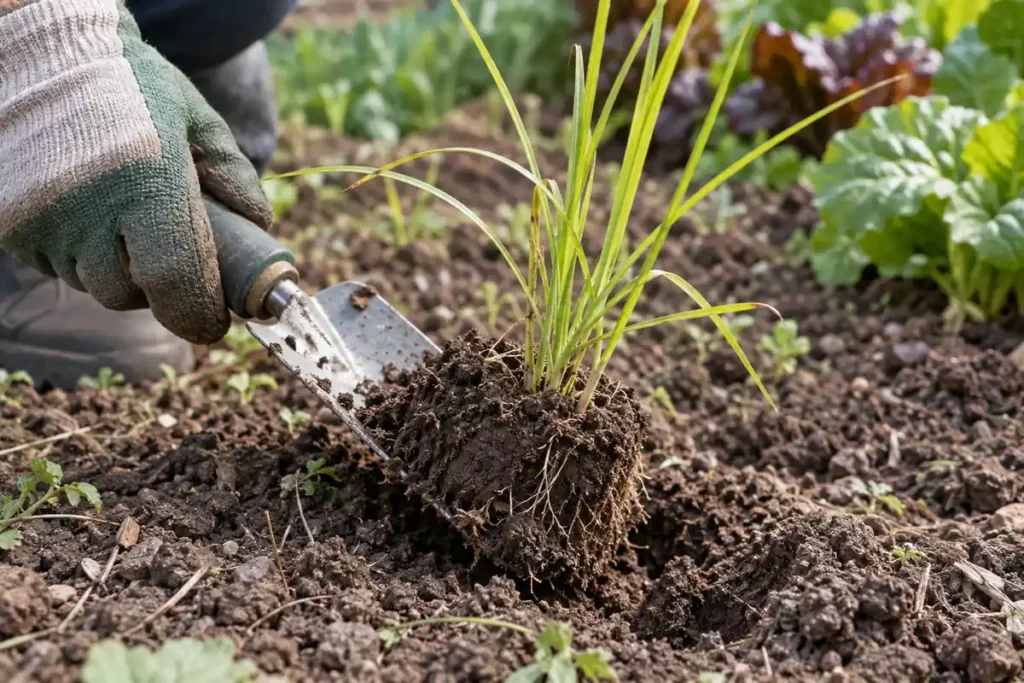
Repeated young-shoot removal matters more than a neat-looking surface. UC IPM recommends removing plants before they reach about five or six leaves, when new tuber formation becomes a greater concern. Its summer example calls for returning roughly every two to three weeks. Inspect sooner during rapid growth; leaf development determines when to act.
- Mark the edge. Note where shoots occur before removing them.
- Loosen selectively. Recover underground parts where surrounding roots and buried services allow.
- Contain the material. Keep collected tubers out of clean beds and ordinary backyard compost. Follow local disposal rules.
- Return before shoots mature. Remove the next flush early, before flower heads appear.
A very small isolated patch in open turf may justify removing the affected soil as well. Clemson and UC describe digging approaches for such spots, but deeper excavation is inappropriate beside buried services, valuable tree roots or tightly planted vegetables. Get utilities located before deep digging. If safe excavation is impossible, switch to repeated early shoot removal or seek local help.
Avoid running a rototiller through mature tuber-bearing plants and then moving it to a clean bed. That can redistribute viable pieces in the soil. Brush soil off tools and contain the loosened material before working elsewhere.
Control Lawn Patches Without Injuring the Turf
Start with the grass and water pattern. A leaking head or an overlapping sprinkler cycle can leave a soft, persistently wet patch where nutsedge grows vigorously. Check the root zone and adjacent turf. Soil moisture checks help separate an actual wet spot from a lawn that merely has a history of nutsedge.
Correct the leak or watering schedule without drying out the whole lawn. Established nutsedge also survives in well-drained ground. Where water remains trapped after irrigation stops, investigate the cause before selecting soil drainage improvements. Better drainage removes a favorable condition; it does not empty the tuber bank.
Maintain an adapted grass at its appropriate mowing height and restore thin areas. Competitive turf limits open growing space, though it cannot reliably eliminate established underground tubers. Ordinary crabgrass prevention should not be assumed to control a perennial sedge emerging from tubers.
Check the exact product, grass and treatment site
Halosulfuron and sulfentrazone are examples of ingredients used in some selective lawn sedge controls. The ingredient name alone does not establish safety on your lawn. Identify the grass species, then read the full label on the exact product you have, including its formulation and EPA registration number.
Before application, confirm all of these:
- The target sedge and your turfgrass are listed.
- The lawn’s establishment stage and condition meet the restrictions.
- Weather, irrigation and mowing instructions can be followed.
- Required protective equipment, entry restrictions and nearby-plant precautions are understood.
- The rate, repeat interval and any reseeding restrictions come from that product’s label.
Similar names can conceal different instructions. Gowan’s manufacturer-posted SedgeHammer and SedgeHammer+ labels describe different concentrations; the Plus formulation includes an adjuvant. Do not transfer mixing directions or add dish soap because another product’s instructions mention a surfactant. EPA’s pesticide label guidance explains where to find permitted uses and precautions.
The young-shoot stage used for hand removal is not a universal spraying window. Chemical timing belongs to the exact label. The same applies to how long to wait before evaluating results: some sedge treatments show delayed yellowing. An unchanged patch the next morning is no reason to increase the dose or spray again.
Protect Vegetables and Flowers From Collateral Damage
Between tomatoes, beans or ornamentals, preserving the planted roots changes the method. Remove young shoots carefully with a narrow tool or by hand. A deep scoop between established plants can tear useful roots and disturb irrigation tubing, so recover exposed tubers only where you can do so without that damage.
Repeat the removal throughout active growth. Check around drippers, transplant holes and bed edges, where small shoots can hide beneath the crop canopy. If the infestation is too dense to manage between plants, plan more extensive work after harvest. Leave the planted bed out of a rototilling operation.
A product permitted on lawns does not automatically belong around edible crops. A shield over a tomato does not create a missing crop-use permission. Only the exact current product labeling and applicable local registration can establish whether a particular crop and treatment site are allowed. If those conditions cannot be confirmed, use physical control and ask local Extension about the planted bed.
Inspect nursery root balls and incoming soil for suspect shoots before introducing them. Remove soil from tools before moving between beds. Dense, suitably chosen crops can shade nutsedge and reduce its growth; Clemson describes this competitive approach in vegetable gardens. It supplements removal, especially as the crop canopy develops. Buried tubers can still survive.
Understand Why Mulch and Quick Burn-Off Can Disappoint
A sharp nutsedge shoot can push through bark mulch or puncture ordinary plastic. Seeing new leaves above the covering does not mean the mulch is too thin for every other garden purpose. It means the underground weed can outlast or penetrate that particular barrier.
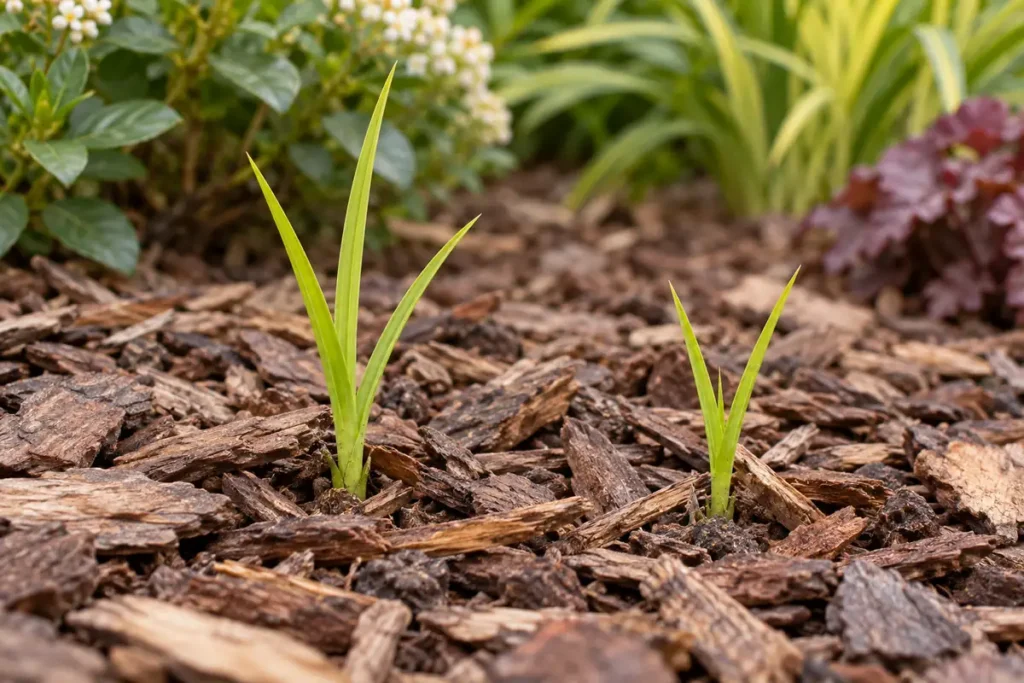
Fabric advice needs the material specified. Ordinary landscape cloth and mulch often fail against nutsedge in University of Florida IFAS guidance. UC IPM describes possible suppression with substantial nonwoven polypropylene fabric, coupled with removal of escapes. Thin woven cloth and a dense nonwoven barrier are different products; neither observation supports a permanent weed-free promise.
Leaf burn is also a poor measure of underground control. Quick leaf burn from household treatments does not demonstrate that underground tubers have died. They can injure wanted plants or soil as well. A brown top can be followed by another green shoot.
Nonselective herbicides can damage the lawn and garden plants they contact, and visible foliage injury does not prove every dormant tuber was reached. Keep the focus on confirmed identification, appropriate treatment sites and repeated observation. Fast brown-off alone leaves the tuber question unanswered.
Check Regrowth Before Repeating the Same Treatment
Record the location, date, approximate patch size and action taken. Photograph from the same position on later visits. Separate newly emerging shoots from older foliage that is still responding to a treatment; they can require different decisions.
| What you see | Check first | Next action |
|---|---|---|
| Shoots return after hand pulling | Remaining tubers and the maturity of new shoots | Resume early removal; recover underground parts where safe. |
| Nutsedge survives crabgrass treatment | Weed identity and the product’s actual targets | Choose a sedge-specific route; leave the unrelated treatment at its labeled rate. |
| Leaves remain green after spraying | Label response guidance and application record | Allow the stated response period; do not shorten the repeat interval. |
| Grass becomes discolored too | Turf compatibility, stress and possible application injury | Stop additional applications and get product-specific advice. |
| The same patch stays wet | Leaks, sprinkler overlap or trapped water | Correct the actual water problem and continue sedge monitoring. |
| A patch returns next spring | Surviving tubers, new soil introductions and identification | Restart early scouting; recurrence alone does not prove resistance. |
After a small excavation, refill the depression with clean material and restore grass at the right season for that turf. Persistent dead patches in the lawn need their underlying cause checked before reseeding. Otherwise the repaired area can remain thin and open to weeds.
Measure progress by fewer returning shoots and less expansion through successive growing periods. If plants keep multiplying despite early work, reconsider identification, missed leaf stages and contaminated soil movement. A large infestation, uncertain species or a bed with no safe treatment route warrants local Extension or qualified turf help.
Conclusion
Begin with one identified patch, choose a method that protects the surrounding plants and schedule the next inspection before the shoots mature. Small infestations reward persistent early removal. Larger lawn problems need turf-compatible care and, when used, an exact-label treatment. The lasting improvement comes from preventing fresh tubers and finding the next flush early.