
How to make leaf mold starts with fallen leaves, moisture and somewhere to keep them as they decay. Collect healthy deciduous leaves, shred them if practical, and dampen dry material. Pack them into a perforated bag or an open mesh bin, then check occasionally for drying or waterlogging. You do not need a compost starter, fertilizer or a weekly turning schedule for this slow, leaf-based method.
The first handful tells you more than the date on the bag. Crisp, rustling leaves need moisture before decay can progress. Dark, partly broken leaves can become useful mulch long before they resemble fine soil. A cool autumn pile can take much longer than a shredded batch kept evenly moist. Choose the method you can leave undisturbed, and judge the finished material by its texture and intended use.
Start a batch with leaves, water and air
- Collect: use clean, healthy fallen leaves; remove plastic, litter and known diseased material.
- Prepare: shred if convenient and wet dry leaves through the batch.
- Contain: use a bag with air and drainage holes or a supported wire-mesh cage.
- Check: restore moisture when leaves turn crisp; open wet, compacted material to air.
- Use by texture: coarse, partly decomposed leaves suit mulch; finer, well-rotted material suits soil improvement.
Expect months, not days. Some shredded batches yield usable material in 6-12 months. Whole leaves and finer finished material often need much longer.
Key Takeaways
- Collect healthy fallen leaves and remove litter before packing.
- Shred tough leaves when practical to expose more surface.
- Dampen dry batches without leaving water pooled underneath them.
- Keep bag holes open and mesh bins exposed to air.
- Match leaf texture to mulch or soil improvement use.
Table of Contents
Slow Fungal Decay Turns Leaves Into Leaf Mold
Leaf mold is decomposed or partly decomposed leaf material. Fungi do much of the work in the cool, slow process, alongside other decomposers. The leaves gradually lose their original shape and become a darker, softer organic material. A lack of noticeable heat does not mean the batch has failed.
That separates this method from managing a mixed, active compost pile. A hot pile combines materials with different carbon and nitrogen contents, and its management aims to maintain microbial activity, moisture and air. A leaf-only batch can decay slowly without that balancing work. The fertilizer and turning advice in Illinois Extension’s How It Works composting publication addresses a different production method.
If your aim is faster processing of kitchen scraps and garden waste, use a mixed compost pile. If your aim is to turn autumn leaves into mulch or a soil amendment with little handling, a separate leaf batch is a useful fit.
A few grass clippings picked up during mowing do not ruin it. The Royal Horticultural Society’s leaf-mould guidance includes collecting leaves with a mower. You simply do not need to add grass, manure or fertilizer to start the passive method. Large, deliberate additions of nitrogen-rich waste change what you must manage.
Small, Moist Leaf Pieces Break Down More Readily
Start with broadleaf tree leaves from a known, clean source. Pick out bottles, plastic ties, stones and other rubbish before shredding or filling a bag. Avoid swept roadside collections mixed with litter or uncertain contaminants when clean garden leaves are available. Do not put material from a known leaf disease into a cool batch on the assumption that it will be sanitized.
Leaf size and toughness affect the wait. Soft leaves lose their structure more readily; thick, leathery leaves resist breakdown. Evergreen foliage and conifer needles can take longer and are easier to manage separately if you want a more uniform batch. You do not have to discard a mixed collection of healthy deciduous leaves because its pieces decay at different speeds.
Shred without making a dense paste
A mower or suitable leaf shredder cuts the leaf surface into smaller pieces, giving decomposers more edges to work on. Follow the equipment’s instructions, remove foreign objects first, and keep bystanders away. Shredding is optional. If you lack the equipment, use whole leaves and allow more time.
Very fine, wet fragments can settle into a tight slab. Break apart those layers as you fill the container so water and air can move through them. The target is a damp collection of leaf pieces, not a bucket of pulped leaves. There is no need to grind every leaf into equally small fragments.
Collect selectively around the garden
Leaves on a lawn can smother grass when they form a thick wet cover, and wet leaves on paths can be slippery. Those are useful places to collect first. Suitable leaves in planted beds also shelter overwintering insects. Nancy Kreith’s Illinois Extension publication on recycling leaves describes that habitat value as well as the bag method. Collecting material for a bin does not require clearing every bed to bare soil.
How to Make Leaf Mold in a Perforated Bag
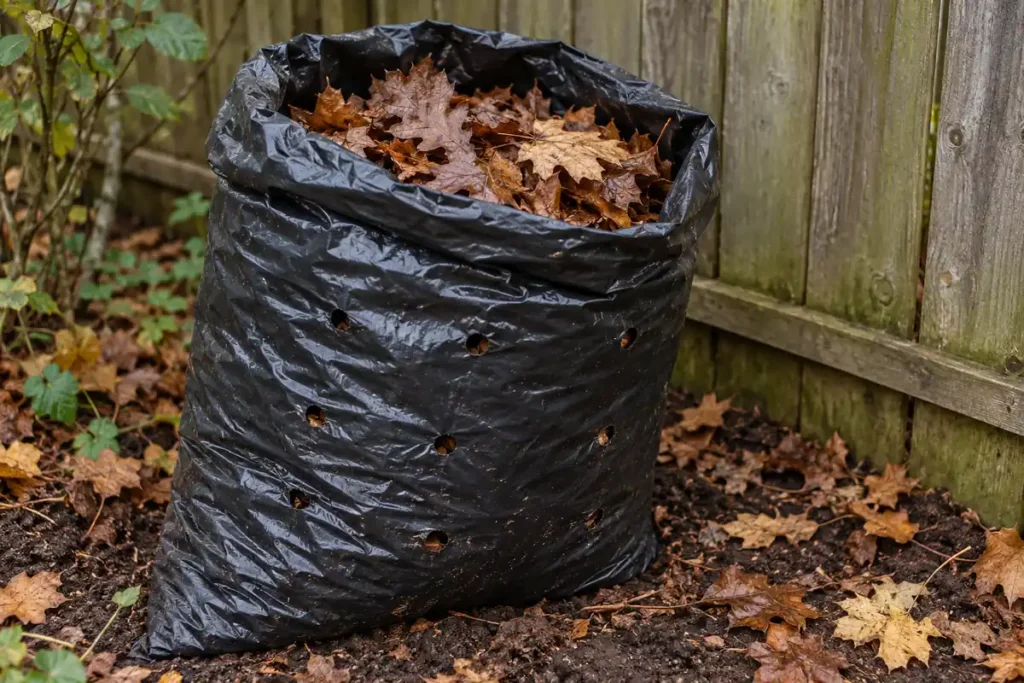
A bag contains a small batch without a permanent structure. Use a durable bag that can hold damp leaves through a long wait. Make small holes around the sides and base before filling it. These let air enter and excess water escape; a tightly sealed, undrained bag is a poor substitute.
- Moisten the leaves. If they crackle and spring apart when handled, wet them in manageable layers. Open the handful afterward to check that the inner leaves are damp too.
- Fill without crushing. Settle leaves enough to keep the bag upright, then break apart any dense, stuck-together sheets. Leave room to close the top loosely.
- Place on draining ground. A quiet corner on soil keeps the bag out of the way. Keep its lower holes from sitting in a puddle or being pressed shut.
- Label the batch. Record the start date and whether you shredded the leaves. Comparing your own batches will be more useful than expecting every autumn collection to finish together.
- Check after dry spells. Open the bag and feel material below the top. Rewet dry sections; redistribute soggy, compacted sections and check the drainage holes.
The Illinois Extension leaf-recycling method uses small holes, wet leaves and contact with the ground. Its 6-12 month example produces partially decomposed leaf mold. That is a useful mulch stage, not a promise that every bag will contain fine potting material within a year.
An Open Mesh Bin Holds More Leaves With Less Handling
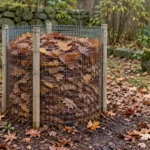
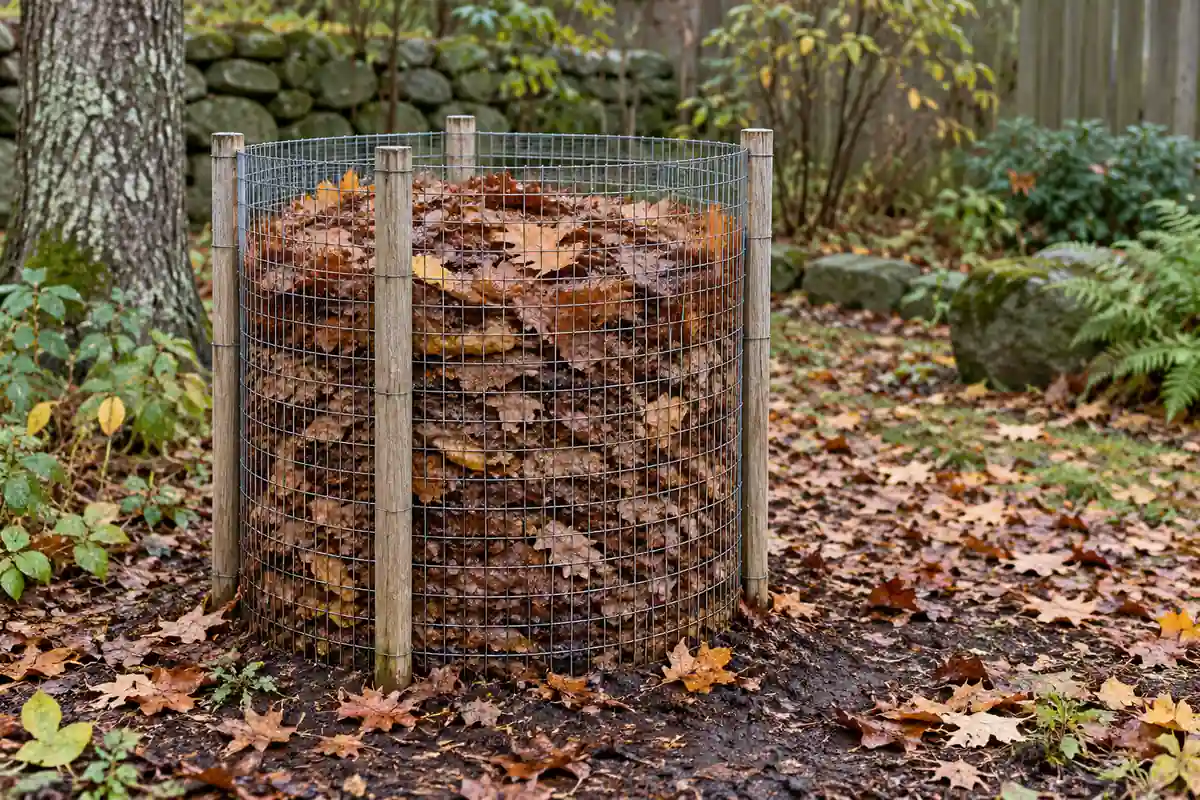
A wire-mesh cage suits larger autumn collections. Set it on level, draining ground, support it with sound stakes, and secure the mesh so the sides do not bow out as the leaves settle. Fold or cover sharp wire ends. Choose a size that lets you reach the material you expect to remove.
Fill it in damp layers. Leaves that are already wet from rain may need no extra water; crisp leaves need wetting through the pile. A hose directed only across the top can leave a dry pocket below. Open a section with a fork and check before assuming the rain has reached the center.
The open sides make a cage easy to inspect, although exposed edges can dry. A sheltered position reduces wind loss and drying. Do not place it where roof runoff floods the base. A cover can help limit excessive rain or moisture loss, provided it does not seal the whole batch away from air.
Keep batches separate if you want a predictable harvest of finished material. Continually tipping fresh leaves onto a nearly finished pile mixes coarse new material with the fine product underneath. A second cage or a few separate bags lets one batch mature as another starts.
Leaf Texture Sets the Harvest Date
Time depends on leaf type, particle size, moisture and weather. In Andy Vernon’s RHS account of making leafmould, shredded leaves can yield usable material after 6-12 months; older material becomes finer. Whole leaves may need roughly two years or longer to reach a fine texture. Those are examples of progress under particular conditions, not a national calendar for US gardens.
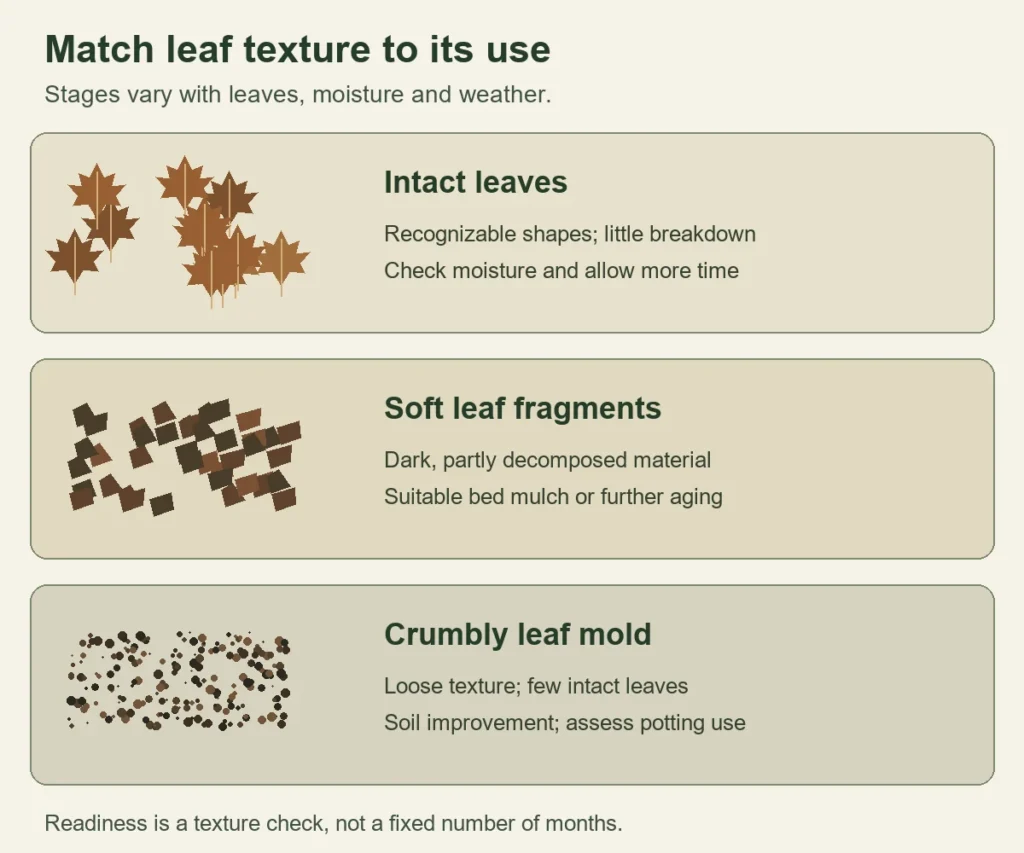
| What you find | What it means | What to do |
|---|---|---|
| Crisp, recognizable leaves | Little breakdown; possibly too dry | Check moisture and allow more time |
| Soft, dark leaf fragments | Partial decomposition | Use as suitable bed mulch or continue aging |
| Loose, crumbly material with few intact leaves | More advanced decomposition | Use for soil improvement; assess before potting use |
Take samples from more than one part of the container. The outer layer can be dry and recognizable even when the center is darker and softer. Fine material should break apart easily in your fingers, with a woodland-like earthy smell. A sour odor and a slick, compressed mass call for drainage and air, not an automatic decision to spread it.
Correct Moisture and Compaction Before Adding Anything
Leaves remain dry and unchanged
Open the batch and test below the surface. Dry leaves may shed water across their surfaces, leaving interior pockets crisp. Separate those pockets, dampen them and check again after the water has had time to penetrate. Shredding tough leaves can help if handling the batch is practical. Fertilizer will not correct a dry center.
The batch feels slimy or smells sour
Check whether water can leave the container. Clear obstructed holes, move the bag away from a depression, and loosen compressed layers. In a cage, break open the matted section so it is no longer one wet sheet. Add no more water until the batch needs it. A wet autumn can require less intervention than a hot, windy month.
You want to speed up a healthy batch
Smaller leaf pieces and suitable moisture are the first adjustments. Turning is optional in a passive batch; opening and redistributing slow or uneven material can help. The RHS main leaf-mould guidance includes turning as a correction for slow decomposition. That does not mean a healthy batch needs turning every week. If rapid mixed compost is your actual goal, manage its brown and green materials separately from the aging leaf supply.
Leaf Mold Improves Soil Structure Without Replacing Fertilizer
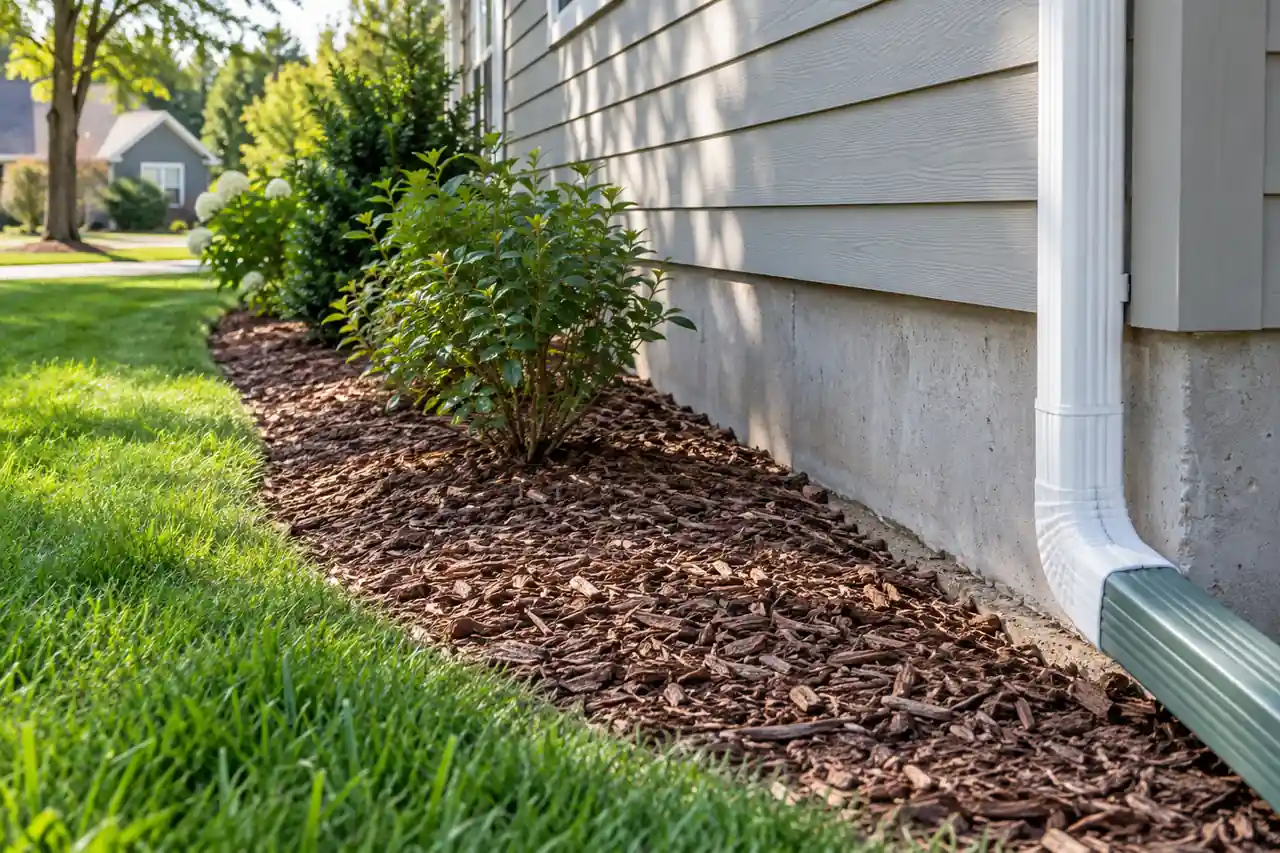
Partly decomposed leaves can cover suitable beds as mulch, keeping the soil surface covered as they continue breaking down. Keep the material away from stems, crowns and tree trunks. Coarse leaf fragments are easier to use on the surface than in a small pot where a dense mat can interfere with water movement.
Finer leaf mold adds organic matter to garden soil. Improved structure and moisture behavior are the main reasons to make it. It is not a complete fertilizer with a known nutrient analysis. Oregon State University’s soil organic matter publication describes leaf mold and the changing properties of decomposing deciduous leaves. Do not convert its benefits into a promise that every soil needs the same amount.
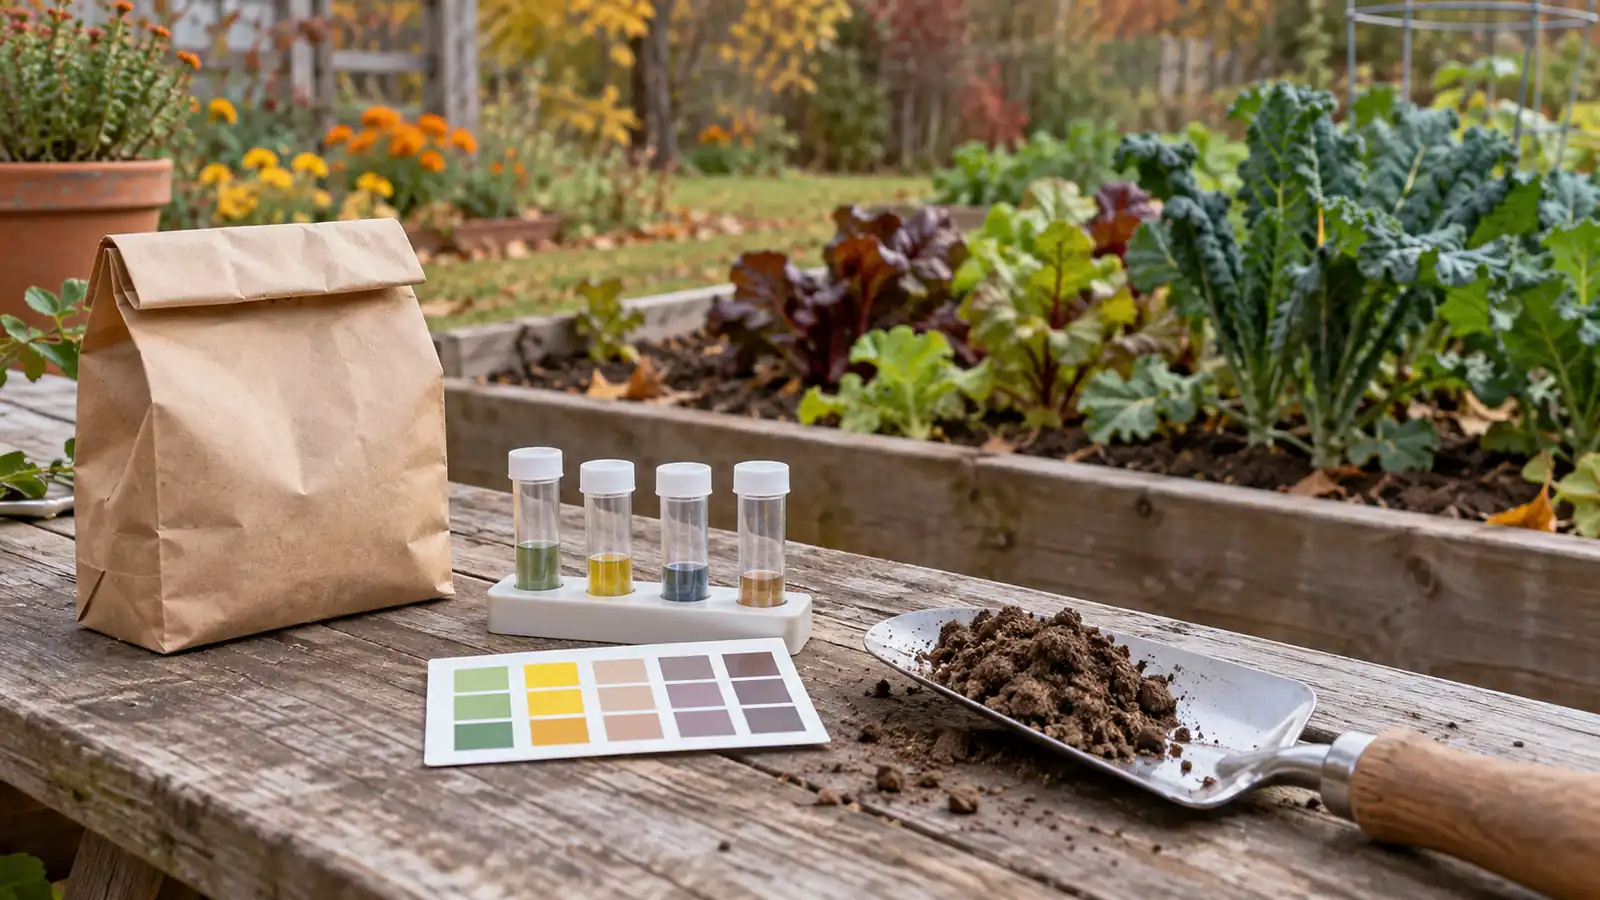
Nor should you assume that a pile of oak leaves will reliably acidify a bed. Leaf types and decomposition alter the material, and the response also depends on the existing soil. A soil test matched to your amendment decision is a better basis for correcting pH or nutrient shortages.
Well-rotted, fine material can also be a component in some potting mixtures. Sift out coarse pieces and consider drainage, plant needs and the other ingredients. A garden batch is not automatically sterile or nutritionally balanced. Choose container mix ingredients around the plant and the pot rather than replacing an entire mix with whatever remains in the leaf bag.
Conclusion
Start with clean leaves, wet dry material and give excess water a way out. A perforated bag suits a small collection; a supported mesh bin suits more leaves. Check the middle when progress stalls, correct dryness or compaction, and let the texture guide harvest. Coarse leaf mold can go onto suitable beds as mulch as a finer batch continues aging for soil improvement.