
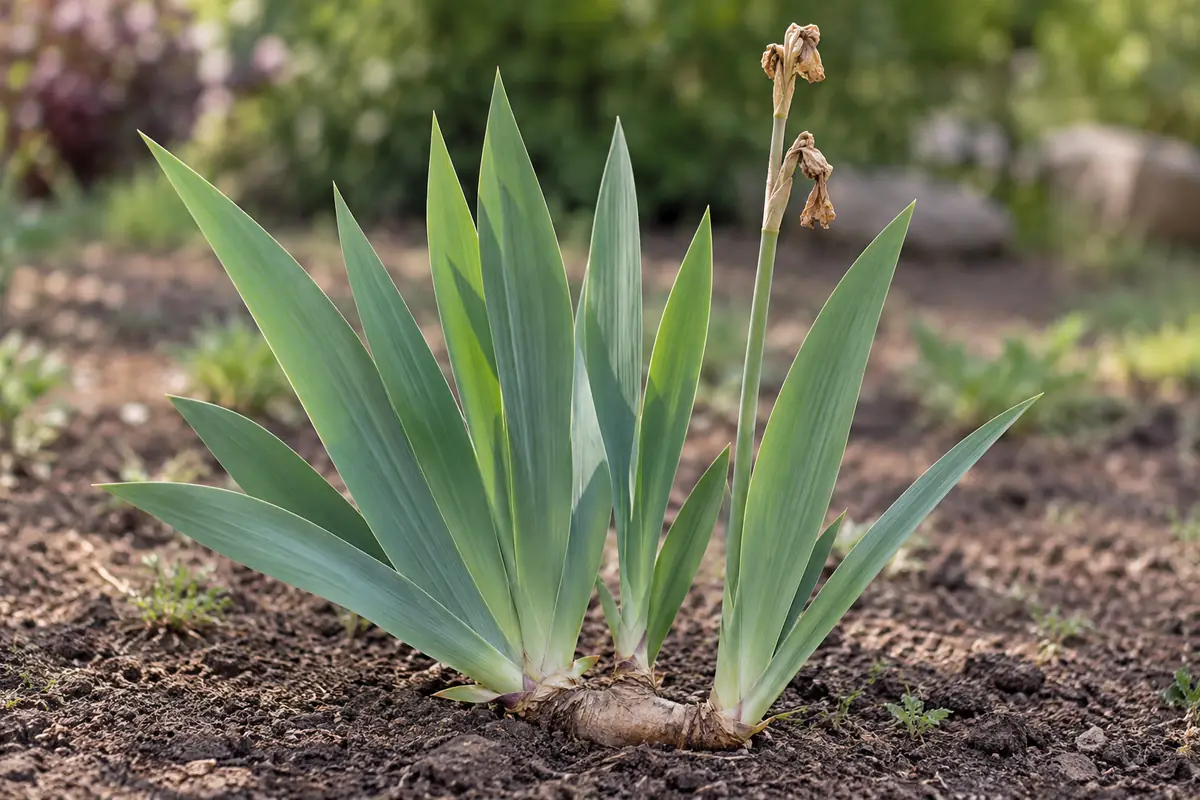
When to cut back irises depends on which part has finished growing. Remove a spent flowering stalk after its blooms fade, and keep the healthy green leaf fan. Clear dead bearded iris foliage in late fall or early spring. Where iris borers are a problem, cleanup after a hard frost removes old material that can carry their overwintering eggs. Evergreen irises need selective removal of dead leaves, not a blanket cut to the ground.
Before picking up the shears, separate the narrow flower stem from the flat leaf blades around it. Then identify the iris group. A bearded iris with a thick rhizome at the soil surface, a grassy Siberian clump, and a bulb iris have different growth cycles. The condition of the leaves and the work you are doing matter more than a fixed month or a universal cutting height.
Match the cut to what has finished
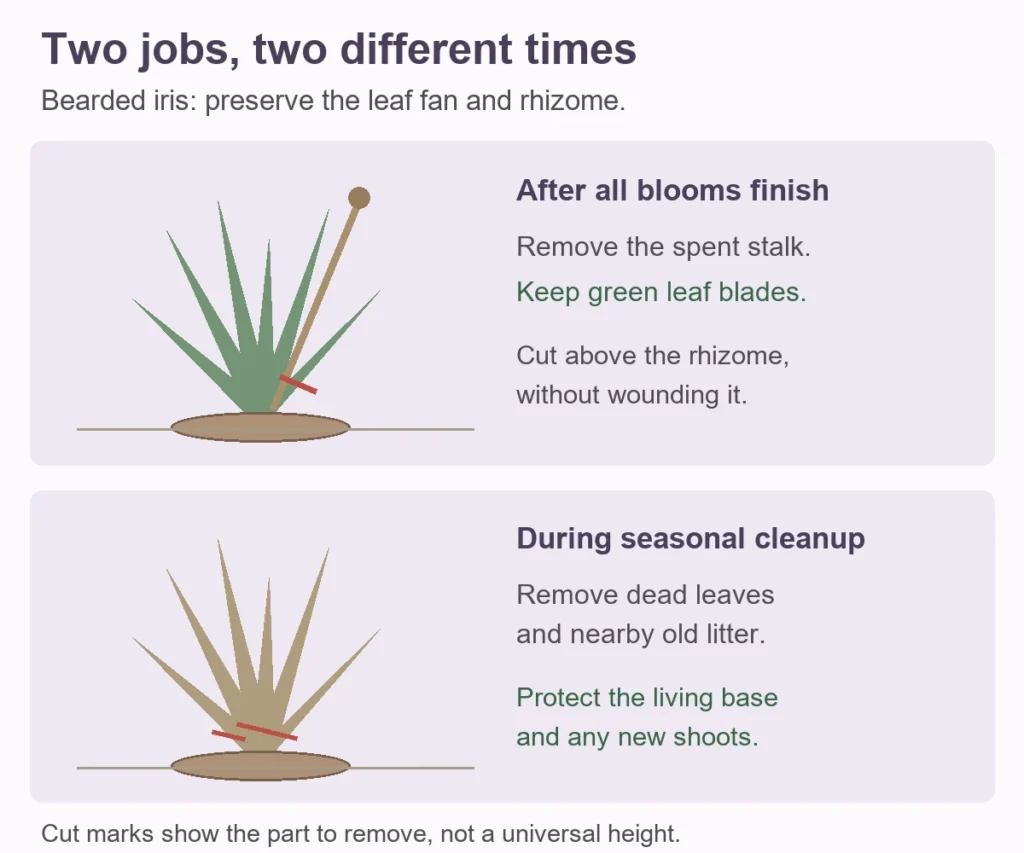
- Spent flower stalk, green fan: remove the finished flower stem; keep the healthy leaves.
- Dead bearded iris foliage: clean up in late fall or early spring. In borer-prone beds, use the local post-frost cleanup window.
- Evergreen iris with living leaves: remove dead leaves and old flower stems selectively.
- Unknown type or sudden summer browning: identify the plant and check the damage before shearing the clump.
Dividing a plant is different. A one-third fan trim in bearded iris transplanting instructions is not a routine summer haircut for an established clump.
Key Takeaways
- Remove finished flower stalks without shearing healthy green leaf fans.
- Identify your iris group before choosing a seasonal cleanup.
- Collect dead bearded iris leaves during their seasonal cleanup window.
- Time borer-prone bed cleanup after the local hard frost.
- Inspect streaks, holes and soft rhizomes before blaming normal aging.
Table of Contents
Keep the Leaf Fan Working After the Flower Stalk Fades
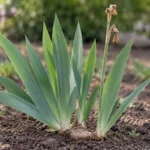
A bearded iris flower stalk is a stem that carries flowers and can later form seedpods. Its surrounding fan consists of flat, sword-shaped leaves. The loss of the flowers does not mean those leaves have finished. Healthy green foliage continues capturing light and contributing to the plant’s reserves after bloom.
Trace the finished stalk down through the fan before making a cut. If unopened flower buds remain, the stem is not finished. You can remove individual faded blooms first, then remove the stalk once its flowering is over. Keep the blades away from the green leaves and the fleshy rhizome at the base.
Spent-flower removal and later dead-leaf cleanup are separate jobs in Iowa State University Extension’s after-bloom care for bearded irises. Removing faded flowers prevents seedpod development; it does not call for removing the entire green fan.
A leaf may have a dry tip and still retain a broad area of green tissue below. Inspect the whole blade before shortening it. A few untidy ends do not justify cutting every leaf to the same height. Sudden spreading browning, wet streaks or a collapsing fan calls for a closer check.
When to Cut Back Irises as Dead Foliage Accumulates
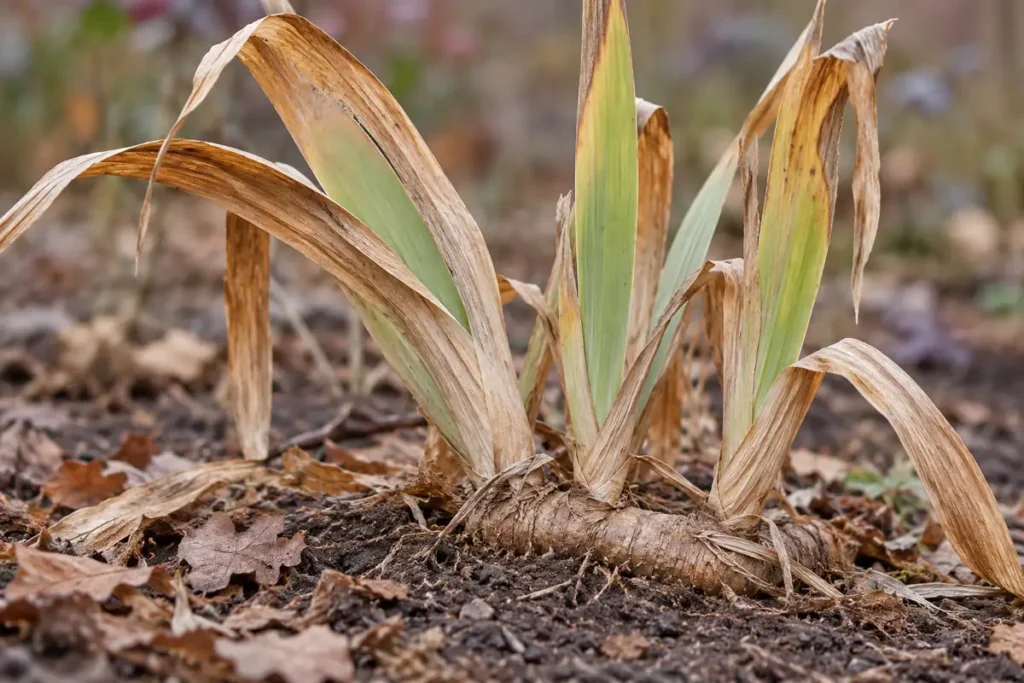
For bearded irises, dead foliage can be removed in late fall or early spring. Both are maintenance windows in Iowa State’s guidance. The choice becomes more specific where iris borer has damaged the bed: old leaves and nearby debris can hold eggs through winter.
Female iris borer moths lay eggs on old iris material in late summer and fall. After hatching in spring, larvae enter new leaves and can tunnel down into the rhizome. Removing the old material interrupts that overwintering site; cutting a healthy green fan in early summer addresses a different part of the plant’s cycle.
Cleanup after a hard frost, when female moths have stopped laying eggs, is the fall approach in University of Minnesota Extension’s iris borer guidance. That recommendation describes its pest-management conditions. It does not supply a universal October date for every US garden.
Use plant condition and local pest history together
Check whether the foliage is actually dead, whether new growth is already appearing, and whether borers have been a recurring local problem. If a mild-climate iris remains green through winter, identify it before applying a frost-climate routine. Some irises are evergreen and retain a living canopy.
Different parts of a mixed bed can need work at different times. General seasonal pruning decisions also depend on plant structure, but iris leaf sanitation should not be scheduled from a woody shrub’s dormant-season rule. Examine each clump individually.
If the leaves have already formed a brown, papery layer, lift that material carefully and check what lies underneath. Loose dead leaves may detach easily. Stop pulling if the base resists or if a new shoot is caught in the bundle. Work where you can see the attachment.
Different Iris Groups Keep Their Leaves for Different Lengths of Time
The name iris includes plants with different storage structures and foliage habits. A thick bearded iris rhizome is not the rounded bulb of a Dutch iris. Siberian iris has narrower, grasslike foliage, and evergreen species can keep healthy leaves through the season when a nearby deciduous plant has died back.
| Iris group | After flowers finish | Foliage cue |
|---|---|---|
| Bearded iris | Remove finished blooms and stalks; retain healthy fans. | Clear dead leaves in late fall or early spring; consider local borer timing. |
| Siberian iris | Old flower stems can be removed. | Remove dying deciduous foliage in autumn. |
| Evergreen species, such as Douglas iris | Remove old flower stems selectively. | Keep living leaves; remove dead foliage. |
| Bulb irises | Allow the foliage cycle to finish naturally. | Remove foliage once it is dead and straw-brown. |
Dying autumn foliage and old flower stems receive separate treatment in the Royal Horticultural Society’s Siberian iris profile. Its Douglas iris profile identifies an evergreen plant and calls for removing dead foliage. That distinction changes the work more than an arbitrary cutting height does.
For bulb irises, the RHS growing guidance allows leaves to die naturally after flowering before removing them when straw-brown. Mark the planting position if the foliage disappears completely. It is easy to dig into a dormant bulb when the bed looks empty.
When the plant’s identity is uncertain, check its label or an earlier flower photograph. Leaf width and a visible rhizome can provide clues, but they will not identify every hybrid. Keep functioning green leaves until you have enough information for a broader cut.
Make Controlled Cuts Without Wounding the Rhizome
Choose a tool that closes cleanly on the material in front of you. Soft leaf blades need a controlled snip; a tough dry stalk may need hand pruners. Pruner blade design and fit affect how easily you can isolate a stem without crushing or catching neighboring growth.
- Identify the group and the finished part. Separate a spent flowering stalk from the leaf fan, and check for buds or living shoots.
- Open a clear view of the base. Gently move loose litter aside. Do not tug the whole fan to expose the rhizome.
- Remove the spent stalk after bloom. Follow it downward and cut where the blades remain clear of the rhizome and retained leaves.
- Return for seasonal dead-leaf cleanup. Remove old foliage when appropriate for that iris and local pest conditions.
- Collect the removed material. Check for trapped young growth and leave the plant’s living base undamaged.
The same controlled cutting technique applies throughout: see the stem, place the blades, and make one deliberate cut. Avoid blind handful cuts through a mixed bundle of green leaves, old stalks and new shoots.
Use clean tools and follow the tool maker’s cleaning directions. When suspect plant material is present, keep debris off the blades before moving between clumps. No single disinfectant dilution belongs to every tool or disease situation.
Check Holes and Wet Streaks Before Treating Browning as Seasonal
A brown tip alone cannot identify iris borer. Drought, leaf diseases and other damage can produce overlapping changes. Look along the blade for small holes and tan or water-soaked streaks, then consider the history of the clump and whether the decline is progressing.
Borer larvae can move through leaves into the rhizome. Their feeding wounds may allow bacterial soft rot to develop. A rhizome that is slimy, soft and foul-smelling needs a different response from a firm rhizome beneath dry seasonal leaves. Removing the top growth alone does not repair damaged storage tissue.
Use the combination of signs to choose the next check
- A few dry tips with much green remaining: check the plant and root-zone conditions; avoid assuming a pest from color alone.
- Pinholes with tan or wet-looking streaks: inspect more closely for feeding damage and ask local Extension about iris borer.
- A weakening fan with a soft, unpleasant-smelling base: inspect the rhizome for rot and damage; seek a diagnosis before treating.
- Dead leaves after normal seasonal decline: plan cleanup for the iris group and local borer conditions.
Checking moisture in the root zone helps distinguish a dry bed from one that remains wet beneath its surface. It does not identify a pathogen. Record the pattern of damage and photograph the affected leaves and base if you need help.
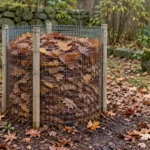
Old iris litter can carry borer eggs, so keep borer-suspect debris out of an ordinary cool home compost pile. Use a locally permitted disposal method. Do not assume that tossing the leaves into a passive pile destroys the eggs, and do not burn garden waste where local rules prohibit it.
Sanitation reduces an overwintering site; it cannot guarantee a pest-free spring. Automatic pesticide treatment is unnecessary for a bed without a history of borer damage in Minnesota Extension’s guidance. A confirmed active problem warrants locally appropriate advice rather than an indiscriminate spray after every pruning.
A Division Trim Addresses Transplant Stability
A newly divided bearded iris has a shallow-planted rhizome and a fan that can pull it out of position. Shortening that fan reduces the top-heavy growth during establishment. The height fraction in transplant instructions addresses that instability.
Cutting leaves to one-third of their original height is part of Iowa State’s bearded iris division procedure. The plant is being lifted, separated and replanted. That measurement should not be copied into routine after-flowering care for a clump staying in the ground.
Division also requires checking rhizome health and keeping suitable growing sections. A crowded planting, a weak clump and a plant with suspected borer tunnels are not interchangeable cases. Keep division decisions separate from the simple removal of a finished flower stem.
Protect New Growth After Early Cuts or Missed Cleanup
If healthy fans were cut too early, leave the remaining live foliage alone. Repeated shearing removes more working leaf area. Monitor the plant, maintain conditions suited to its iris group, and avoid promising that extra fertilizer will replace the lost leaves or guarantee next year’s flowers.
If autumn cleanup was missed, remove dead bearded iris material in early spring, a maintenance window recognized by Iowa State. Work before vigorous new growth makes the old debris harder to separate. Keep the blades away from the tips of fresh shoots emerging through the litter.
Return to a bed with past borer damage for spring inspections. Fall sanitation and spring observation serve different points in the pest’s cycle. A tidy surface does not prove that every egg or damaged rhizome has been removed.
Conclusion
Remove the part that has finished: spent flower stalks after bloom, dead seasonal foliage later, and only dead leaves from a living evergreen canopy. Preserve healthy leaf fans and protect the rhizome when cutting. Where borers occur, coordinate debris removal with local post-frost guidance and check new leaves in spring. Keep division trims separate from ordinary annual care.