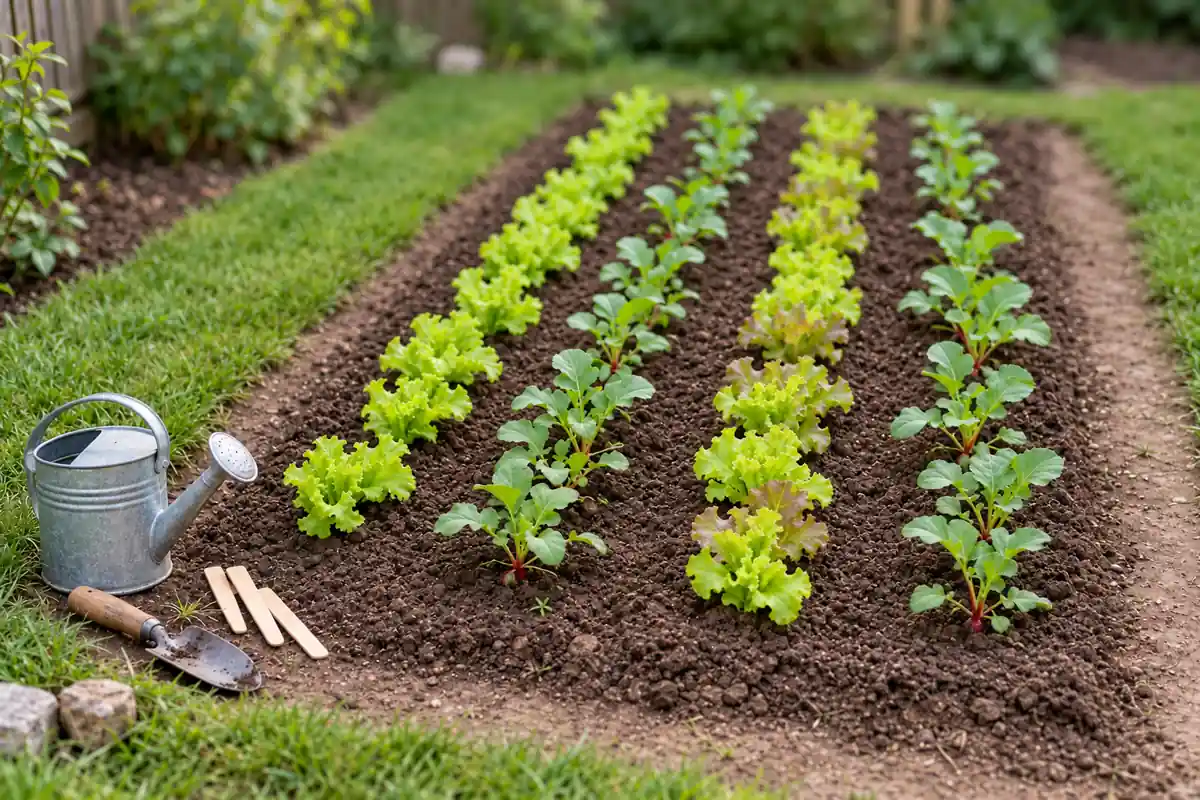
How to start a small vegetable garden begins with one reachable patch, a few crops suited to the season, and enough attention to get them established. A 4-by-8-foot bed gives you 32 square feet of growing soil. You can mark it with string, open measured seed rows, and plant without building a wooden frame when the native soil is suitable.
Choose a starting route that matches what is on the ground. Prepared soil may be ready for sowing; living lawn needs clearing, and indoor-grown seedlings need outdoor adjustment before transplanting. Planting day can follow those preparations. Begin with crops you will eat, leave access on both sides, and watch the planted depth as closely as the leaves. Moisture, cold soil, and crowded seedlings decide what happens next.
Choose your first planting route
- Ready soil and cool growing weather: try measured leaf-lettuce and small-radish rows.
- Ready soil, warm conditions and frost danger past: direct-sow bush snap beans.
- Living grass: clear the turf and check the exposed soil before planting.
- Greenhouse starter plants: finish outdoor acclimation before setting them out.
Pause food planting if soil history is uncertain, the root zone stays waterlogged, or the crop cannot mature in the season remaining.
Key Takeaways
- Start with one bed you can reach from outside.
- Clear living turf before sowing into the exposed soil.
- Match seeds and starter plants to local growing conditions.
- Measure final plant spacing before filling every open patch.
- Check root-ball moisture separately when a new transplant wilts.
Table of Contents
Check Sun, Soil and Season Before Opening the Bed
A usable growing patch needs suitable light, drainage and soil history. Six or more hours of direct sun is a sensible starting screen for fruiting vegetables. Leafy crops can tolerate less, with growth and harvest changing with the light available. A bed beside a fence may look open at noon and spend much of the day shaded.
Confirm the location before digging. If several sites are possible, a garden site and planting plan can resolve that choice. Keep soil testing and any contamination assessment ahead of edible planting. A soil fertility test alone may not answer a concern about contamination; ask local Extension which assessment fits the site’s history.
Use the crop’s local planting window and the forecast together. Cool-season leaf lettuce and small radishes suit conditions that can still be too cold for beans or tomatoes. In fall, count the remaining growing time as well as frost risk. A northern October planting and a southern October planting can have very different prospects.
How to Start a Small Vegetable Garden: Mark One Bed
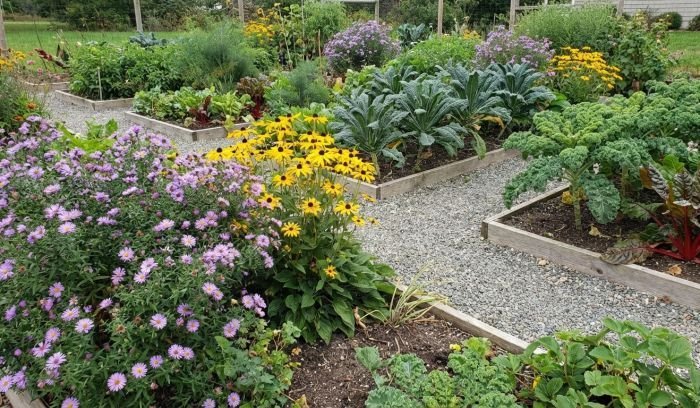
Measure a rectangle 4 feet across and 8 feet long, then put pegs at the corners and connect them with string. Stand outside each long edge and reach toward the middle. Narrow the bed if reaching comfortably requires stepping onto the growing soil. A bed against a wall needs a different width because you can work from only one side.
The rectangle contains 32 square feet. Walking space adds to its footprint. Test the route with the watering can or hose you will use; include enough turning room for your body and equipment. Paths should remain usable when foliage spreads. Repeated footsteps compact the planted soil and reduce the pore space that carries air and water around roots.
Gather a spade or fork for clearing, a rake for the surface, a trowel for planting, and a ruler or marked stick for spacing. Add labels, string, and a watering can with a gentle rose. Borrow tools you need briefly before buying a full set.
Remove Grass and Make a Crumbly Sowing Surface
Press a small handful of soil between your fingers. Workable soil breaks into crumbs; excessively wet soil smears, feels slick, and clings to the blade. Wait when digging would leave shiny compressed faces. Dry, hard clods also need correction before tiny seeds can sit against moist soil.
If the outline contains living lawn
Cut the turf into sections small enough to lift comfortably. Push a sharp spade down through the grass, then slide it beneath the shallow root mat and lift the section. Shake loose soil back into the bed where practical. Remove remaining grass clumps and inspect for creeping roots that could regrow. Iowa State University Extension’s turf-removal method allows a grass-free surface quickly, with the tradeoff of physical effort and lost topsoil.
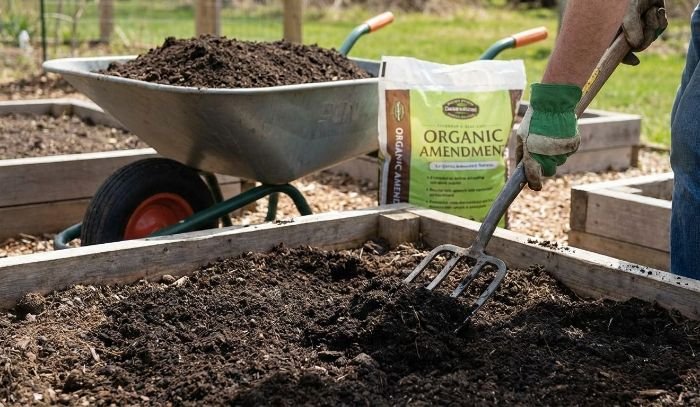
Check what remains after clearing. Fill depressions appropriately and complete any needed vegetable-garden soil preparation before shaping seed rows. Removing sod exposes the soil; it does not establish fertility, drainage or food-growing suitability. A fresh blanket of fertilizer cannot correct every underlying problem.
If the soil is bare or the grass has been covered
On prepared bare soil, pull visible weeds, remove stones from the sowing lines, and rake the upper surface level. Break loose clods without repeatedly pulverizing the whole bed. A seed needs a fine enough surface to make contact and emerge; roots also need workable soil below it.
Cardboard and mulch can suppress grass over time. Check beneath the covering before expecting a direct-sown row to grow. Thick undecomposed material is a barrier for small seedlings. If the soil needs a separate growing structure, complete the raised-bed construction and filling first. Keep the current job to preparing one plantable surface.
Choose Crops That Fit the Season and the Space
Pick two or three vegetables you regularly eat, then check how they begin growing. Small radishes are usually sown directly because transplanting disturbs their developing roots. A tomato bought as a starter plant skips weeks of indoor seed raising. Leaf lettuce gives you either route.
| Crop and season | Start with | Space and first decision |
|---|---|---|
| Leaf lettuce, cool conditions | Seeds or healthy transplants | Choose loose-leaf types for the 8-inch example. Heading lettuce can need more room. Transplants skip germination and thinning. |
| Small spring radishes, cool conditions | Seeds sown where they will grow | Use small-rooted types for the 3-inch example. Daikon and storage radishes need different spacing and time. |
| Bush snap beans, warm conditions | Seeds directly in the bed | The 4-inch example needs no climbing support. Wait for frost danger to pass and soil to warm. |
| Tomato or pepper, warm conditions | A healthy, acclimated starter plant | Check the named cultivar and support requirements. Reserve its mature footprint before replacing any rows. |
| Climbing peas or pole beans, suitable crop season | Seeds and installed support | A trellis changes height and shade. Use the climbing crop’s own spacing; the bush-bean map does not apply. |
Lay out one bed using measured row centers
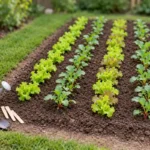
For the cool-season example, run four strings along the 8-foot length, at 6, 18, 30 and 42 inches from one long edge. Alternate two leaf-lettuce rows with two small-radish rows. The 12-inch row separation fits Maryland Extension’s lettuce guidance and Iowa State’s small-radish planting distances. The combination below is a worked synthesis of those crop recommendations.
One 4-by-8-foot bed: choose one seasonal layout
Cool season: leaf lettuce and small radishes
Length 8 feet. Width 4 feet. Rows run along the length.
Green: 2 lettuce rows, 12 positions each at 8 inches. Burgundy: 2 radish rows, 32 positions each at 3 inches.
Row centers are 6, 18, 30 and 42 inches from one long edge. Adjacent rows are 12 inches apart.
Warm season: bush snap beans
Same 8-by-4-foot area, planted on a suitable later date.
Brown: 2 rows, 24 positions each at 4 inches. Row centers are 12 and 36 inches from one long edge.
Rows are 24 inches apart. Leave 2 inches between each row’s first or last position and the short bed edge.
Dots are measured planting positions, not predicted germination, survival or yield. The cool-season combination is a worked arrangement using crop-spacing recommendations, not a field-tested companion-planting system. Use wider spacing when your cultivar requires it. If lettuce foliage crowds the radish row or blocks inspection, reduce the row count or increase the gaps. Paths are outside the 32 square feet.
In each lettuce row, measure the first final position 4 inches from the short edge, then every 8 inches. Twelve positions fit before the matching 4-inch end margin. In each radish row, start 1.5 inches from the end and mark every 3 inches: 32 positions. The cool layout has 24 lettuce and 64 radish positions after thinning. Actual emergence and harvest can be lower.
For warm-season bush snap beans, use rows 12 and 36 inches from the long edge. Start each row 2 inches from its end and sow every 4 inches. That gives 24 positions per row, or 48 across the bed, following the spacing used by University of Minnesota Extension. Bush beans need warmed soil and a frost-free opportunity. Use the packet’s sowing depth, commonly about 1 inch for these beans.
You can sow a shorter section first and leave the rest empty. Saving part of a row for a later suitable sowing spreads the work and harvest. After radishes are removed, another crop can use that space only if its light, spacing and remaining-season needs fit. Lettuce bolting in heat is a reason to change crops, not to keep sowing it on the same calendar indefinitely.
Use height where a climbing crop belongs
A trellis can keep vining peas or pole beans off the ground, as NC State Extension’s small-space guidance describes. Install it before roots spread and check where its shadow will fall. Bush beans stay bushy and will not become climbers when placed beside string. Replacing them with pole beans requires the climbing crop’s own spacing and support layout.
Sow Seeds With Soil Contact, Then Thin the Row
Measure depth from the finished surface, not the bottom of a deep scratch. Small spring radishes commonly go 1/4 to 1/2 inch deep. Leaf-lettuce packets can call for a very light covering; follow their directions for the covering. Larger heading lettuces and long radishes do not fit the small-crop example automatically.
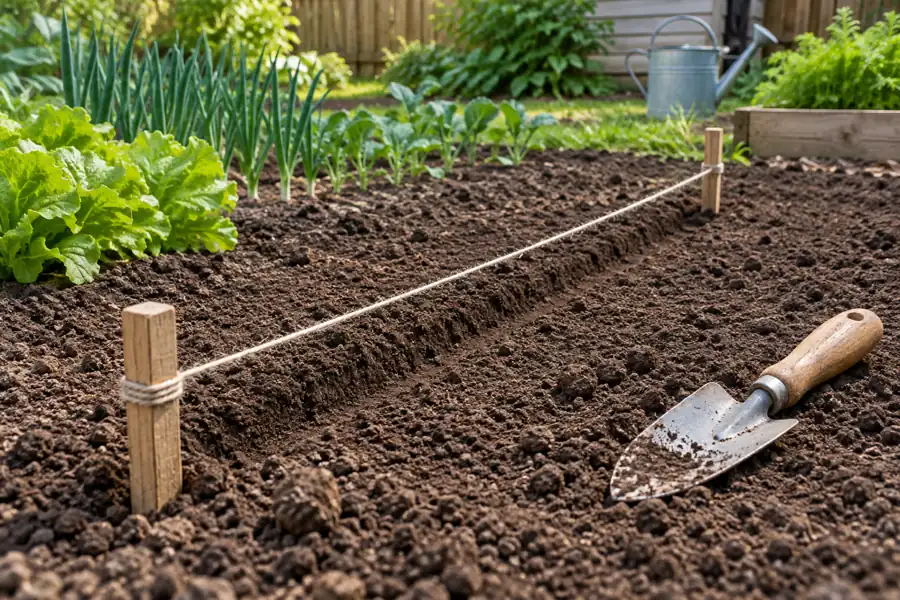
Make the shallow furrow under the string, place the seeds, and cover with fine soil as directed. Press gently with your fingers or the back of a tool so damp soil touches the seed. Avoid pounding the surface into a hard plate. University of Maryland Extension’s outdoor sowing method connects this contact with reliable germination.
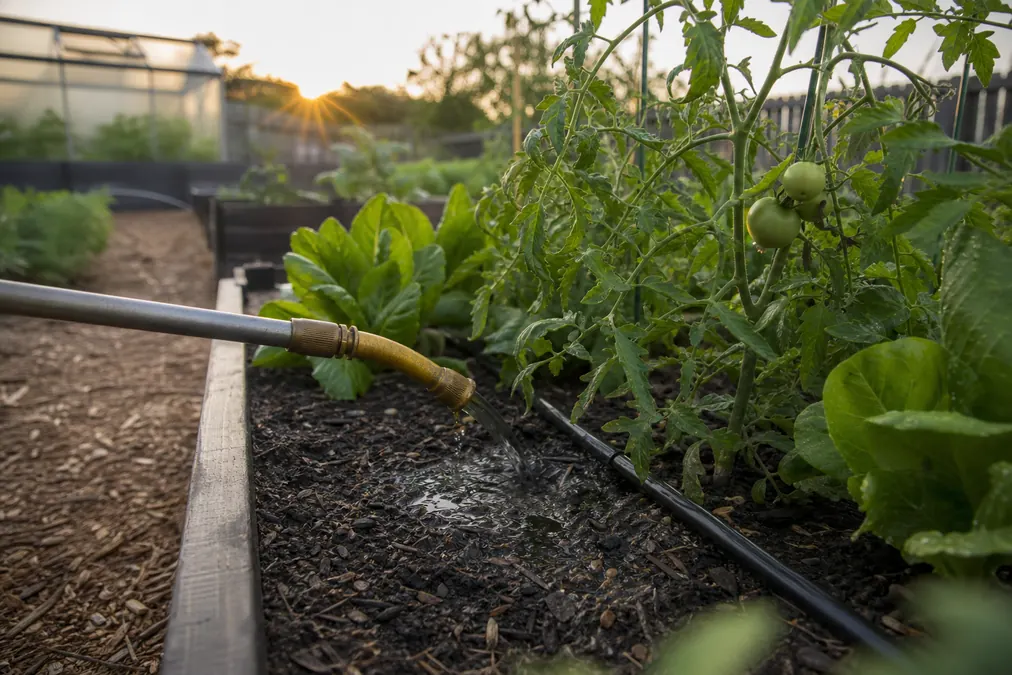
Water with a gentle flow that settles the surface without cutting channels. A strong jet can move both seeds and labels. Mark the crop, variety and sowing date immediately. Record the packet’s expected emergence interval so a slow-growing row is judged against its crop and conditions.
Final spacing and initial sowing density can differ. Tiny seeds often emerge too closely even when you tried to distribute them. Once seedlings can be handled, keep healthy plants at the final distance. Support nearby soil as you remove extras; snipping a crowded extra at soil level can avoid tugging a neighbor’s roots. Measure the gap afterward.
Thin a 12-inch length of small-radish row
Before: an example crowded line of seedlings.
After: keep four plants, with 3 inches between centers.
Start 1.5 inches from the end, then mark 4.5, 7.5 and 10.5 inches. Repeat along the row. Adjust to the packet; larger radishes need another layout.
For the lettuce layout, retain the crop’s 8-inch final spacing instead of leaving a solid green ribbon. Small radishes need room for their storage roots to expand. Crowded tops can hide small, misshapen roots below. The seed packet remains the check when a cultivar needs more space than either example.
Acclimate Starter Plants Before Planting Day
A greenhouse seedling can have tender leaves even when its roots look healthy. Abrupt sun, wind and temperature changes can scorch foliage and increase water loss before roots have spread into the bed. Ask the seller whether the tray has already been hardened off and what conditions it has experienced.
For indoor-grown plants, allow roughly one to two weeks for acclimation, adjusted to the crop and weather. Begin with a few hours outdoors in sheltered shade on a mild day. Bring the tray back to protection as night temperatures drop. Increase outdoor time and sunlight gradually, watching leaf condition after each increase.
Delay stronger exposure if leaves bleach, curl or wilt. Check the nursery mix before deciding that sun alone caused the change. Keep plants watered enough to avoid wilting; deliberately drying them hard can injure growth. University of Minnesota Extension uses shaded, wind-protected starts and progressive exposure, not immediate all-day garden sun.
Keep tender seedlings protected during windy or cold weather. Maryland Extension’s acclimation guidance brings warm-season tomatoes and peppers indoors when nights are expected below 50 F. That is a protection threshold during adjustment, not permission to transplant just above it. The planting date still depends on frost danger and adequately warm soil.
Plant the Root Ball at the Crop’s Correct Depth
Choose a stocky starter with healthy foliage and roots holding its mix together. A tight woody knot of circling roots or a stretched stem calls for closer inspection before purchase. Water the nursery plant ahead of planting so its mix is moist, then work during calm, cloudy weather or after the strongest afternoon sun.
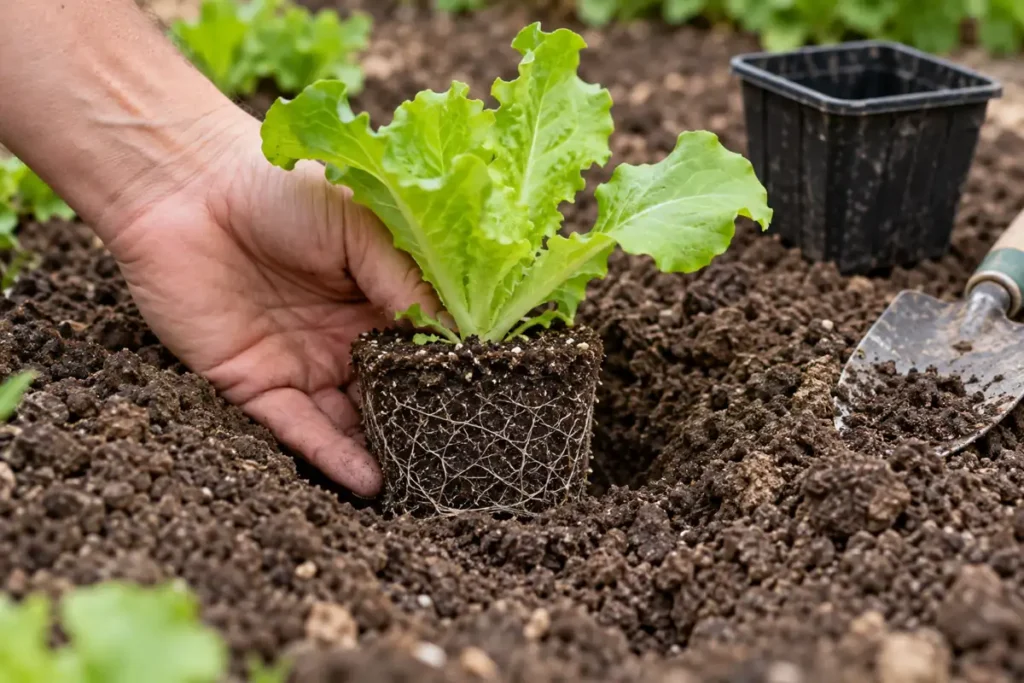
Dig a hole that accepts the root ball without folding or cramping it. Slide off the container and support the soil mass; squeezing the stem can damage tissue that carries water through the plant. Lower most vegetable transplants to their original growing depth. Backfill around the sides, firm gently, and water around the roots to settle loose pockets.
For a lettuce starter, compare the top of its potting mix with the surrounding finished surface. Keep the crown, where the leaves meet, clear of piled soil. Tomatoes are a separate case because buried stems can form additional roots. Deeper tomato planting directions should never become a rule for burying lettuce or every vegetable stem.
A pot-shaped dry core can remain inside an otherwise damp bed. Check both the original mix and nearby soil after watering. If water has run around the root ball, apply it slowly to that original zone and recheck. A glossy puddle that remains around the plant calls for a drainage check before another soaking.
Check the First Two Weeks Before Expanding
Inspect the planted area after rain, hot afternoons and drying wind. Keep the shallow seed zone moist enough for germination, then check the rooting depth as plants develop. A dry-looking surface can cover damp soil underneath. Feel just beside the row and near the original transplant root ball so the inspection does not dislodge seeds or roots.
| Sign during days 1-14 | Check before acting | Correction |
|---|---|---|
| Seed row dries at sowing depth | Feel just beside the row, without uncovering seeds | Water gently enough to moisten the planted layer. Check again after wind, sun or rain. |
| No emergence after the packet’s expected interval | Compare soil temperature, sowing depth and seed condition | Correct cold, wet or crusted conditions before resowing. Investigate a small sample, not the whole row. |
| Transplant droops; original root ball is dry | Check the pot-shaped root zone as well as surrounding soil | Slowly wet the root ball and recheck penetration. Reduce abrupt wind or sun exposure. |
| Transplant droops; soil stays saturated | Check drainage and whether the root zone remains wet | Stop adding water to already wet soil. Address drainage; persistent decline needs diagnosis. |
| Seedlings collapse at a narrowed stem base | Look for wet conditions and damaged lower stems | Suspect damping-off rather than simple thirst. Remove affected plants and seek identification if losses continue. |
| Seedlings overlap within the row | Measure their final spacing while they are small | Remove extras carefully. Keep healthy remaining plants at the crop’s recommended distance. |
A row that has passed its expected emergence window needs a cause check. Cold soil, a hard surface crust, old seed and excess wetness can produce different failures. Inspect a few marked positions gently at the edge of the row. Firm intact seeds in cold conditions need a different response from soft, rotting seeds in saturated soil.
Seedlings that narrow and collapse at the base may have damping-off. More water can worsen the conditions behind it. Continuing losses, unusual discoloration or damaged roots need specific seedling problem diagnosis or help from local Extension. Wilt alone does not identify a disease.
Pull small weeds before their roots compete with the crop. Keep mulch off the emergence line and away from young crowns. Check supports before they loosen in wind. Look for new transplant growth as the roots establish.
Near the end of the second week, record which rows emerged, which seedlings needed thinning, and whether water reached the transplant mix. Add another suitable sowing only when the first planting is manageable. Harvest timing then follows the crop: check small radish root size before it becomes woody and take leaf lettuce at its usable stage.
Conclusion
Finish with one accessible, labeled bed and a planting pattern you can measure. Clear the actual surface, use crops suited to the local season, sow at their required depth, and plant acclimated starters without burying sensitive crowns. Keep checking the seed zone and root balls through the first two weeks. Expand after the plants and the care routine are established.