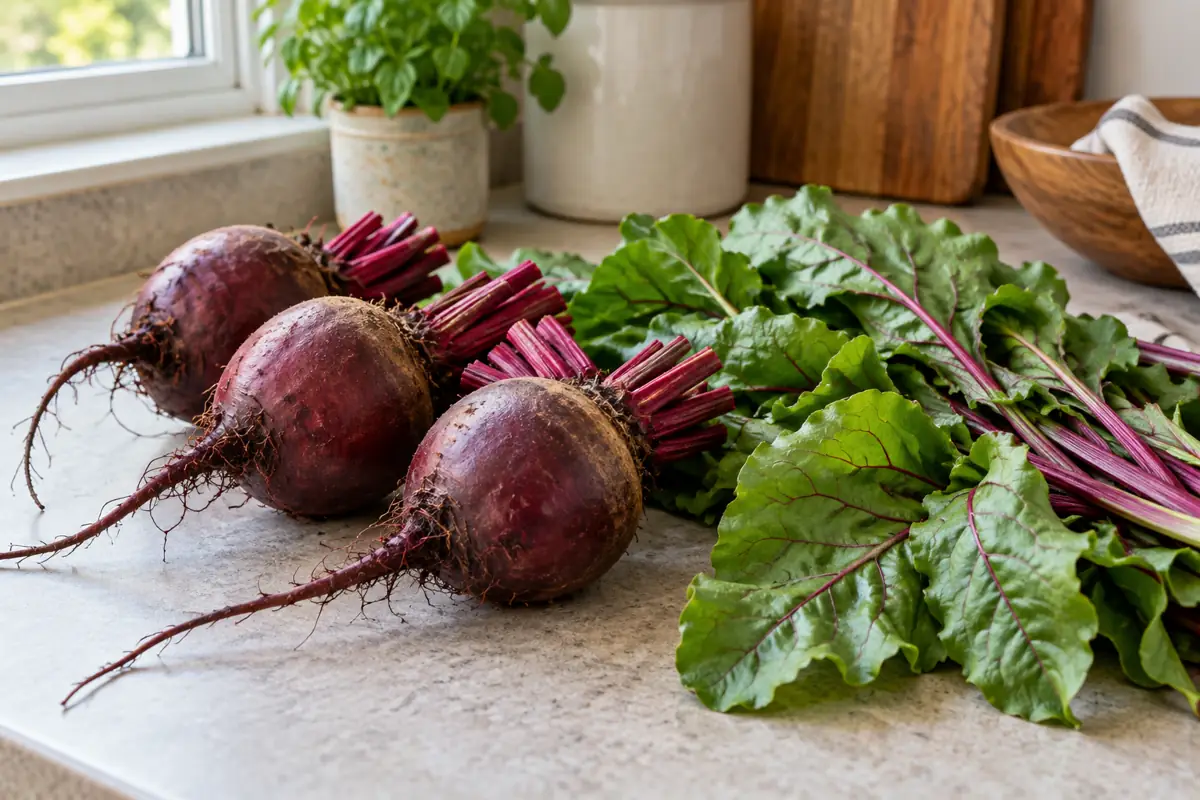
How to store beets depends on whether you have whole roots, leafy tops, or cut and cooked portions. Remove the greens from fresh roots, keep the two parts separately in the refrigerator, and use the leaves first. Whole sound roots need cold storage with moisture protection. Cut or cooked beets need clean covered containers and a shorter refrigerator timetable.
A small bag in a household crisper is a different arrangement from a monitored root cellar. For a kitchen supply, plan to use fresh whole roots within a week or two and check their condition. Months of storage require suitable roots and genuinely cold, humid conditions. A warm pantry cannot reproduce that environment. Sort the harvest before packing, avoid storing spoiled roots with sound ones, and choose the storage route for the meal or season you actually have in mind.
Put each part on the right storage path
- Whole fresh roots: remove tops, bag in the refrigerator crisper, and wash before use.
- Fresh greens: bag separately, keep cold, and use promptly.
- Whole roots for cellar storage: aim for 32-35°F and about 95% relative humidity. Suitable conditions can give roughly 1-3 months.
- Cut or cooked portions: refrigerate in clean covered containers and plan use within 3-4 days.
- Freezer preparation: cook roots until tender, cool, peel, cut, then pack and freeze.
Discard spoiled produce. High humidity around whole roots does not mean leaving them in a puddle of water.
Key Takeaways
- Separate beet greens from roots and refrigerate them in different bags.
- Protect whole roots from drying without leaving them in standing water.
- Match long storage to a measured cold, humid cellar environment.
- Cover and refrigerate cut or cooked beets for prompt use.
- Cook, cool, peel, and cut roots before the tested freezing method.
Table of Contents
Remove the Tops and Sort Roots Before They Lose Moisture
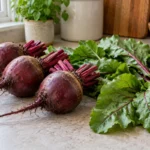
A bunch of beets contains two foods with different keeping needs. Cut off the leafy tops, leaving a short stem stub on each root. Iowa State’s winter-storage directions use about 1/2 to 1 inch. Keep the sound leaves for separate handling. Long foliage attached to a stored root continues to lose moisture and makes the combined bunch a poor arrangement for keeping both parts.
Choose firm roots for storage. Turn them gently and check for soft spots, mold, slime, and mechanical damage. A root with a cut or bruise does not have the same long-storage prospects as an intact one. Keep suitable damaged roots for early use, and discard visibly spoiled produce. Do not hide a deteriorating beet beneath a clean-looking top layer.
Sound roots should feel solid rather than collapsing under light pressure. The outer skin can be rough and earthy without being rotten. Compare a dry surface with wet, soft tissue, and consider the smell if a root is already decaying. Appearance alone cannot establish food safety, especially for cooked leftovers whose storage history is unknown.
Harvest maturity and handling affect the starting quality. The beet growth and harvest stages precede the storage choice. Once the crop reaches the kitchen, focus on its current condition and intended use. A mixed harvest of garden vegetables needs crop-specific storage; one bin and one timetable cannot suit every plant.
How to Store Beets in the Refrigerator Without Drying Them Out
For a small fresh supply, put topped whole roots in a produce bag in the refrigerator crisper. Keep them unwashed until preparation, brushing away loose soil without damaging the skin. Wash thoroughly before using. Removing soil for kitchen cleanliness and soaking an entire storage batch are different actions.
A bag limits moisture loss from the roots. Perforated produce packaging also allows some air exchange, reducing the chance of a wet sealed environment. Leave the roots protected from dry refrigerator air, then check for condensation or pooled water. A crisper helps control moisture; it is not a reason to ignore the bag’s condition.
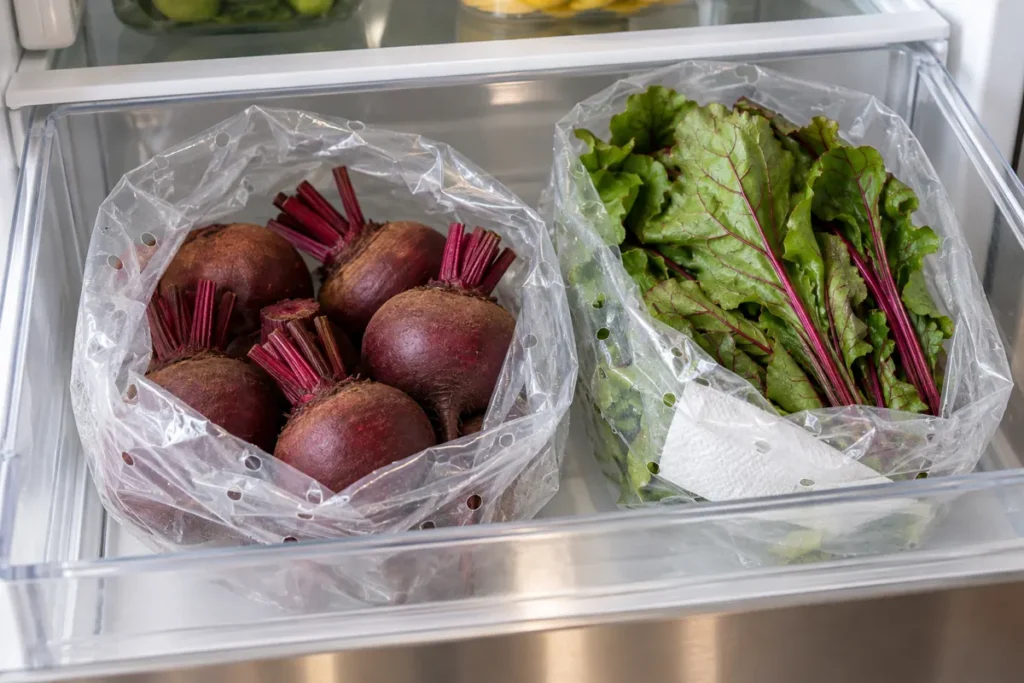
A 1-2 week planning window for topped, bagged roots appears in University of Maine Extension’s fresh-produce guidance by Kate Yerxa. Other consumer recommendations range from about a week to as much as three weeks, depending on the guide and storage conditions. Those are freshness expectations, not a universal safety expiration stamped onto every raw beet.
Use the younger supply sooner if roots begin losing firmness, and inspect before each meal. Keep fresh produce away from raw meat, poultry, or fish so drips cannot contaminate it. Maintain the refrigerator at 40°F or below. A bag placed beside a warm or poorly functioning door area cannot borrow the keeping expectation of a properly cold crisper.
Keep Beet Greens Cold and Use Them Before the Roots
Bag the leaves separately and refrigerate them promptly. Purdue Extension’s short-term handling advice uses a damp cloth with the greens. Light moisture protection helps reduce wilting; a soaked bundle resting in free water is a different condition. Keep the bag accessible because the leaves should reach a meal before the longer-lasting roots.
Firm, fresh leaves have a different feel from a limp bundle. Their thin tissue loses water more readily than the fleshy root. A damp towel can help with that drying pressure, and cold storage slows deterioration. Neither treatment makes already slimy or moldy leaves suitable to keep.
Wash the greens before preparation, checking the folds and stems for soil. Give them their own meal plan when the roots are intended for later roasting or cooking. Keeping the leaves attached until the roots are used can leave you with unusable greens long before the roots fail.
Do not assume the root-freezing instructions below also describe freezing raw leafy tops. The edible parts differ in thickness and preparation. Use a documented greens-preservation method if you decide to freeze the leaves; the cooked-root method applies to the roots.
Cold, Humid Cellar Storage Keeps Whole Roots for Longer
A large sound harvest can keep longer when you have a genuinely cold, humid storage space. Iowa State’s winter-storage guidance by horticulturist Aaron Steil specifies 32-35°F and about 95% relative humidity for beets. Its approximate 1-3 month keeping range applies to suitable storage, not to an open basket on a kitchen counter.
Measure the conditions where the roots sit. A room described as a root cellar can still be too warm, too dry, or vulnerable to freezing along an exterior wall. Humidity helps whole roots retain water, and low temperature slows deterioration. Protect them from freezing and adjust the arrangement when cold weather changes the space.
Suitable cold-moist storage containers protect roots against drying and let you inspect the crop. University of Missouri and Alaska Extension storage guidance also places beets in a high-humidity root-storage group. If you use a documented packing method with a moisture-retaining medium, follow its directions and keep the roots out of standing water. An improvised wet sealed heap is not a substitute for a controlled environment.
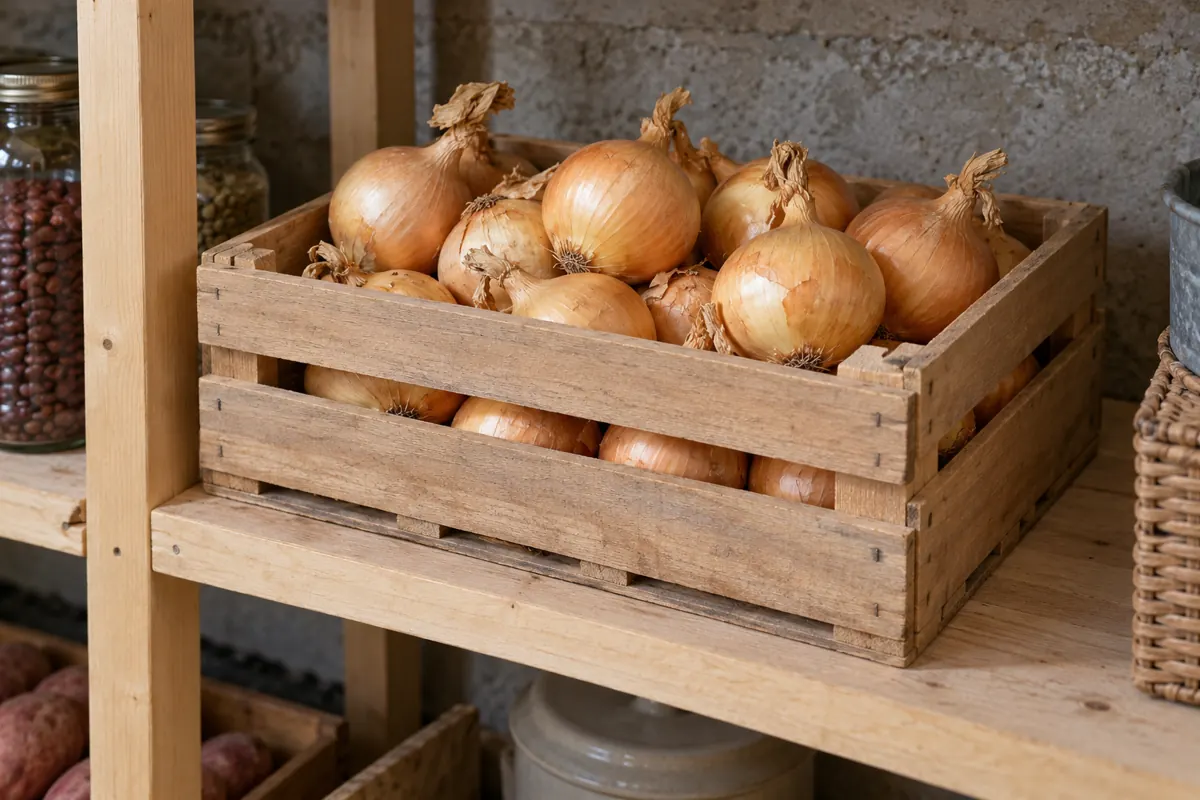
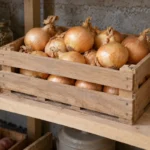
Keep this arrangement separate from dry onion storage. Onions need a drier humidity range. Two crops may share a cool temperature preference and still need different containers or storage areas. Matching temperature alone misses that difference.
If the room cannot maintain suitable conditions, choose smaller refrigerator batches or a tested preservation route. Check stored roots regularly, remove deteriorating produce, and reconsider the environment if several begin shriveling together. The useful range is the one you can maintain around the crop, not the number written on a cellar checklist.
Cut and Cooked Beets Need Covered Refrigeration
Cutting or peeling exposes tissue and changes the handling routine. Place raw prepared pieces in clean covered containers in the refrigerator and use them promptly. Maine’s general guidance for cut, peeled, or cooked produce recommends refrigeration within 2 hours and consumption within 3-4 days. That is the prepared-produce rule, separate from the whole-root crisper range.
Cooked beets left after a meal also need prompt cooling and refrigeration. Divide a larger amount among shallow containers so it cools more readily. Keep the refrigerator at 40°F or below. FoodSafety.gov gives the same 3-4 day refrigerator window for cooked leftovers. Record the preparation date so a container of beet slices does not become an undated supply.
Heat outside the refrigerator changes the limit. FDA food-storage guidance reduces the maximum unrefrigerated time for perishable food to 1 hour when the air temperature exceeds 90°F. At an ordinary room temperature, the limit is 2 hours. Refrigerating food after an excessive time outside does not undo the handling problem.
Plan the cooked portion around the next few meals or freeze it through an appropriate preparation. A peeled slice with a moist, glossy surface is normal after cooking; its color cannot tell you how long it sat warm. Use the storage history together with its condition. Do not treat a pleasant smell as proof that mishandled leftovers are safe.
Cook Beets Before Following the Tested Freezer Method
The published beet freezing method from the National Center for Home Food Preservation cooks the roots first. Select tender young red beets, wash them, and sort by size. Leave about 1/2 inch of stem and the taproot attached during cooking to reduce color bleeding.
- Cook the roots in boiling water until tender. The published guidance gives 25-30 minutes for small beets and 45-50 minutes for medium ones.
- Cool promptly in cold water.
- Peel the cooled roots, remove the remaining stem and taproot, then slice or cube.
- Pack in freezer-safe containers with 1/2 inch of headspace.
- Seal, label, and freeze.
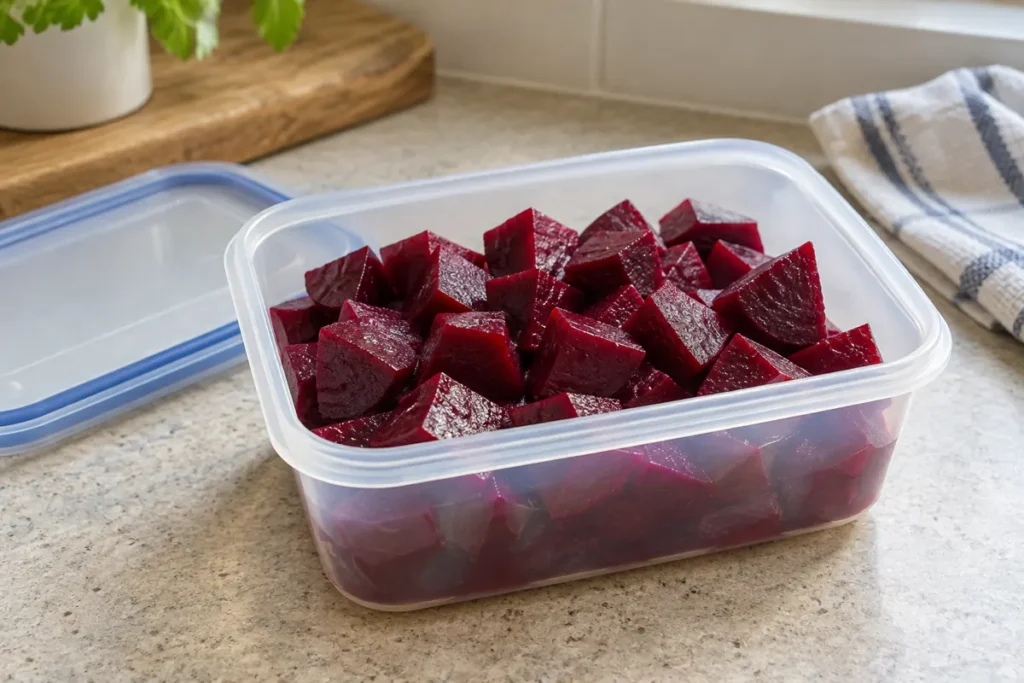
Root size changes the cooking time, so the tender condition still matters. Do not turn the boiling times into an equivalent roasting or pressure-cooking rule. Cool and package the prepared roots promptly, with the date on the container.
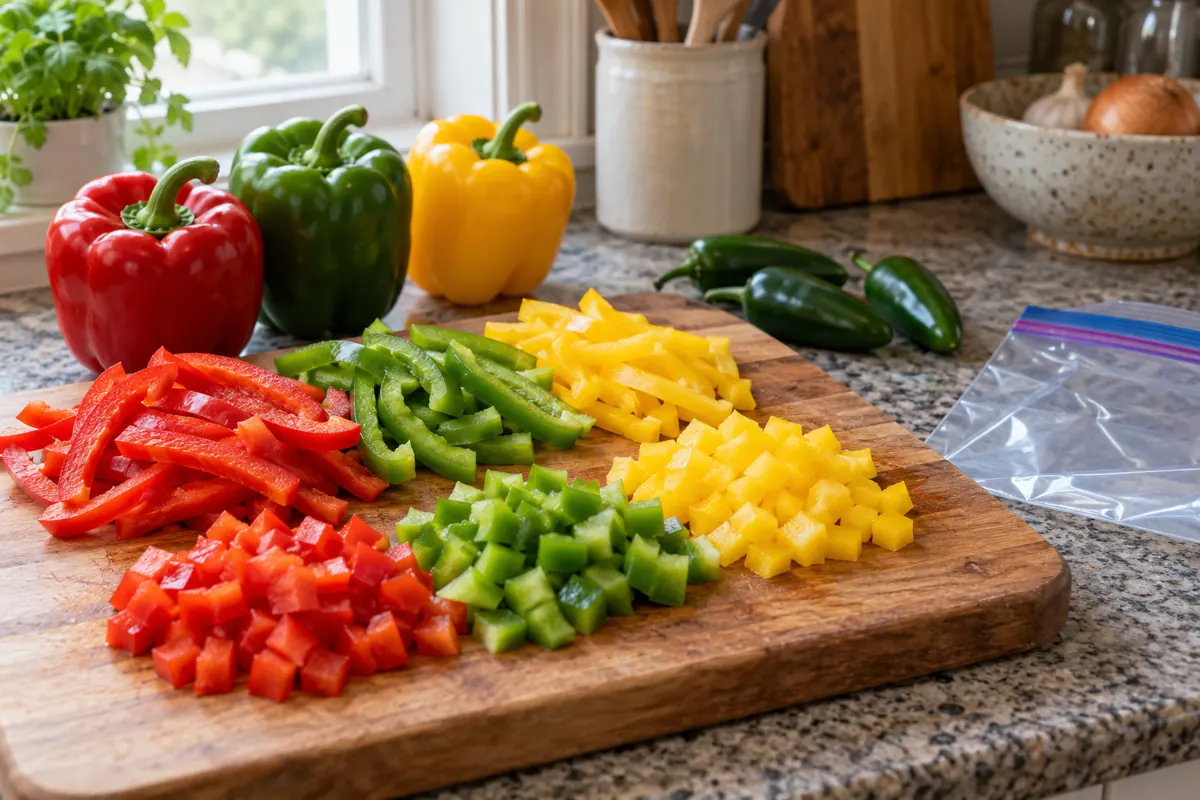
The raw route used for freezing bell peppers does not establish the same preparation for beets. Different vegetables have different published methods. Canning and pickling need their own tested procedures; a freezer method cannot supply their processing times.
Read Shriveling, Surface Moisture, and Decay Separately
Shriveling points toward moisture loss. Check whether roots have been left uncovered in dry refrigerator air or held in a cellar with insufficient humidity. Wrinkles and a flexible feel show declining quality. Examine for decay as well; simply adding moisture does not make a spoiled root safe.
Condensation or a puddle asks for another correction. Check temperature changes, the bag, and the storage arrangement. Roots need protection against drying, not a supply of stagnant water. Remove visibly spoiled produce and keep the remaining sound roots in a suitable cold environment.
Soft, slimy, or moldy tissue belongs outside the sound storage batch. Discard it. A cold room cannot repair tissue that has already deteriorated. Inspect neighboring roots, especially where damaged surfaces have been touching. A batch-wide change calls for a check of conditions as well as removal of individual bad roots.
Separate quality observations from the handling of cooked food. A raw root losing moisture is one problem; a cooked container left warm beyond the food-safety limit is another. Make the correction for the actual state of the food. The fresh and prepared produce storage directions help keep those timetables distinct.
Conclusion
Trim and separate the greens, sort the roots, and choose a cold storage route that fits the amount you have. Use leafy tops promptly, keep whole roots protected from drying, and date cut or cooked portions. For a larger harvest, measured cellar conditions or a tested freezer preparation offer different ways to keep the crop useful. Check the food itself and its storage history before serving it.