How to grow okra successfully comes down to two timing decisions: plant into warm soil, then pick pods before they become fibrous. The crop tolerates summer heat well, yet an early sowing in cold, wet ground can produce a disappointing start.
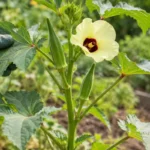
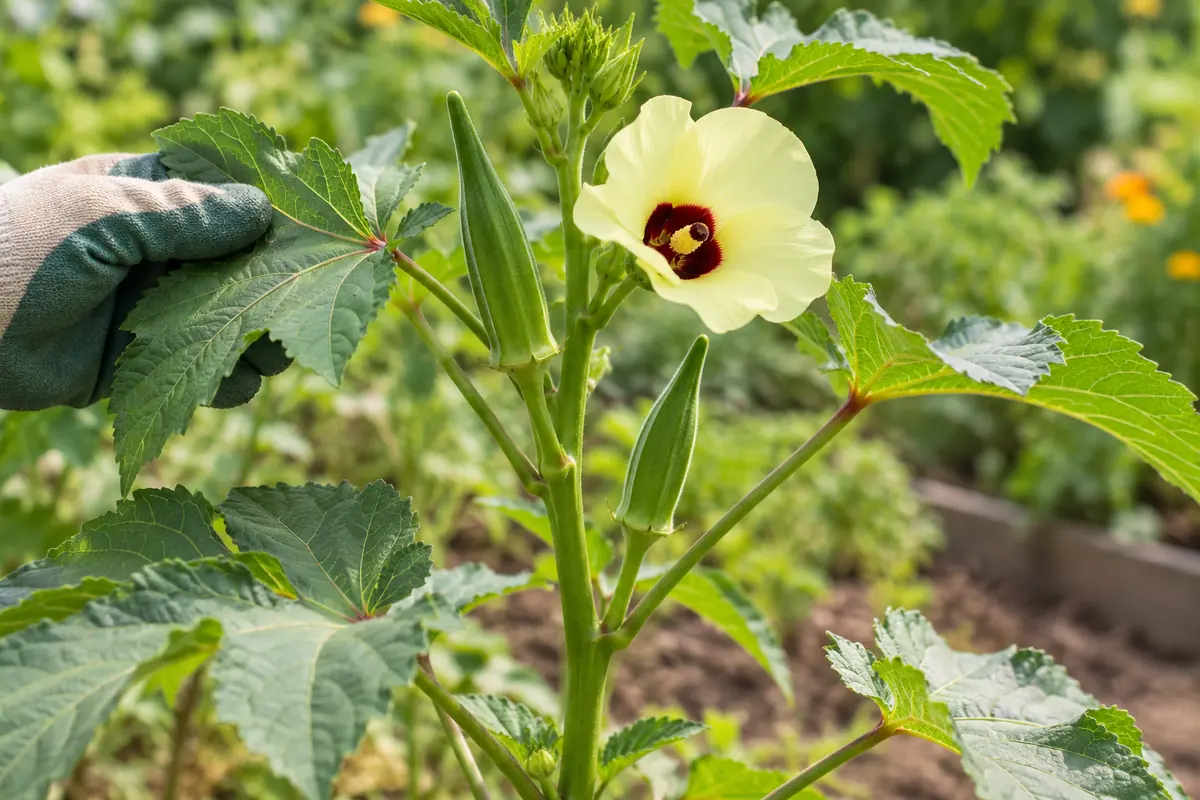
Okra, Abelmoschus esculentus, is a frost-tender annual with broad leaves, upright stems and pale flowers that resemble hibiscus. Its young pods develop quickly once the plant is growing actively. Missing a few picking rounds can leave tough pods even on a healthy plant.
Choose a sunny, draining bed with room to reach the plants. Then use soil temperature, root moisture, leaf growth and pod condition to guide care. A northern gardener raising young transplants and a southern gardener sowing directly can follow different routes to the same tender harvest.
Wait: Delay outdoor planting during frost risk or cold, saturated conditions. One warm afternoon does not mean the bed is ready.
Sow: Georgia and Maryland Extension use soil at least 65 degrees F as a planting threshold. Georgia measures about four inches down; seed itself goes much shallower, commonly one-half to one inch.
Pick: Begin checking when flowers fade. Many varieties are picked around two to four inches long, with cultivar and tenderness deciding. Inspect every day or two during fast growth.
Key Takeaways
- Measure warm soil after frost risk before sowing okra.
- Thin seedlings for their mature canopy and harvest access.
- Protect young roots when moving indoor starts into beds.
- Check moisture and fertilizer history before treating low production.
- Clip tender pods frequently and remove missed fibrous ones.
Table of Contents
How to Grow Okra in Warm, Draining Soil
Check the soil before trusting a warm weather forecast. A soil thermometer inserted about four inches deep gives a more useful planting check than the afternoon air temperature. That is a measurement depth, not the depth for burying seed.
Soil should reach at least 65 degrees F before planting in University of Georgia Extension’s home-garden okra method. Maryland Extension gives the same minimum. Seed Savers Exchange describes soil above 80 degrees F as best for germination and growth. A minimum planting threshold and a more favorable temperature answer different questions.
Seed can be sown in a suitable window below that warmer preference, with slower emergence possible. Do not push seed into a cold, saturated bed simply because the average frost date has passed. Several more warm days may be more useful than repeated sowing.
Regional planting calendars often put okra roughly two to three weeks after the last expected spring frost. Treat that as a planning interval, then check the actual bed and forecast. Elevation, soil moisture and an unusually cool spring can shift the workable date.
Choose full sun and avoid a spot where water lingers, so a warm afternoon does not leave a young plant sitting in cold, saturated soil overnight. Before planting, correct compaction and surface runoff through appropriate vegetable-bed soil preparation. Warm soil cannot compensate for roots sitting in trapped water.
Choose a Cultivar and Leave Room to Reach Its Pods
Okra can become a substantial plant. Iowa State’s cultivar examples include Clemson Spineless at about four to five feet and Burgundy around four feet. These are useful size estimates, not limits every garden will reproduce. Check the named variety before placing it beside shorter crops.
A tall crop can shade neighboring plants and make picking awkward if crowded against a fence, so leave a reachable side along the row for regular inspections. The more difficult it becomes to inspect the pods, the easier it is to miss the short tender stage.
| Planting stage | Example method | Keep separate |
|---|---|---|
| Sowing depth | Georgia and Iowa use about one inch; Seed Savers uses one-half inch. | Follow the packet or local method. Four inches is thermometer depth, not seed depth. |
| Initial seed spacing | Iowa’s row method places seeds four to six inches apart. | Those close starts are thinned; they are not the final plant spacing. |
| Established plants | Georgia and Iowa use eighteen to twenty-four inches within rows about three feet apart. | Other regional methods are denser. Match cultivar size and access to the chosen plan. |
The wider layout gives a beginner room for inspection and cutting. Texas A&M describes a tighter twelve-inch final spacing, and Maryland gives twelve to eighteen inches. Choose a coherent layout for your cultivar and site, keeping initial seed spacing separate from the clearance needed by a mature canopy.
A compact cultivar can be easier to accommodate in a small garden. It still needs sunlight, root space and water. The word compact does not establish a universal container size or a particular yield per plant.
Sow Directly or Move Young Roots With Minimal Disturbance
Direct sowing in a warm bed
Direct sowing leaves the developing roots undisturbed. It is a practical route when the bed is warm and enough growing season remains for the selected variety. Use fresh, sound seed and prepare the planting line before soaking any seed.
- Check soil warmth, drainage and the local frost forecast.
- Optionally soak untreated seed in clean water for several hours or overnight.
- Sow at the packet’s depth, commonly one-half to one inch in the methods above.
- Water gently so the seed zone is moist without becoming a saturated trench.
- Mark the row and keep weeds from overtaking emerging plants.
- Thin established seedlings to the final spacing in your chosen layout.
Gentle seed-coat abrasion is another optional germination aid described by Extension and Seed Savers, intended to help water pass through a resistant outer coat before sowing. Damage should stay at the outer coat, so avoid a deep cut into the seed. Do not abrade a coated or already treated packet without checking its instructions.
Seed Savers gives a six-to-eighteen-day germination range, with actual emergence depending on warmth, moisture and seed condition throughout that interval rather than on elapsed time alone. At seven days, a blank row is not proof of failure. Check the soil before resowing on top of the original seed.
Starting indoors for a shorter season
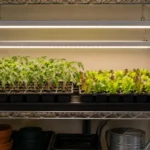
Indoor starts can help a short-season gardener, provided they can be held in useful light and warmth. Young okra roots are sensitive to disturbance. Sow into individual peat pots six to eight weeks before the intended outdoor planting date, as described in Iowa State’s seed and transplant method.
That date is the planned warm-soil transplant date, not automatically the last frost date. Other regional guidance uses a shorter indoor interval. Avoid producing a large, restricted root ball that must wait for weeks in a cold room.
Thin to one healthy seedling per pot and acclimate it gradually to outdoor sun and wind, checking moisture more often as its leaves meet the stronger exposure. At planting, keep the root mass together and avoid pulling apart crowded roots. Make a hole that fits the plug. For a plastic pot, support the soil and ease the container away without tugging the stem; follow the maker’s planting directions for a plantable pot. Set the plug at its existing soil level, fill around it, water it in and watch the next leaves. A stretched, weak start is not an automatic advantage over later direct seed in warm soil, particularly if root restriction and poor light have limited its growth.
Where a tray declines before planting, check light, medium and stem condition when diagnosing seedling problems. Cold roots, poor light and saturation need different changes.
Water and Feed According to Roots, Flowers and Growth
Established okra tolerates dry conditions better than many tender vegetables. Flowering and developing pods still need adequate moisture. Long dry spells can reduce production even when the plant remains alive and green.
Feel the root-zone soil below a dusty surface and consider recent rain, because a dry-looking crust can sit above moisture that still reaches the active roots. Moist, cool crumbs beneath the crust tell a different story from dry, loose soil that falls away from your fingers. Water genuinely dry soil deeply, then let excess drain.
Georgia’s drought example uses a deep soaking during prolonged dry periods, not an irrigation command for every rainy week. Sandy ground may need attention sooner than heavier soil, as Texas A&M notes. A fixed calendar cannot account for both. A patio pot also loses water differently from a field row.
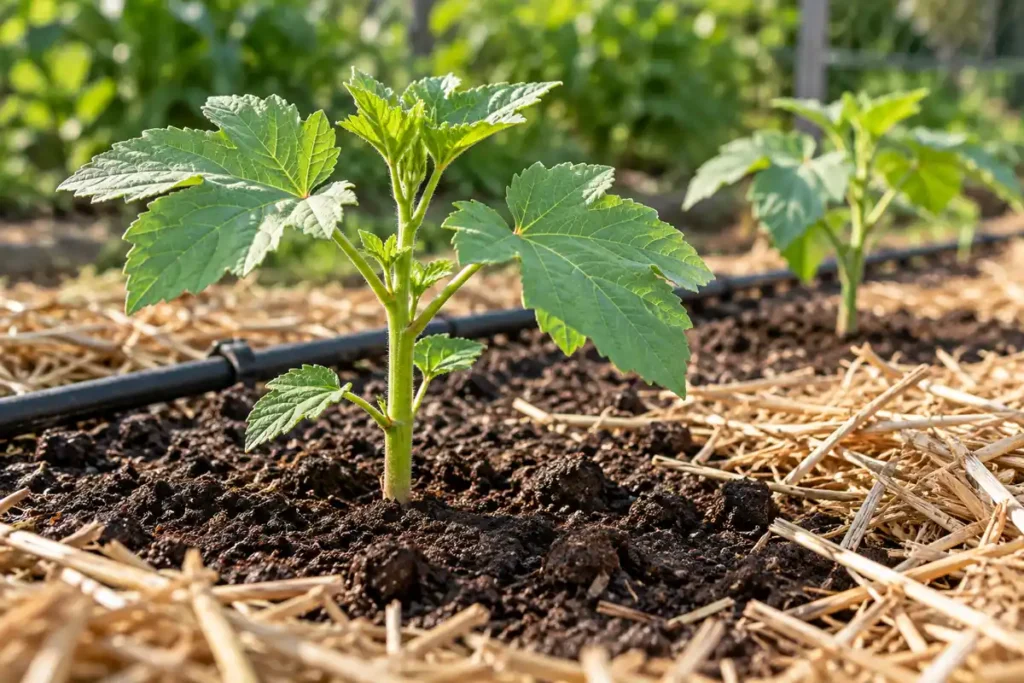
Control weeds shallowly to avoid damaging roots. Organic mulch can conserve moisture and reduce new weed growth once the bed has warmed. Thick early insulation over cold soil can delay the warm root conditions the crop needs.
Base fertilizer on a soil test and the crop’s stage; okra producing pods over a long season may need nutrient replenishment as continued growth draws on the available supply. A plant already carrying lush foliage can respond to extra nitrogen with more leaves and little improvement in harvest.
Choose between a soil test kit and a laboratory test before correcting an assumed deficiency. Neither leaf color alone nor a regional fertilizer recipe establishes what your bed needs. Check sun, moisture, temperature and recent inputs first.
Harvest Tender Pods Before Fiber Builds
Start looking closely when the first flowers fade. Pods can reach picking condition within days in warm weather. Published flower-to-harvest examples differ, so do not wait for a single fixed day count before checking the plant.
Many home-garden varieties are picked at about two to four inches long. Small pods generally become less tender as they mature, and their walls and seeds toughen. Some round-podded or longer varieties stay tender at larger sizes, so use the named cultivar’s guidance and the actual pod to decide when to cut them.
- Inspect the developing pods every day or two during active production.
- Select young pods at the cultivar’s tender stage.
- Wear gloves and sleeves if the foliage irritates your skin.
- Support the pod and cut its short stalk with clean shears.
- Remove missed, fibrous pods instead of leaving them to mature.
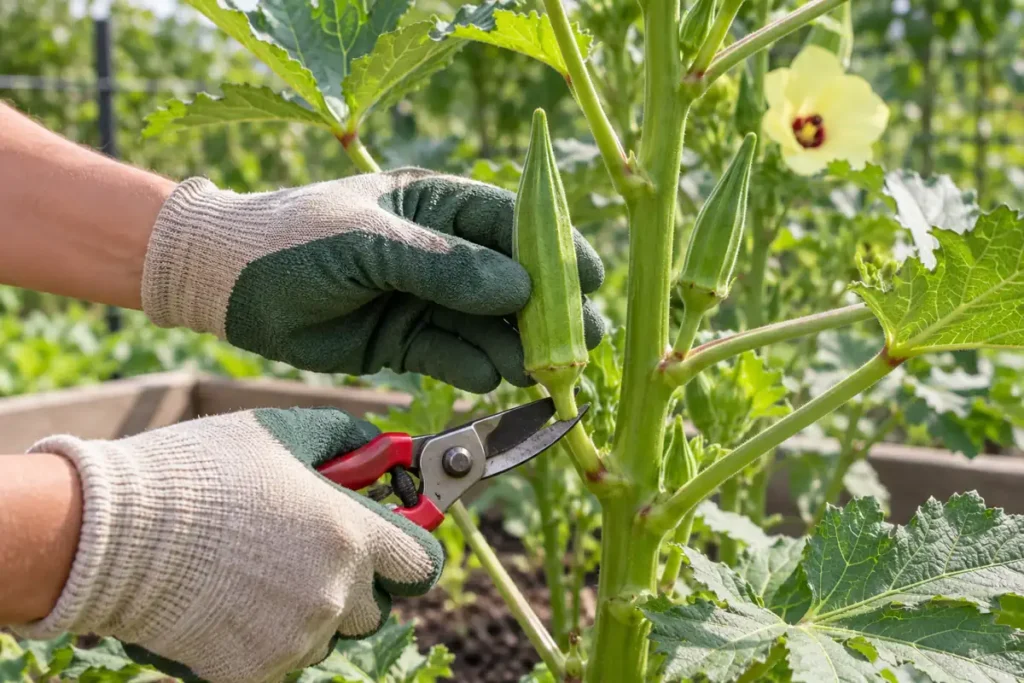
Do not yank pods from a flexible branch. Shears give a cleaner separation and help avoid snapping new growth. Handle the harvested pods gently because they bruise easily.
Spineless usually describes the pods. Leaves and stems may still carry hairs that irritate susceptible skin. Gloves are useful even when a packet promises spineless pods, because the foliage you brush against during picking may still irritate skin even when the pod feels smooth.
Pods left to mature can reduce further flowering and fruiting. If you miss a picking round, clip the overgrown ones and resume inspections. There is no need to discard a whole productive plant because a few pods became tough.
Separate Poor Pod Set From Seedling and Root Problems
Small plants, lush plants without pods and plants dropping damaged pods do not share one diagnosis. Check the stage first. A young crop may still be building its canopy; a mature crop with a recent change needs closer inspection.
| Sign | First check | Next action |
|---|---|---|
| Empty planting line | Soil warmth, moisture and elapsed time | Correct cold or saturated conditions before replacing seed. |
| Stunted transplant | Root disturbance, cold soil, drainage and light | Stabilize the growing conditions; avoid treating every slow plant with fertilizer. |
| Large leaves, few pods | Plant age, sun, spacing and nitrogen history | Pause blind nitrogen additions and investigate the limiting condition. |
| Warty, distorted pods | Visible stink bugs and eggs beneath leaves | Confirm the pest and use local IPM guidance before choosing treatment. |
Wart-like bumps and distortion can accompany stink-bug feeding, as described by University of Maryland Extension. Blossoms or pods may also drop. Search carefully for the insects and egg masses; a single distorted pod cannot establish the cause by itself.
Persistent wilt in damp ground needs a drainage and root-health check, not automatic irrigation. If decline continues, take the symptom pattern, soil history and photographs to local Extension. Soilborne diseases and nematodes require more evidence than a drooping leaf.
For a plant with healthy foliage and no pods, review its age and growing conditions before blaming pollination. More fertilizer is unlikely to correct insufficient light, poor root conditions or a cool planting window. Change the condition you can identify and watch new growth.
Conclusion
Wait for a genuinely warm seedbed, give the mature plants room and protect the roots during establishment. Once pods begin forming, shorten the interval between checks. Frequent small harvests, adequate root moisture and measured fertilizer decisions keep care focused on the crop you want.
Frequently Asked Questions
Can you grow okra in a container?
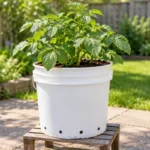
A roomy, draining container can work, especially with a cultivar suited to the space. Choose enough root volume and stability for the plant, then monitor moisture closely. A container garden setup still needs working drainage and water access. A compact label does not guarantee success in a particular bucket size.
Do you need to pinch the top of an okra plant?
No. Pinching is an optional branching practice in some regional guidance. It is more reasonable on a vigorous plant with ample warm growing time than on a stressed start near the end of a short season. Do not expect a guaranteed yield increase from removing the top.
Can you sow okra for a fall harvest?
In a long warm season, it may be possible. Texas A&M recommends allowing at least three months before the usual first fall frost for its fall planting method. Check the cultivar’s timing and local warmth. A cool northern autumn cannot be treated as an extension of a Texas summer.