

How to plant raspberries depends on what arrived from the nursery: a dormant cane with exposed roots, an established potted plant, or a tender green plug. Those plants need different handling. Identify the stock before choosing a planting date or measuring a hole, and keep exposed roots moist throughout the job.
The planting site matters as much as the hole. Raspberry roots need moisture and air, and a low patch that stays wet can damage a new planting before its canes lengthen. Leave room for the mature row, a support system and your own hands at picking time. A short stick can become a broad, prickly planting. Start with a suitable cultivar, prepare the ground beyond the root spread, and use planting instructions that name the part being measured. The top of a potting mix and the point where roots join a cane are different reference points.
Check the plant before digging
Dormant bare root: keep roots damp, spread them without bending them upward, and follow the nursery’s depth directions. The Oregon State method below measures from the highest root attachment.
Established potted plant: use its original potting-mix surface as the reference. The Oregon State example sets that surface level with the surrounding soil.
Tender green plug: harden it off and wait until frost danger has passed. Do not shorten it as though it were a dormant cane.
Row layout: red and yellow raspberries commonly start 2-3 feet apart; black and purple types commonly need 3-4 feet. Confirm the cultivar and training system before buying.
Key Takeaways
- Identify dormant roots, potted plants or tender plugs first.
- Choose drained ground before choosing a planting depth.
- Measure root attachments separately from a pot’s soil surface.
- Allow space for canes, supports and harvesting access.
- Protect new roots before expecting a first-season crop.
Table of Contents
Choose Planting Stock With Living Roots and the Right Cane Habit
A dormant bare-root raspberry often looks like a cut stick attached to a loose bundle of roots. A potted plant may already have leaves. A tissue-cultured plug can be much smaller, with soft shoots and a small root system. Their appearance does not tell you which planting date is safe for all three.
Buy named, healthy nursery stock suited to your region. Virus-indexed material reduces a risk that a vigorous-looking sucker from an old garden cannot rule out. Keep the cultivar label with the row; cane color alone will not reliably tell you its cropping habit later.
Match the cultivar to the climate before reserving space
A winter-hardy red raspberry for a northern garden and a trailing cultivar grown in Georgia may need very different layouts. Dormanred, for example, has a much longer trailing growth habit than an upright red-raspberry hedgerow. The University of Georgia’s training recommendations allow substantially more space for that system. Do not put every red-fruited plant on the same 2-foot centers.
Compare berry varieties for your climate before ordering. Local summer heat, winter minimums and the length of the fall ripening window can eliminate a cultivar that looks suitable in a national catalog.
Know which canes could carry fruit
The root system and crown live for several years; individual canes follow a shorter cycle. Summer-bearing raspberries usually fruit on second-year canes. Primocane-fruiting cultivars can produce fruit on the upper portion of new canes, if the season and plant growth allow it. A small first-year plant has no obligation to deliver a basket of berries.
This distinction also protects next year’s crop. Cutting every cane to the ground is a possible system for selected primocane-fruiting raspberries. It is not a safe general instruction for an unidentified summer-bearing planting.
Prepare Drained Soil Before Raspberry Roots Need It
Choose a sunny site with water available nearby. Walk it after prolonged rain. Water sitting at the surface, squelching ground under a boot, or a planting hole that stays flooded points to a drainage problem. A layer of dry-looking soil on top does not prove that the root zone has drained.
Raising the bed can improve the height of the rooting zone when the surrounding soil and drainage outlet permit it. An isolated planting hole filled with loose compost inside wet clay can still collect water. Correct the site or choose another position before the plants arrive.
Remove perennial weeds and prepare the future row across the bed instead of making isolated holes in competing turf. Grass roots around a new cane take water from the same shallow ground. Plan space between perennial food plants so that neighbors will not close the raspberry aisle or shade the lower canes as they mature.
Check soil chemistry and previous crops
Use a laboratory soil test before adding lime, sulfur or a large fertilizer dose. Raspberries prefer mildly acidic soil, with slightly different recommended ranges among regions. A soil test with amendment recommendations is more useful than guessing from the color of a new leaf.
Recent tomatoes, potatoes, peppers and eggplant raise a separate concern: Verticillium can persist in soil and affect raspberries. University of Maine guidance uses a four-year avoidance period; other extension programs use five. Treat that as a site-history screening step, not a promise that the pathogen disappears on an anniversary. A history of unexplained wilting deserves local advice before planting.
Work compost into the prepared ground when soil conditions permit, keeping the mix appropriate to the soil without packing a rich pocket around each plant. The same checks for texture, drainage and soil-test results used in preparing vegetable-garden soil help reveal a poor rooting environment before a perennial row occupies it.
Space Raspberry Plants for Root Spread and Cane Access
Plant spacing is the distance from one plant center to the next. Row spacing is the distance between row centerlines. The maintained width of a raspberry hedge is a third measurement. Confusing them produces either crowded plants or an aisle too narrow to use.
| Planting system | Starting plant spacing | Space to preserve |
|---|---|---|
| Upright red or yellow hedgerow | Commonly 2-3 feet between plants | Often about 8-10 feet between row centers; adjust to local training and access needs. |
| Black or purple raspberries in individual hills | Commonly 3-4 feet between plants | Keep each crown accessible; follow the cultivar support plan. |
| Long trailing cultivar | Use its specific training recommendation | A standard upright hedgerow layout can be much too tight. |
| One row in a small yard | Use the chosen cultivar’s in-row spacing | Leave access on the sides; a fence is not a harvesting aisle. |
For a simple layout example, a 12-foot length can hold six red-raspberry starting positions on 2-foot centers, marked at 1, 3, 5, 7, 9 and 11 feet. That leaves a foot at each end of the measured length. It is a spacing calculation, not a prediction of how many plants your cultivar, end posts or access route will accommodate.
Red raspberries send up new shoots beyond the original crowns. The initial gaps can fill, so decide where the row will stop. Narrow maintained bases help air and hands move among the canes. A 12-18-inch maintained hedge base, used in some extension systems, does not mean that two rows should stand only 18 inches apart.
How to Plant Raspberries From Bare Roots or Pots
Set dormant plants out when local conditions permit early-season planting and the ground is workable. Soil that smears into a shiny ribbon under the spade is too wet to prepare well. A calendar date from Maine cannot set the planting day for coastal Oregon or a warm southern garden.
Keep bare roots cool and damp until you are ready. Open the wrapping beside the prepared hole, and cover the remaining plants during the job. Roots left in sun and moving air can dry before their appearance changes dramatically. Follow the supplier’s instructions for soaking or temporary storage; do not leave roots submerged for days.
Measure from a named point on the plant
Planting-depth recommendations differ across publications from Oregon State, Maine and the University of Minnesota. The Oregon State University raspberry planting method measures bare roots from their highest attachment to the cane and places that point 1-2 inches below finished soil. For a container plant, it places the existing potting-mix surface level with surrounding soil. Those are the two reference points shown below.
Two planting references: Oregon State method
Highest root attachment: 1-2 inches below finished soil in this method.
Original potting-mix surface: level with surrounding soil in this method.
Reference drawings are not to scale. Confirm the nursery’s directions for your stock before planting; do not average conflicting depth recommendations.
Regional instructions can differ even for pots: Maine’s bulletin describes covering the root-ball top by about an inch. If the supplier’s directions or your local extension recommendation differ from the method above, resolve that difference for the actual stock before backfilling. Measuring an imprecise word such as crown without identifying the tissue can put roots at the wrong level.
Spread roots, backfill and water
- Dig wide enough to lay bare roots outward without folding their ends upward. Check depth against undisturbed surrounding ground, allowing for soil that will settle.
- Hold the plant at the chosen reference height and return soil among the roots. Firm gently so that large air gaps close without stamping wet soil into a hard plug.
- Water the rooting area slowly, let it settle, then recheck the finished level. Correct a sunken or exposed plant before adding mulch.
- For an established potted plant, ease it out of the container and inspect the outside roots. Gently loosen a crowded root mat; retain the original mix surface as your reference.
- Keep a tender plug intact and protect its soft leaves during hardening. Plant it after frost danger, following the nursery’s small-plant instructions.
A long dormant cane may be shortened at planting; Oregon State uses a roughly 6-inch stub for its bare-root method. That old stick is not the whole future plant. New shoots can arise from living buds associated with the root system. Do not apply the same cut to a small leafy plug or an established potted plant without stock-specific instructions.
Support Canes Early and Keep New Roots Moist, Not Flooded
Install the support before the patch fills with roots and prickly stems. A trellis holds growth within reach and helps keep heavy canes from leaning into the path. Place posts and anchors where they will not block access; tensioned wire and unsupported end posts can injure someone when they fail.
A short home row may use wires between stable posts or another cultivar-appropriate frame. Long trailing growth needs a system that can carry and separate it. Tie canes loosely with material that will not cut into expanding stems. The small stem that fits a tight loop today may be constricted later.
Check moisture in the root zone, including the original potting mix of a container plant. The surrounding soil can feel damp while a peat-rich root ball dries inside it. Water slowly enough to wet that root ball and nearby soil together. If both remain wet, adding another daily watering can make the problem worse.
Weekly water totals in mature-raspberry recommendations are planning figures for an established row. Newly planted stock has a smaller rooting volume, and a hot drying wind changes its needs quickly. Check the actual soil without dividing a mature-row weekly total into seven automatic doses.
Mulch reduces surface drying and weed growth. Keep it loose and clear of the crown and cane bases, and account for wet soil and rodent shelter before choosing its depth. A thick damp blanket pressed against a cane is not a substitute for drainage. Pull small weeds by hand and cultivate shallowly so that feeder roots are not sliced off.
Build Root Growth Before Asking for Berries
Keep the cultivar label, planting date and a simple record of moisture checks. Mark the ends of the intended hedge so that emerging suckers do not quietly turn a narrow row into a thicket. New leaf growth is encouraging; the absence of a first-year crop is not automatically a planting failure.
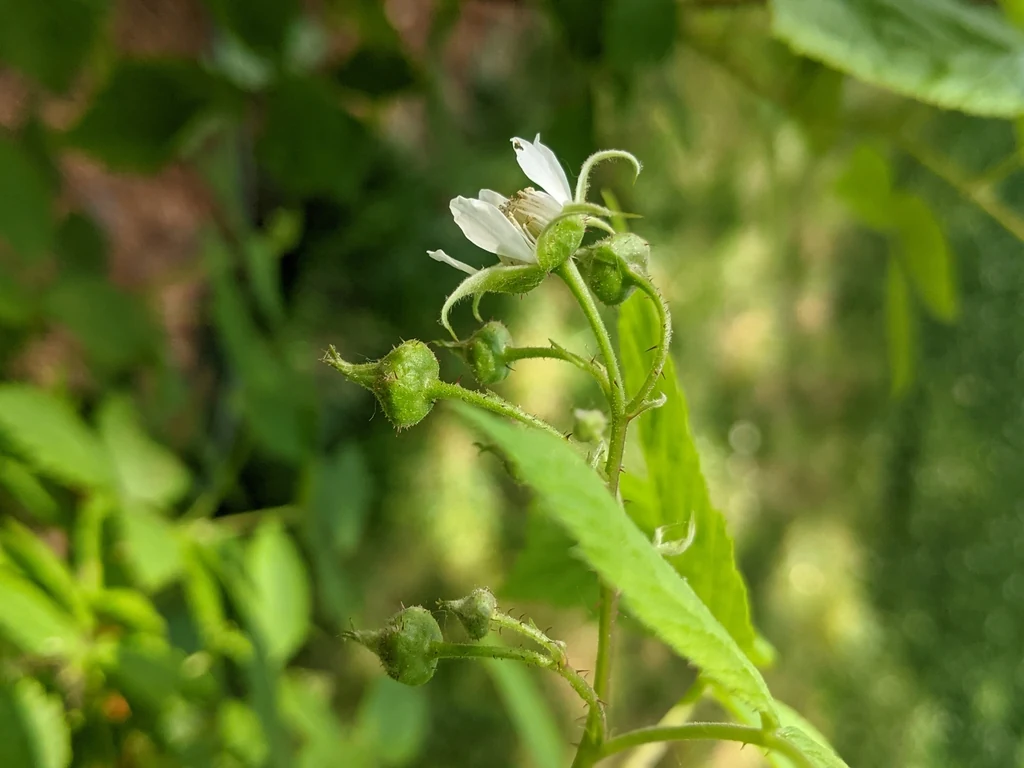
Removing flowers from a new planting directs its limited resources toward establishment. That is the conservative first-year approach in University of Maryland raspberry establishment recommendations. It is particularly sensible for a weak transplant or one struggling with heat or irregular watering.
A vigorous primocane-fruiting plant in a long enough season may carry a small fall crop. That possibility does not justify feeding a struggling plant harder or treating fruit as proof of successful establishment. Protect the root system and keep the appropriate new canes for the cultivar’s cropping system.
Diagnose Wilting and Missing Shoots Before Adding Fertilizer
| What you see | What to check | First response |
|---|---|---|
| Leaves droop and the root ball feels dry | Dry original potting mix, wind and incomplete wetting | Wet the root ball slowly and recheck surrounding soil. |
| Leaves droop in persistently wet ground | Poor drainage, planting level and possible root disease | Stop adding water to saturated soil; seek local diagnosis if decline continues. |
| Dormant cane has no visible leaves | Living buds, original stock condition and local spring progress | Keep the rooting area moist; contact the nursery before repeated digging or replacement. |
| Healthy new shoots but no berries | Summer-bearing versus primocane-fruiting cultivar and plant age | Allow establishment; do not diagnose fertilizer deficiency from missing fruit alone. |
| New shoots appear outside the intended row | Root suckering, especially red and yellow types | Maintain the planned row width without injuring the retained crowns. |
Brown, brittle tissue at the old stub does not by itself show that every underground bud is dead. Equally, a green shoot does not rule out a developing root disease. Use the moisture history, planting level and pattern across neighboring plants to decide whether the problem is handling, site conditions or something that needs a sample sent for diagnosis.
Conclusion
Identify the stock, give it drained ground and measure planting depth from the correct part of the plant. Mark enough space for the mature cane system, install support early and inspect moisture where the new roots actually sit. A carefully established row can build the roots and canes needed for later crops without being pushed into fruiting immediately.
Photo credits and licenses
Photo source: https://plants.ces.ncsu.edu/plants/rubus-idaeus/
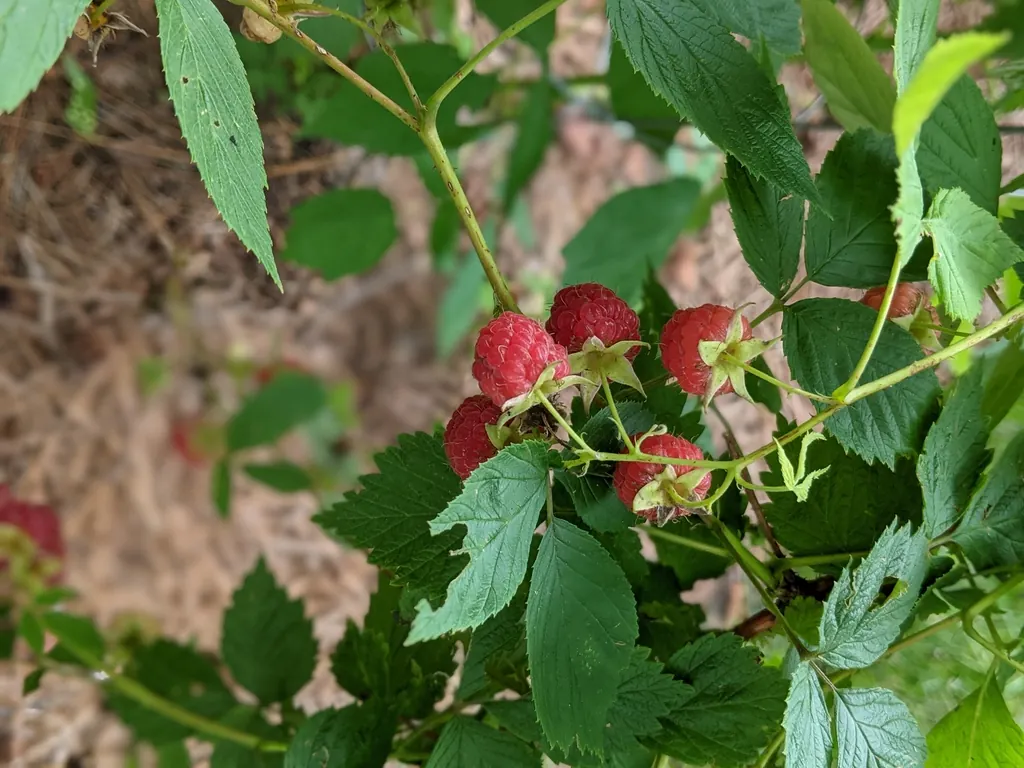
heritage-raspberry-fruit.webp: Red Heritage raspberries and unripe fruit growing on a leafy cane. Photo: Hope Duckworth. CC BY 4.0. Source: https://plants.ces.ncsu.edu/plants/rubus-idaeus/ License: https://creativecommons.org/licenses/by/4.0/
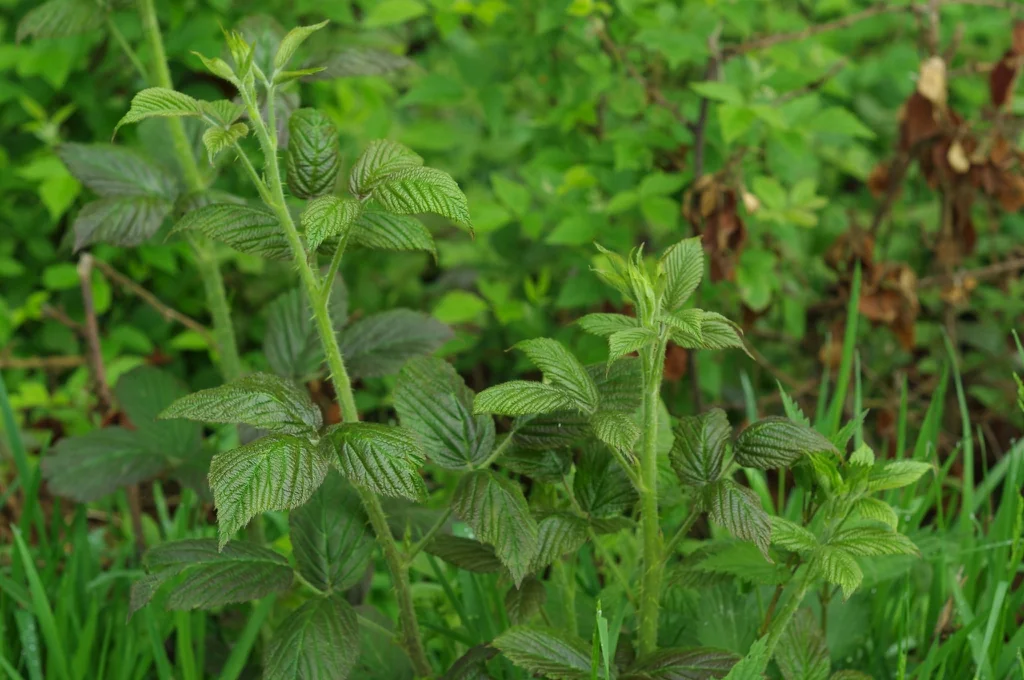
raspberry-new-cane.webp: New raspberry cane growth with unfolding green leaves. Photo: Daniel. CC-BY-SA 2.0. Source: https://plants.ces.ncsu.edu/plants/rubus-idaeus/ License: https://creativecommons.org/licenses/by-sa/2.0/
raspberry-buds-and-flower.webp: Heritage raspberry flower and unopened buds among green leaves. Photo: Cabarrusco Hope Duckworth. CC BY 4.0. Source: https://plants.ces.ncsu.edu/plants/rubus-idaeus/ License: https://creativecommons.org/licenses/by/4.0/