Brown spots on plant leaves can come from disease, sun scorch, salt buildup, pests, wet foliage, aging tissue, or a root problem that first shows up as damaged leaf cells.
The useful clue is not the brown color alone. A soft wet spot with a yellow edge behaves differently from a dry tan patch near a sunny window, a peppered pattern under a leaf, or a brown margin on every older leaf. Touch the spot, check where it started, then decide whether the plant needs drying, shade, sanitation, pest control, or only careful trimming.
Brown Spots on Plant Leaves Quick Pattern Matrix
Match the texture and spread before reaching for a spray bottle.
Key Takeaways
- Touch spots before deciding whether disease is involved.
- Separate wet lesions from dry scorch or salt damage.
- Inspect undersides when spots look peppered or silvery.
- Avoid spraying until the cause is narrowed down.
- Trim only damaged leaves that no longer help recovery.
Table of Contents
Soft or Wet Spots Usually Mean Leaf Tissue Is Breaking Down
Soft brown spots feel different from scorch. The area may look soaked, slightly sunken, translucent at the edge, or darker after a humid night. That texture means cells are collapsing faster than the leaf can seal the damage.
Moisture on the leaf surface is often part of the chain. Dense foliage, late-day overhead watering, crowded houseplants, and leaves pressed against a cold window can keep tissue damp for hours. Many fungal and bacterial problems use that wet surface to enter or spread, especially when splash moves spores or bacteria from old leaves to clean ones.
Leaf spot diseases on trees and shrubs often begin as small spots that can enlarge or merge under favorable conditions, and leaf spot disease pressure increases with infected foliage and wet conditions. That pattern applies broadly enough for home diagnosis: wet leaves plus expanding spots deserve sanitation and water-rhythm correction before cosmetic pruning.
Do not seal a damp plant inside a humid corner after finding soft spots. Give the plant brighter indirect light, more space between leaves, and morning-only watering at soil level. If the plant is in a pot, check whether the mix stays wet long after watering. Wet roots can weaken leaves and make every surface problem harder to stop.
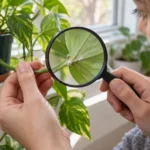
Check the newest spots with a fingertip and a hand lens before removing half the plant. A lesion that feels slick, darkens at the edge, or leaves surrounding tissue pale after a humid night deserves faster sanitation. A spot that stays dry, flat, and unchanged for a week is more likely old injury that the plant has already sealed.
Dry or Crispy Spots Point Toward Scorch, Salt, or Water Movement
Dry brown spots feel papery. The damaged area may be tan, brittle, or thin enough to crack under your finger. This pattern often begins where light, heat, salts, or dry roots interrupt water movement through the leaf.
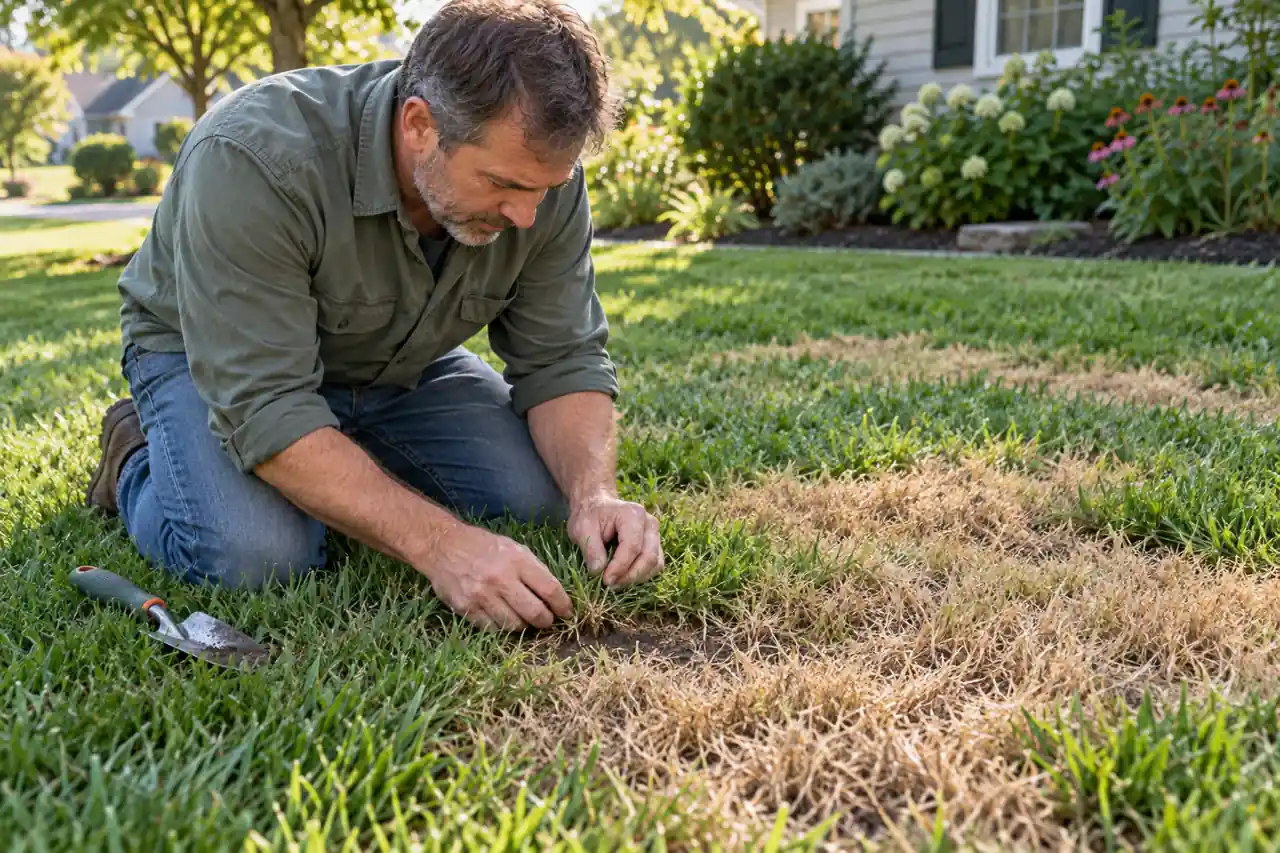
Sun scorch usually has a location pattern. It shows on the window-facing side of a houseplant, the exposed upper leaves of a new transplant, or the side of a container plant hit by reflected afternoon heat. The damaged tissue does not turn green again. Fresh leaves should look cleaner after the plant is moved, shaded, or hardened off more slowly.
Fertilizer salts and mineral buildup can also create brown tips, margins, and scattered dry patches. Salt-related leaf scorch can show as spots or marginal burns, and high salt levels can injure roots and leaf edges. White crust on the soil surface, hard-water deposits on pot rims, and brown tips on otherwise firm leaves strengthen that diagnosis.
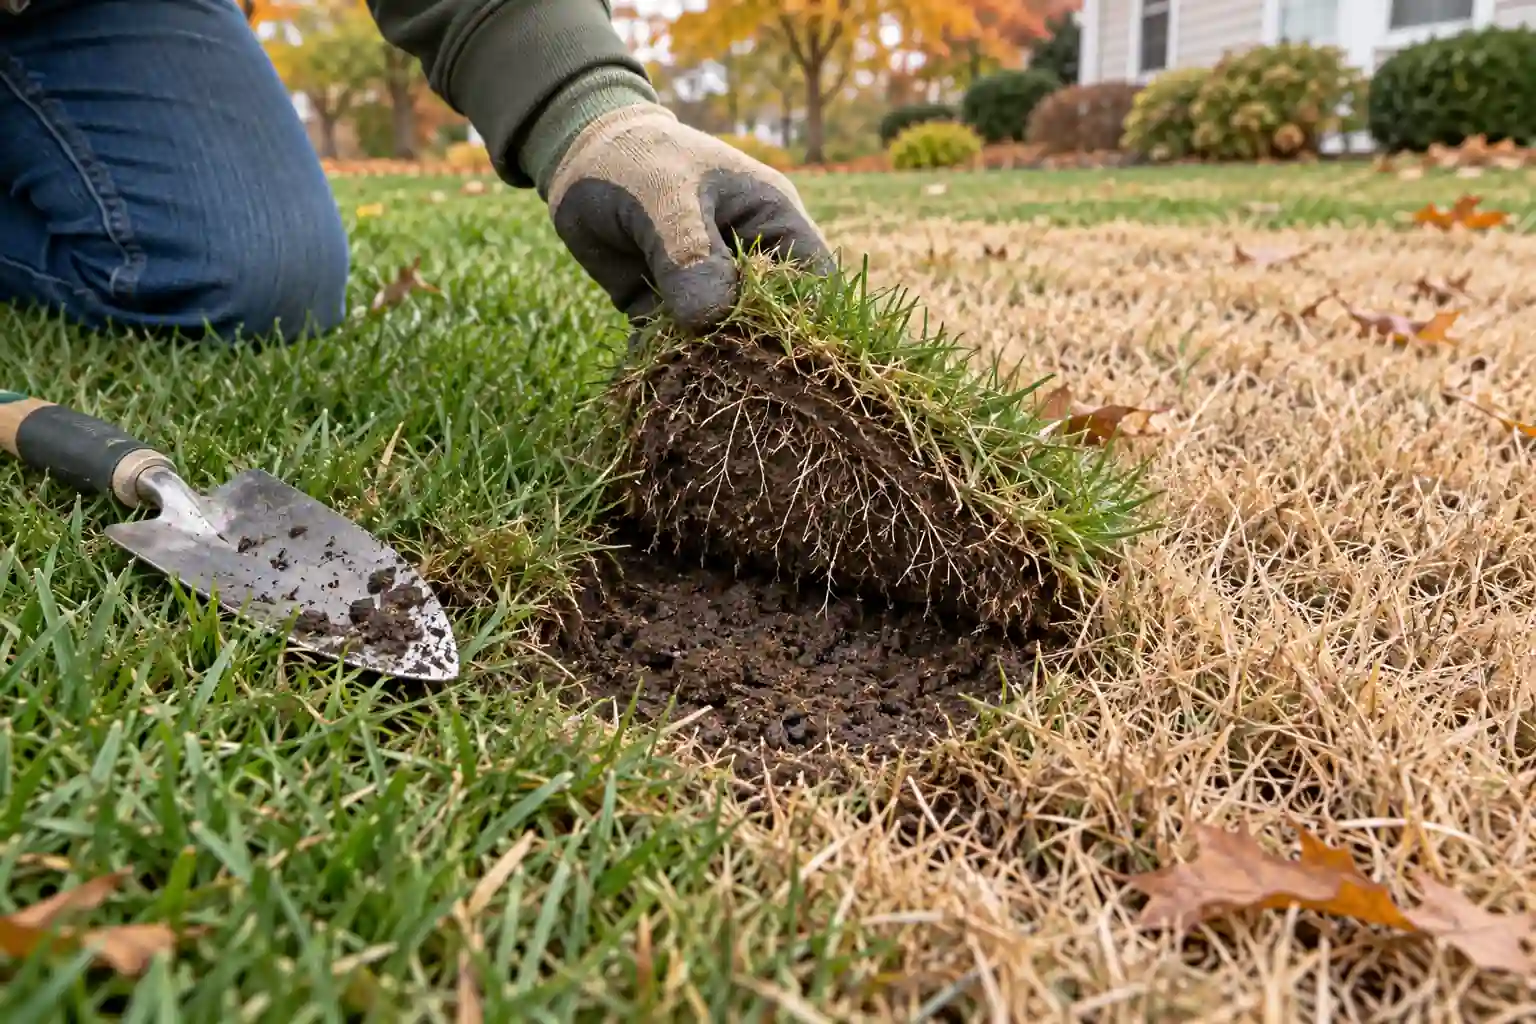
Water movement sits behind many dry patches. A root ball that has pulled away from the pot wall may leave one side dry even after watering. Garden beds can do the same when water runs along a crusted surface. If leaf spots arrive with midday droop, compare the pattern with plant drooping and wilting patterns before adding fertilizer or fungicide.
The smell and feel of the root zone matter here. Sour wet mix, stale water in a saucer, or a pot that never gets lighter points toward roots that cannot support the leaf. Dusty dry mix, a loose root ball, and a pot that feels weightless point toward water shortage. Both can end in brown leaf tissue, so the pot check comes before the treatment.
Yellow Halos, Rings, and Spreading Lesions Need Closer Inspection
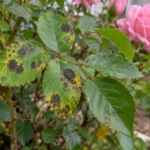
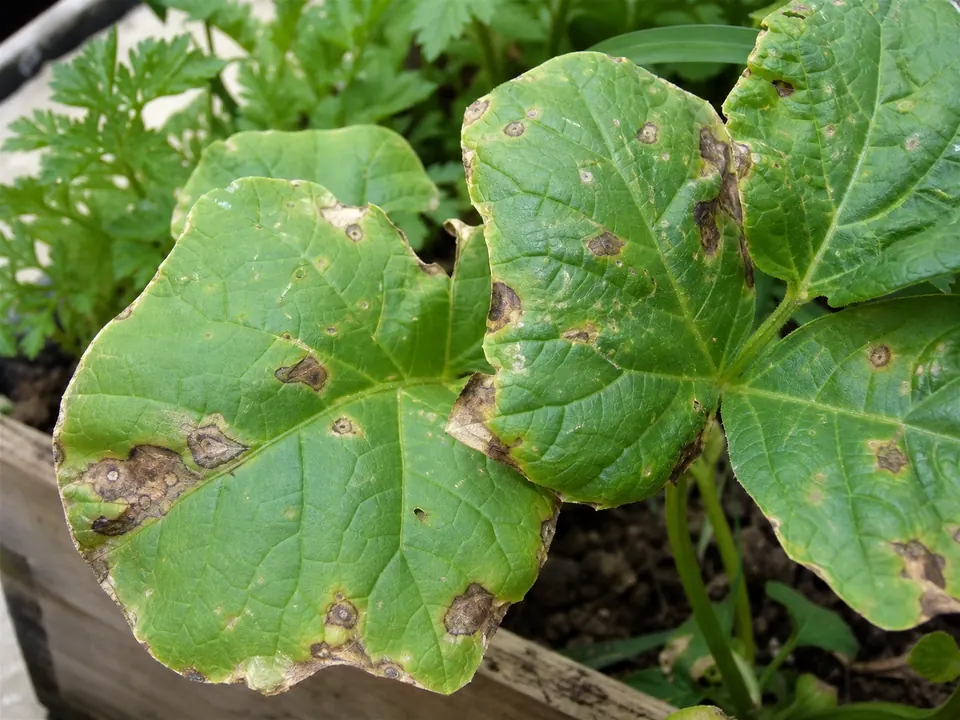
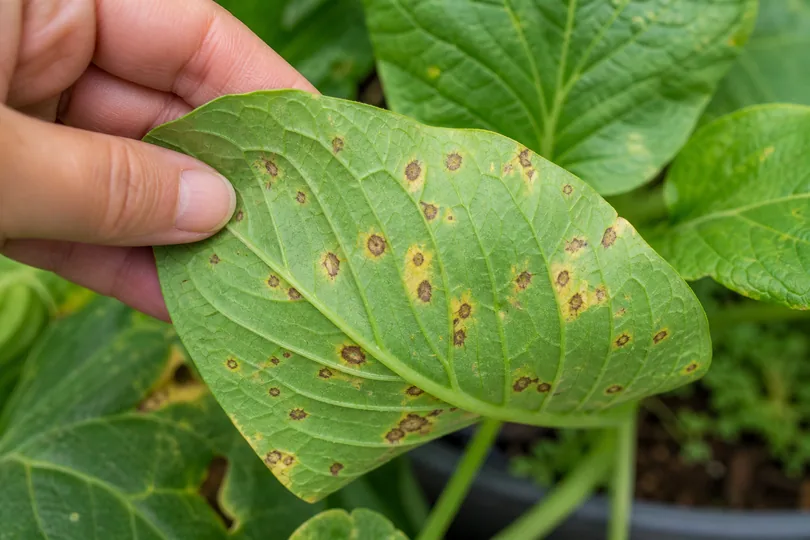
A yellow halo around a brown spot means living tissue around the dead center is reacting. That reaction can happen with fungal leaf spots, bacterial leaf spots, some pest feeding, or chemical injury, so the halo is a warning to inspect before naming the cause.
Look for the shape of the lesion. Round spots that cross veins can point toward many fungal problems. Angular spots that stop at veins often deserve a bacterial, downy mildew, or foliar nematode check. NC State Extension’s diagnostic guidance notes that fungal spots often cross veins and some bacterial spots are vein-limited, a useful field clue when the leaf has a clear vein network.
Rings and target patterns raise the stakes on identification. Tomato and potato leaf spots, rose black spot, and many ornamental diseases can create patterned lesions that spread from older leaves into the canopy. Spots that increase after rain, overhead watering, or humid nights should be treated as a sanitation and moisture problem first.
Separate symptom from sign. A brown spot is plant damage. Fuzzy growth, spores, ooze, webbing, insects, or fruiting bodies are visible signs of an organism. Michigan State University Extension separates disease symptoms from pathogen signs, and visible signs can help separate fungal, bacterial, and viral problems. A hand lens can turn a confusing brown mark into a clearer decision.
Brown Patches on Leaves of Plants Are Different From Small Spots
Brown patches on leaves of plants usually mean several damaged areas have merged, a larger section was scorched at once, or a broad part of the leaf lost water faster than roots could supply it. Size changes the diagnosis.
A single large dry patch on the sun-facing side often points toward scorch. Several patches that begin as small dots and grow together after wet weather point toward a spreading leaf-spot problem. Brown patches that follow the edge of the leaf often belong with salt, drought, low humidity, or root stress, separate from disease that begins in the center of the blade.
Houseplants add another layer. Older leaves can naturally turn brown and die back on healthy plants, and widespread color change often points to a cultural problem such as watering, feeding, or position. For indoor plants, leaf damage often improves only when light, water, feeding, and placement are corrected.
Use age to sort the patch. One old lower leaf with brown patches may be aging out. Several new leaves with patches, weak stems, or yellowing need a root and environment check. A whole plant with patches on the side nearest glass, a wall, or reflected heat needs a placement change before any spray can help.
Watering, Light, Salt, Pests, and Disease Leave Different Clues
Brown spots get easier to read when each cause is tied to a visible pattern. Watering problems often include droop, yellowing, dry soil gaps, sour wet mix, or roots that cannot move water normally. Light damage follows exposure. Salt damage follows buildup. Pest damage often starts small and repeated.
Overwatering commonly brings soft leaves, yellowing, wet soil, and slow dry-down. A pot that stays wet for a week can injure roots, then show brown areas because the leaf is losing support from below. If soggy soil is part of the pattern, compare it with early signs of overwatering plants before treating the leaf surface.
Underwatering brings a sharper feel. Leaf edges crisp, the pot feels light, and soil may pull away from the container. Outdoor plants can show tan patches after repeated hot afternoons even when the gardener waters often, because shallow watering never reaches the active root zone. underwatering signs in garden plants help separate dry-root stress from disease that happens to look brown.
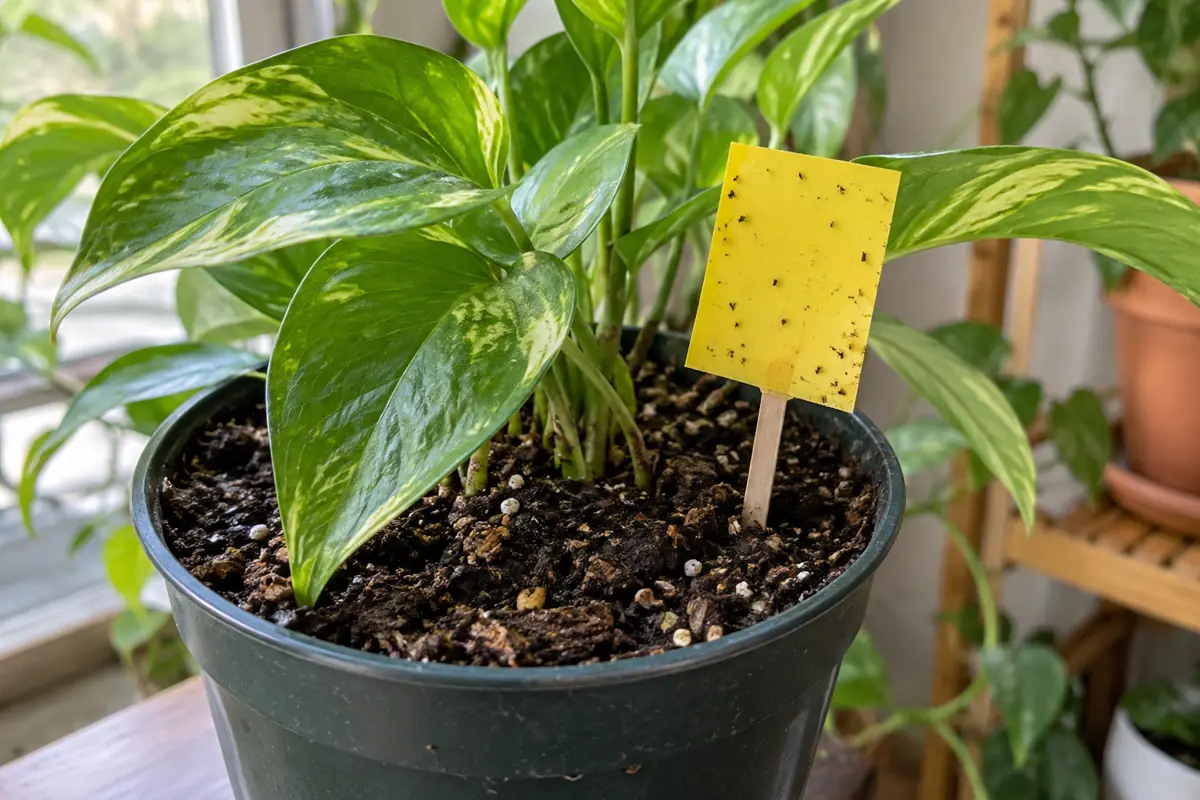
Pest spotting has a texture of its own. Spider mites create pale stippling that can brown later. Thrips can leave silvery scars with dark specks. Some sucking insects leave sticky residue that invites sooty mold. Once pest evidence is visible, choose the lightest effective control and protect beneficial insects. Broad treatment makes less sense than targeted organic pest control after the culprit is confirmed.
Yellowing changes the read. Brown spots surrounded by general yellowing can point to root stress, old foliage, or disease moving through weak tissue. Brown spots with green firm tissue around them often point to localized injury. When yellow and brown arrive together, compare the pattern with yellowing leaves by pattern before you assume the brown area is the whole problem.
| Visible pattern | Likely cause family | First check | Best first move |
|---|---|---|---|
| Soft brown spots with yellow halos | Fungal or bacterial leaf spot | Recent rain, splash, crowding, nearby spotted leaves | Remove worst leaves, keep foliage dry, improve airflow. |
| Dry tan patches on one exposed side | Sun scorch or heat reflection | Window, wall, patio, recent move outdoors | Shift exposure and protect from harsh afternoon light. |
| Brown tips and edges with white crust | Salt, fertilizer, or hard-water buildup | Soil surface, pot rim, drainage quality | Flush only if drainage works, then reduce feeding. |
| Fine dots, silvery scars, underside debris | Mites, thrips, or other small pests | Leaf underside, paper tap test, sticky residue | Isolate movable plants and treat the confirmed pest. |
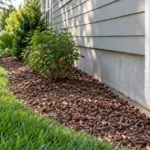
| Older lower leaves spotted first | Splash disease, aging, or lower-canopy humidity | Mulch, spacing, old debris, watering method | Clean debris and water at soil level in the morning. |
What to Treat, What to Trim, and What Not to Spray
Treat the cause, not the color. A fungicide cannot repair a scorched leaf. More water cannot cure a bacterial spot. Insecticidal soap will not fix salt burn. The first move should change the condition that keeps making new spots.
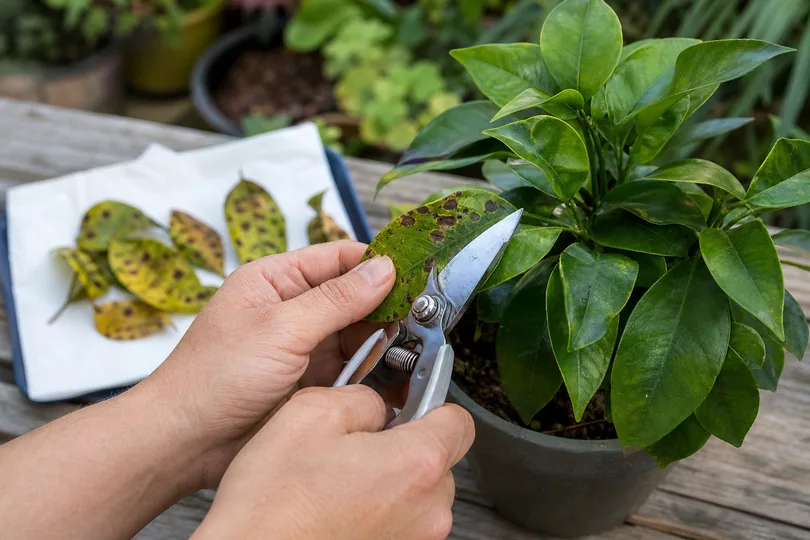
Trim leaves when they are mostly brown, wet and collapsing, heavily spotted, pest-covered, or touching healthy leaves in a crowded plant. Leave partly green leaves in place when they are still firm and the plant has little foliage. Green tissue still feeds recovery.
Spraying should wait until the pattern supports it. Soft spreading spots after wet weather may justify a disease-specific treatment on a susceptible plant, especially vegetables or ornamentals with known leaf-spot pressure. Speckling with live pests may justify soap, oil, or another targeted control at the right temperature. Dry scorch, salt crust, and underwatering need environmental correction instead.
Sanitation costs less than a wrong spray. Remove fallen spotted leaves, avoid splashing soil onto low foliage, and clean pruners between suspect plants. For disease-heavy beds, the broader symptom logic in plant disease identification helps separate leaf spot, blight, mildew, rust, and root-driven decline.
When Brown Spots Can Spread to Other Plants
Brown spots can spread when the cause is alive or mobile. Fungal spores, bacteria, mites, thrips, and infected debris can move from one leaf to another. Scorch, salt burn, aging leaves, and one-time chemical injury do not spread by themselves, though the same bad condition can damage several plants at once.
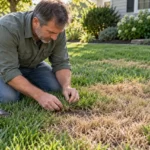
Use the spread pattern as evidence. New spots appearing after rain on the lower leaves of several plants point toward splash and leaf wetness. New spots on one windowsill plant after moving it into direct sun point toward exposure. Similar speckling on several nearby houseplants points toward pests that moved through the group.
Isolate movable plants when spots come with live insects, webbing, sticky residue, wet lesions, or fast spread. Outdoors, create distance through pruning, staking, airflow, and dry foliage, since the whole plant may need to stay in place. Bag heavily diseased leaves instead of leaving them under the canopy.
Observation: The first missed clue is often the underside of the lowest leaf. By the time brown spots are obvious on top, splash, mites, or humid lower growth may have been active for days.
Brown Spots Are Easier to Fix When New Growth Becomes the Test
Old spots rarely heal. The better recovery test is the next flush of leaves. If new growth opens clean, the plant is responding even if older leaves still look marked. If every new leaf develops spots, the cause is still active.
Give each correction enough time to show. A watering fix may take one or two dry-down cycles. A light move may show only on leaves that form after the move. Pest treatment needs repeat checks because eggs or hidden insects can survive the first pass. Disease sanitation needs a stretch of dry foliage and clean new leaves before the pattern can be called controlled.
Track the plant by pattern, not emotion. Mark one damaged leaf, watch two new leaves, and record whether spots are dry, wet, expanding, or stable. A plant with firm stems, clean new growth, and no new spotting is moving forward even if the oldest leaf still carries the brown mark that started the diagnosis.
Conclusion
Brown spots become less confusing when texture, location, and spread lead the diagnosis. Soft spots ask for dry foliage and sanitation. Crispy patches ask for a light, salt, or water check. Speckled leaves ask for an underside inspection before any spray.
Start with the lowest-risk correction: isolate if needed, remove the worst leaves, keep foliage dry, fix the root-zone condition, and watch the next two leaves. Clean new growth is the quiet sign that the plant has moved past the brown marks.
Frequently Asked Questions
How do you fix brown spots on plant leaves?
Fix brown spots by identifying the pattern first. Soft spreading spots need dry foliage and sanitation, crispy patches need light or water correction, speckling needs pest inspection, and salt burn needs better flushing or reduced fertilizer.
What can you spray on plants for brown spots?
Spray only after the cause is clear. Fungicides may help some active leaf-spot diseases, and soaps or oils may help confirmed pests. Scorch, salt buildup, underwatering, and old damage will not improve from spraying.
Can brown spots spread to other plants?
Brown spots can spread when fungi, bacteria, mites, thrips, or infected debris are involved. Scorch, salt damage, and aging leaves do not spread, though the same light, water, or salt problem can damage several plants in the same place.
Should I cut off leaves with brown spots?
Cut off leaves that are mostly brown, wet, collapsing, pest-covered, or heavily diseased. Keep partly green, firm leaves when the plant needs energy, then judge recovery by clean new growth over the next one to two weeks.